 ## Basic Integration
Add the following to your HTML file, replacing the placeholder values as needed:
1. Load the widget script in your `` tag:
```html theme={null}
```
Replace `{version}` with a specific release version (e.g. `0.0.1329`) from the [versions manifest](https://cdn.dialai.ca/v1/versions.json).
2. Add the mount point and initialization script:
```html theme={null}
```
## Configuration Options
The `renderModal` function accepts the following configuration options:
* `iconUrl` (string, required): URL to the icon that will be displayed in the chat button
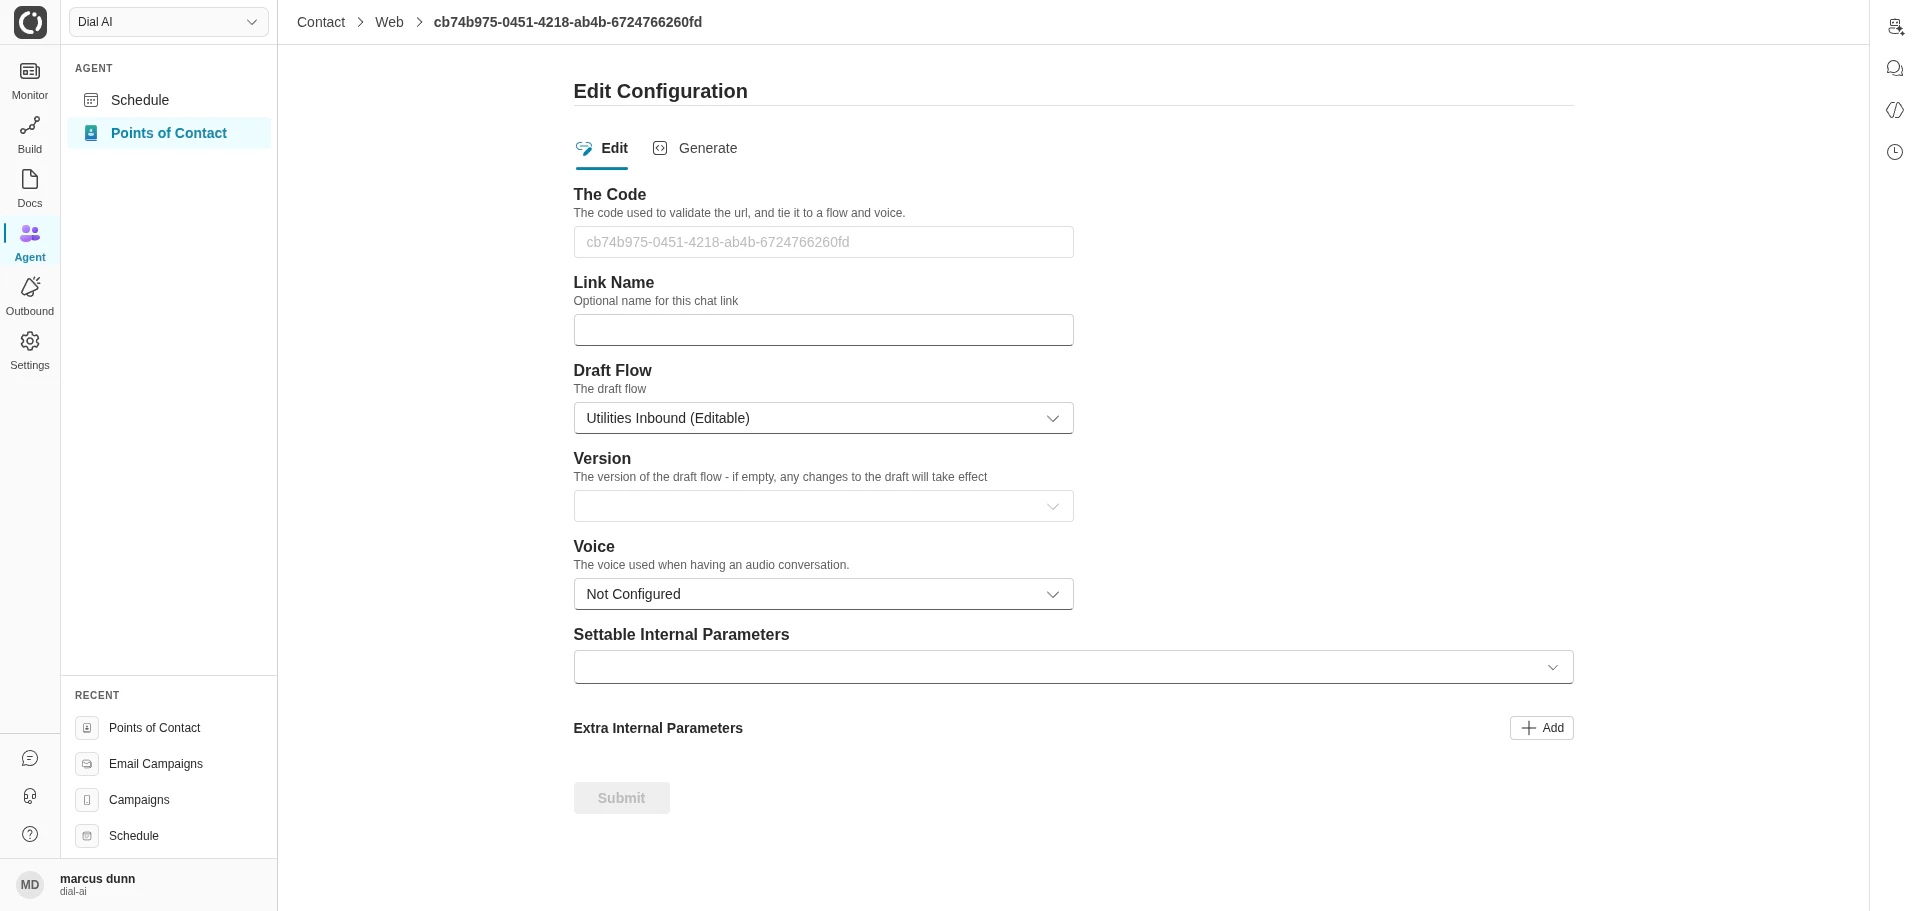
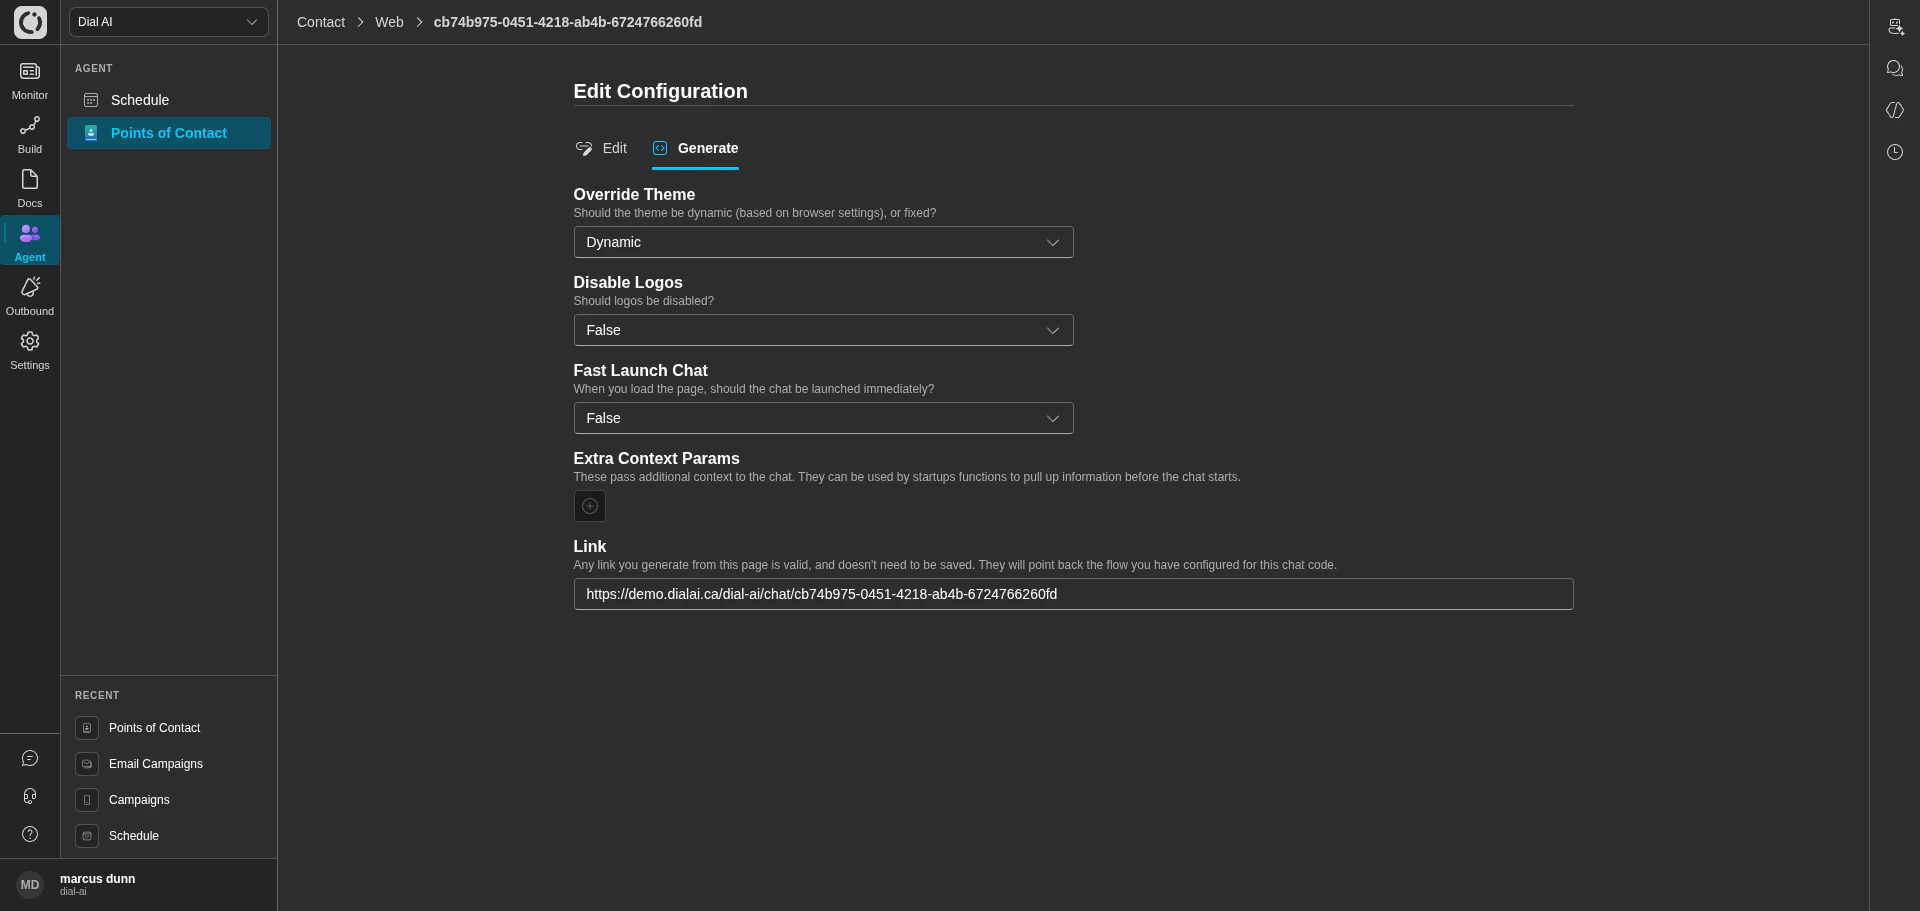
* `chatId` (string, required): Your unique Dial AI chat identifier
* `backendUrl` (string, required): The base URL of your Dial AI instance
* `brandVariants` (object, optional): Custom color scheme for the chat interface (see [Brand Variants](#brand-variants) below)
## Brand Variants
By default, the widget uses the theme configured for the chat link's tenant. If you need to override this to match your site's branding, pass a `brandVariants` object with color values on a scale from 10 (darkest) to 160 (lightest):
```js theme={null}
brandVariants: {
10: "#001018",
20: "#002030",
30: "#003049",
40: "#004062",
50: "#00507a",
60: "#006093",
70: "#0070ab",
80: "#0080c4",
90: "#0090dc",
100: "#00a1f5",
110: "#10adfe",
120: "#2bb6ff",
130: "#45bfff",
140: "#60c8ff",
150: "#7ad1ff",
160: "#95dafe"
}
```
Omit `brandVariants` to use the tenant's default theme.
## CORS Configuration
The widget script is served from our CDN with permissive CORS headers (`Access-Control-Allow-Origin: *`), so it can be loaded from any domain without additional configuration.
## Troubleshooting
* If the chat button doesn't appear, check your browser's console for any error messages
* Ensure the anchor element with the specified ID exists in the DOM when the script runs
* Make sure the chat ID and backend URL are correct
## Example Implementation
Here's a complete example of how to integrate the chat button into a simple HTML page:
```html theme={null}
## Basic Integration
Add the following to your HTML file, replacing the placeholder values as needed:
1. Load the widget script in your `` tag:
```html theme={null}
```
Replace `{version}` with a specific release version (e.g. `0.0.1329`) from the [versions manifest](https://cdn.dialai.ca/v1/versions.json).
2. Add the mount point and initialization script:
```html theme={null}
```
## Configuration Options
The `renderModal` function accepts the following configuration options:
* `iconUrl` (string, required): URL to the icon that will be displayed in the chat button
* `chatId` (string, required): Your unique Dial AI chat identifier
* `backendUrl` (string, required): The base URL of your Dial AI instance
* `brandVariants` (object, optional): Custom color scheme for the chat interface (see [Brand Variants](#brand-variants) below)
## Brand Variants
By default, the widget uses the theme configured for the chat link's tenant. If you need to override this to match your site's branding, pass a `brandVariants` object with color values on a scale from 10 (darkest) to 160 (lightest):
```js theme={null}
brandVariants: {
10: "#001018",
20: "#002030",
30: "#003049",
40: "#004062",
50: "#00507a",
60: "#006093",
70: "#0070ab",
80: "#0080c4",
90: "#0090dc",
100: "#00a1f5",
110: "#10adfe",
120: "#2bb6ff",
130: "#45bfff",
140: "#60c8ff",
150: "#7ad1ff",
160: "#95dafe"
}
```
Omit `brandVariants` to use the tenant's default theme.
## CORS Configuration
The widget script is served from our CDN with permissive CORS headers (`Access-Control-Allow-Origin: *`), so it can be loaded from any domain without additional configuration.
## Troubleshooting
* If the chat button doesn't appear, check your browser's console for any error messages
* Ensure the anchor element with the specified ID exists in the DOM when the script runs
* Make sure the chat ID and backend URL are correct
## Example Implementation
Here's a complete example of how to integrate the chat button into a simple HTML page:
```html theme={null}
Click the chat button in the bottom right to get help.
``` ## Versions The widget is hosted on our CDN at `https://cdn.dialai.ca/v1/esm/{version}/dial-ai.js`. You can find available versions in the [versions manifest](https://cdn.dialai.ca/v1/versions.json). Pin to a specific release version to avoid unexpected changes. ## Internal-Agent embed: page-aware integrations In addition to the customer-facing chat (`renderModal`), the same bundle exposes `renderInternalAgentApp` — used to embed an **internal agent** (back-office assistant) into your own internal tooling. This embed exposes two host-page hooks that let the agent become aware of, and act on, the page it's running inside. ### `onNavigate` — let the agent drive page navigation When an agent tool result includes the field `X-DialAI-Navigation-Path`, the widget invokes your `onNavigate(path)` callback. Use this to wire the agent into your app's router so the agent can say "I've opened the customer record for you" and actually open it. ```html theme={null} ``` The callback fires exactly once per tool completion that contains a navigation path. The path is a string — the host decides how to interpret it (absolute URL, relative route, anchor). If `onNavigate` is omitted, navigation results are silently ignored. ### `onMessageSend` — inject page context with every user message Before each user message is sent to the agent, the widget calls your `onMessageSend()` callback. Return `{ contextAdditions: string }` and the string is appended to the outgoing user message after a delimiter, so the agent can see what's currently on the page without the user having to type it. ```html theme={null} ``` The widget appends the returned string to the user's message using a `` marker; the agent sees both the original user input and the appended context.