Introduction to Flows
Flows are essential to directing your AI agent’s conversation with customers. Each flow is composed of States and Transitions that guide the agent’s responses based on customer input. Setting up flows effectively ensures your AI agent can handle various scenarios and provide an optimal customer experience.Step 1: Creating a New Flow
To start, navigate to Build > Flows in the sidebar.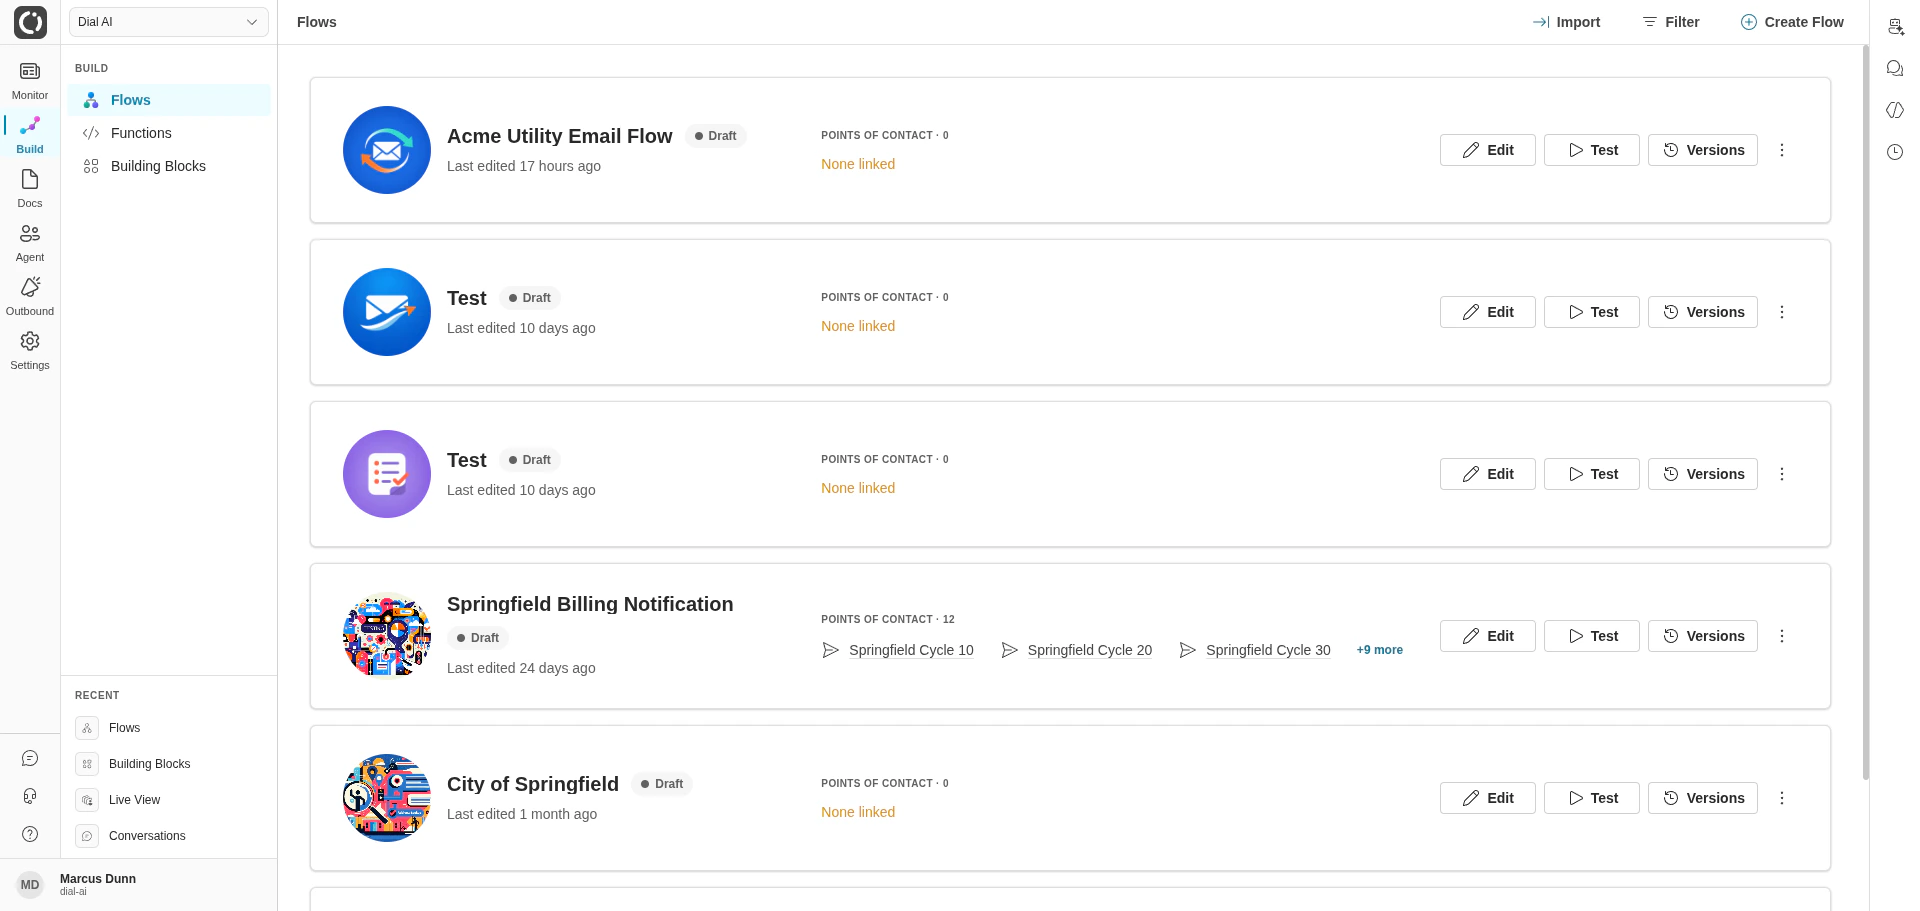
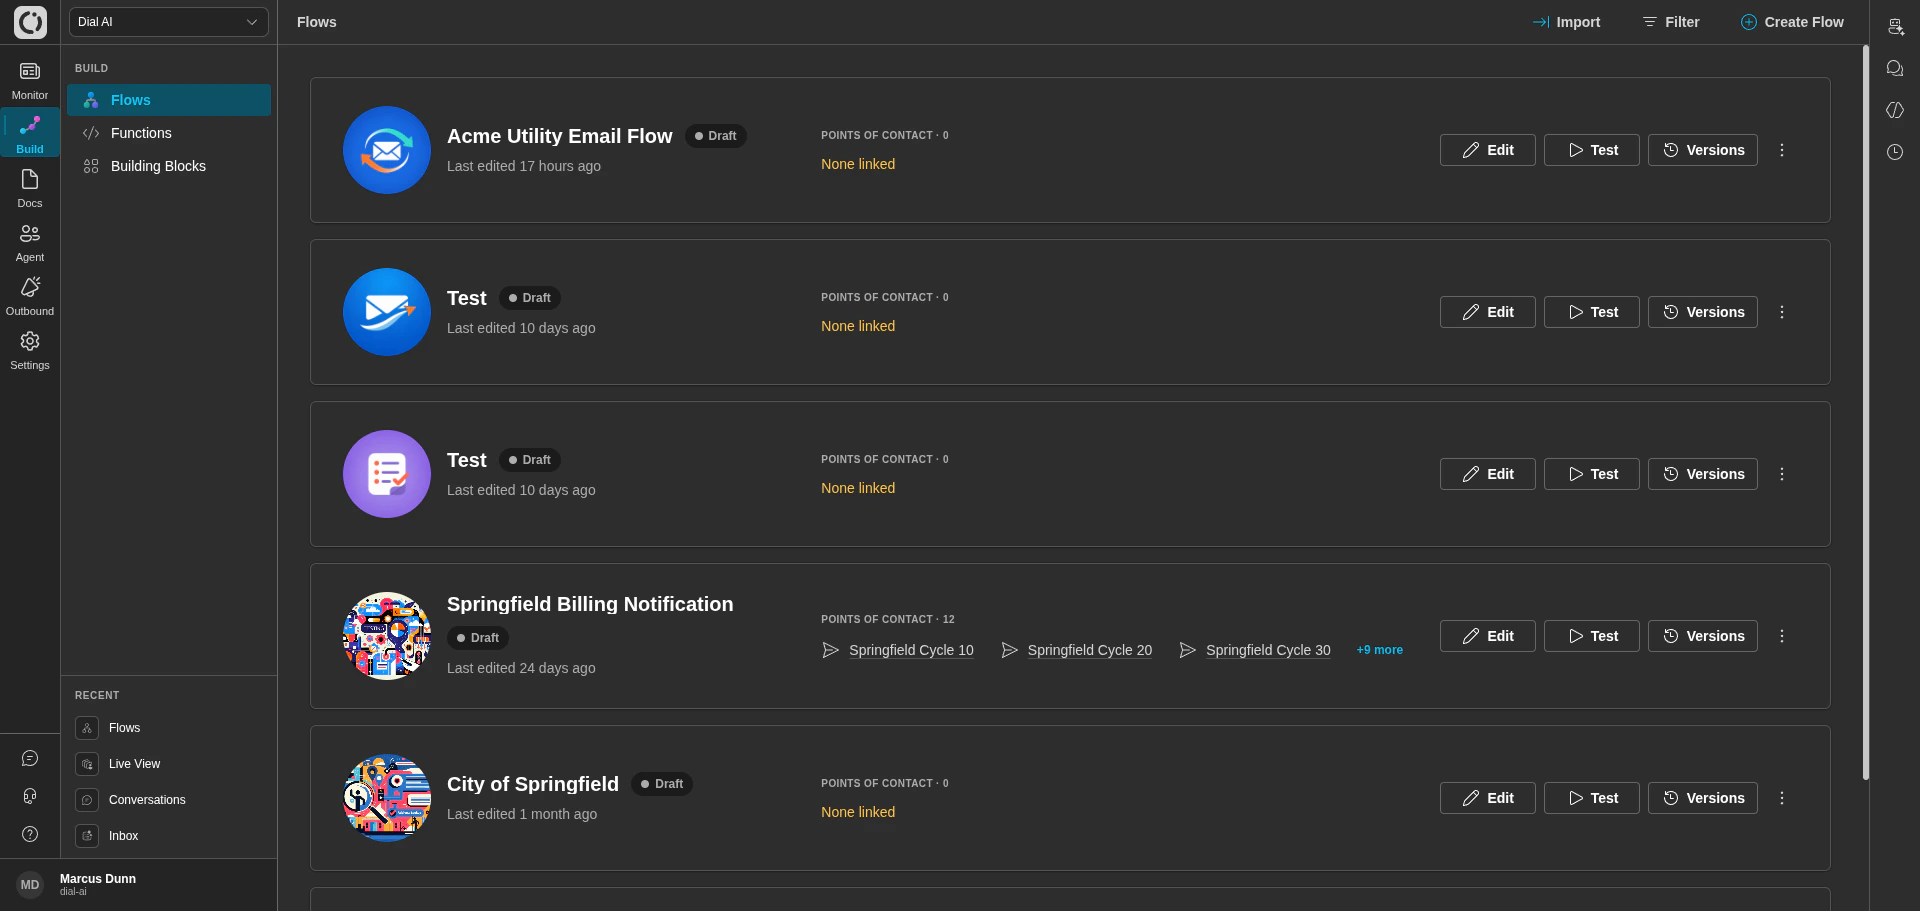
The Flows page — your starting point
- Click Create Flow in the top-right corner.
- Enter a Name and Description for your flow. The name should be something descriptive, like “Car Cleaning Appointment Flow,” to help identify the flow’s purpose.
Step 2: Configuring Flow Settings
On the new flow’s card click More actions > Configure — or open the flow editor and click Configure in the top-right toolbar.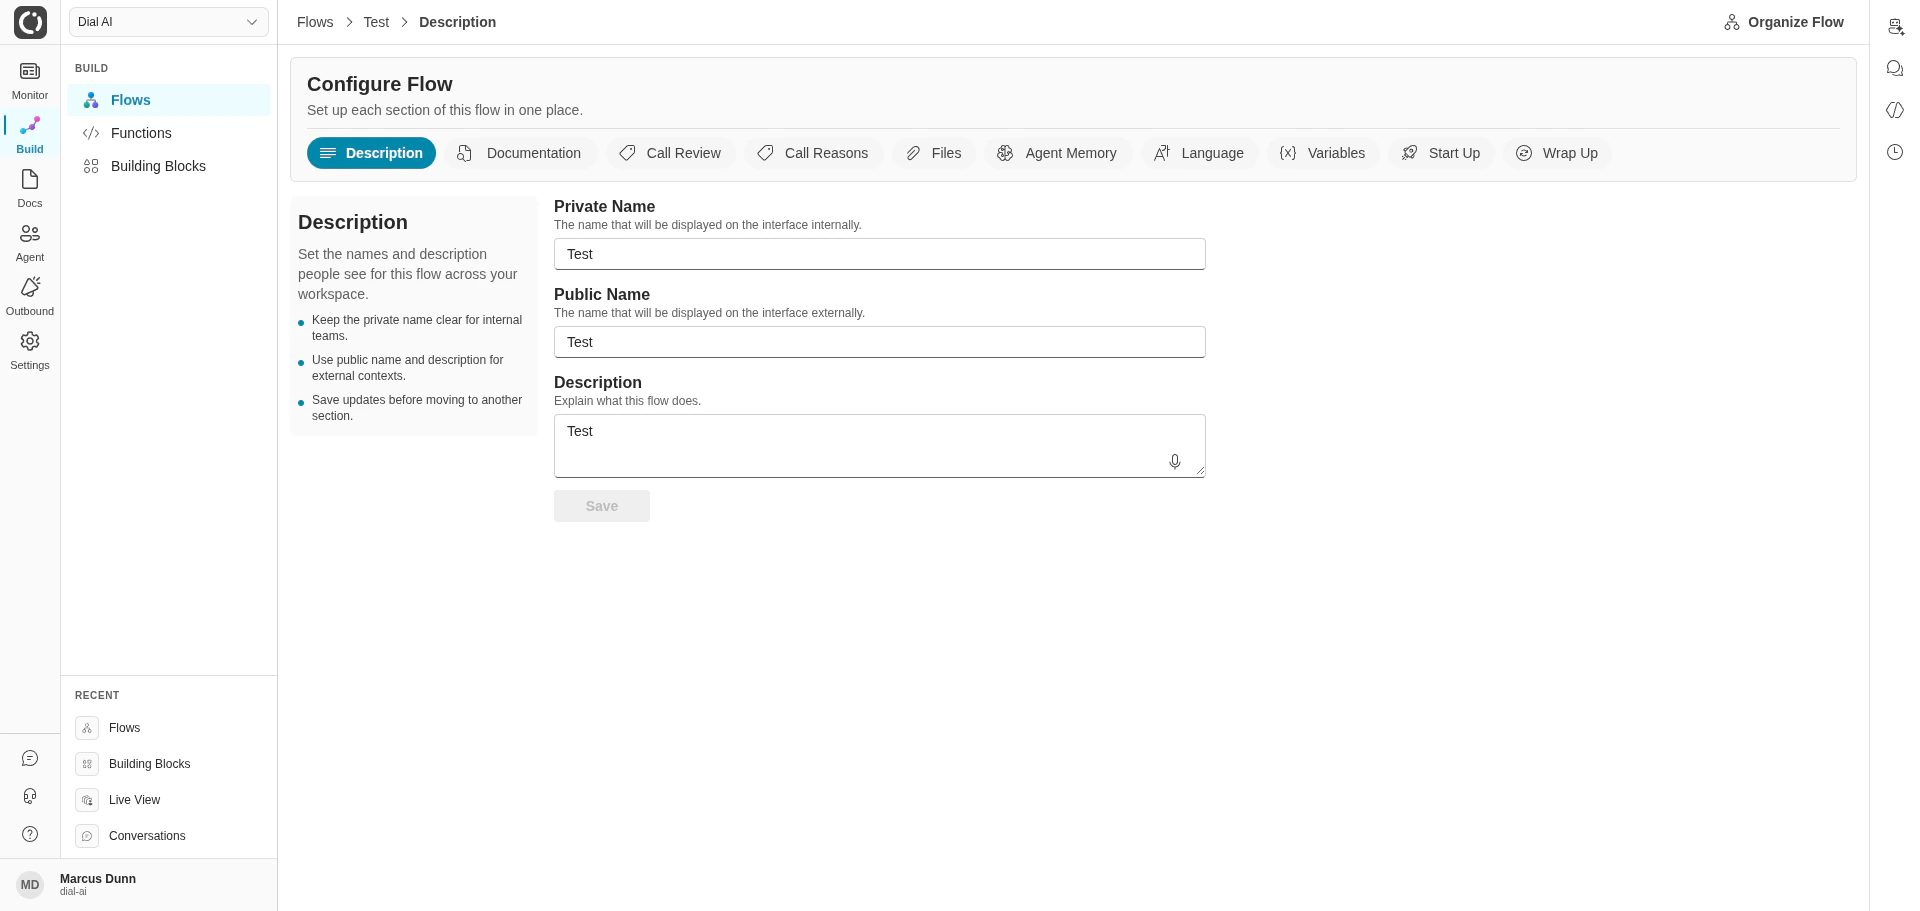
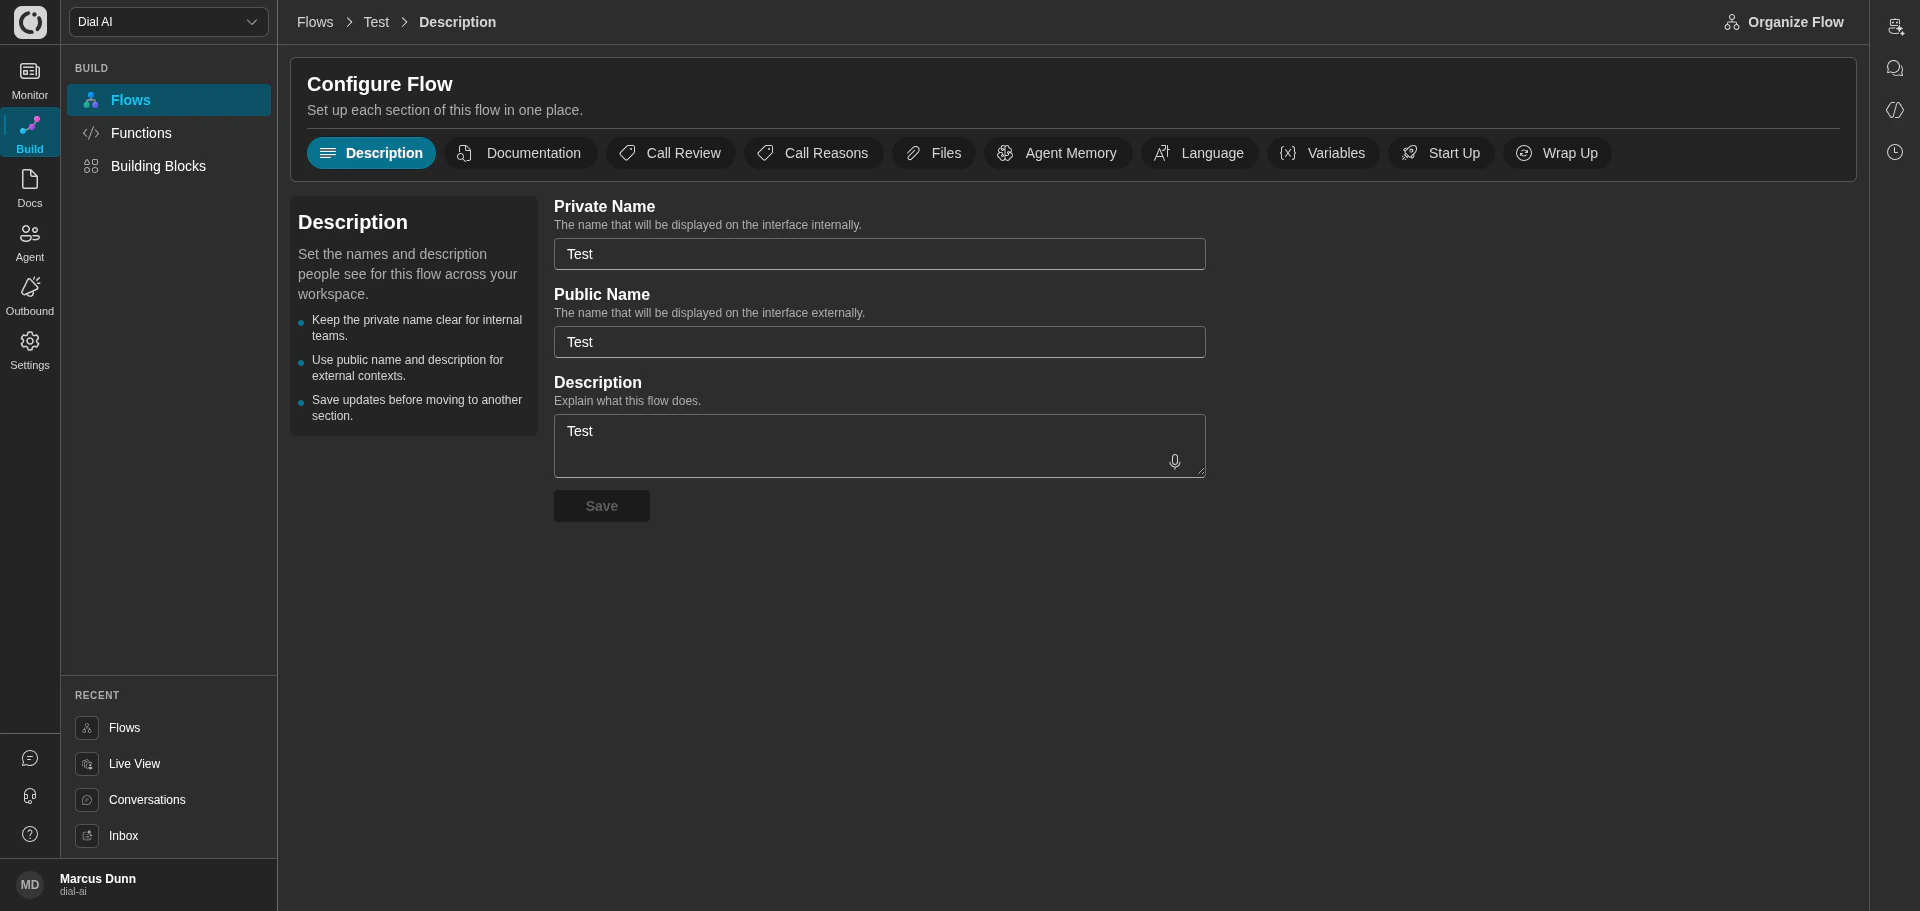
Configure Flow — the Description tab
- Description: Set the Private Name, Public Name, and Description for the flow.
- Documentation: Attach reference documents and FAQs, configure query rewriting, and set how much documentation the AI receives per message.
- Call Review (Beta): Configure how calls are reviewed and flagged.
- Call Reasons: Define the intents the AI may classify a conversation under.
- Files: Upload and manage files (PDF, text, HTML, CSV) attached directly to the flow.
- Agent Memory: Enable or disable long-term memory so the agent can reference past conversations.
- Language: Set the primary language the flow expects from the speaker.
- Variables: Set the AI model, streaming behavior, and static parameter values.
- Start Up: Select functions that run at the beginning of the workflow (e.g., caller ID lookup).
- Wrap Up: Select finalizer functions that run at the end of the conversation (these do not take parameters).
Step 3: Adding and Editing States
Creating the Initial State
The Initial State is where the flow begins. By default, a flow starts with an “Initial” state that you can edit to define how the agent introduces itself or begins the interaction.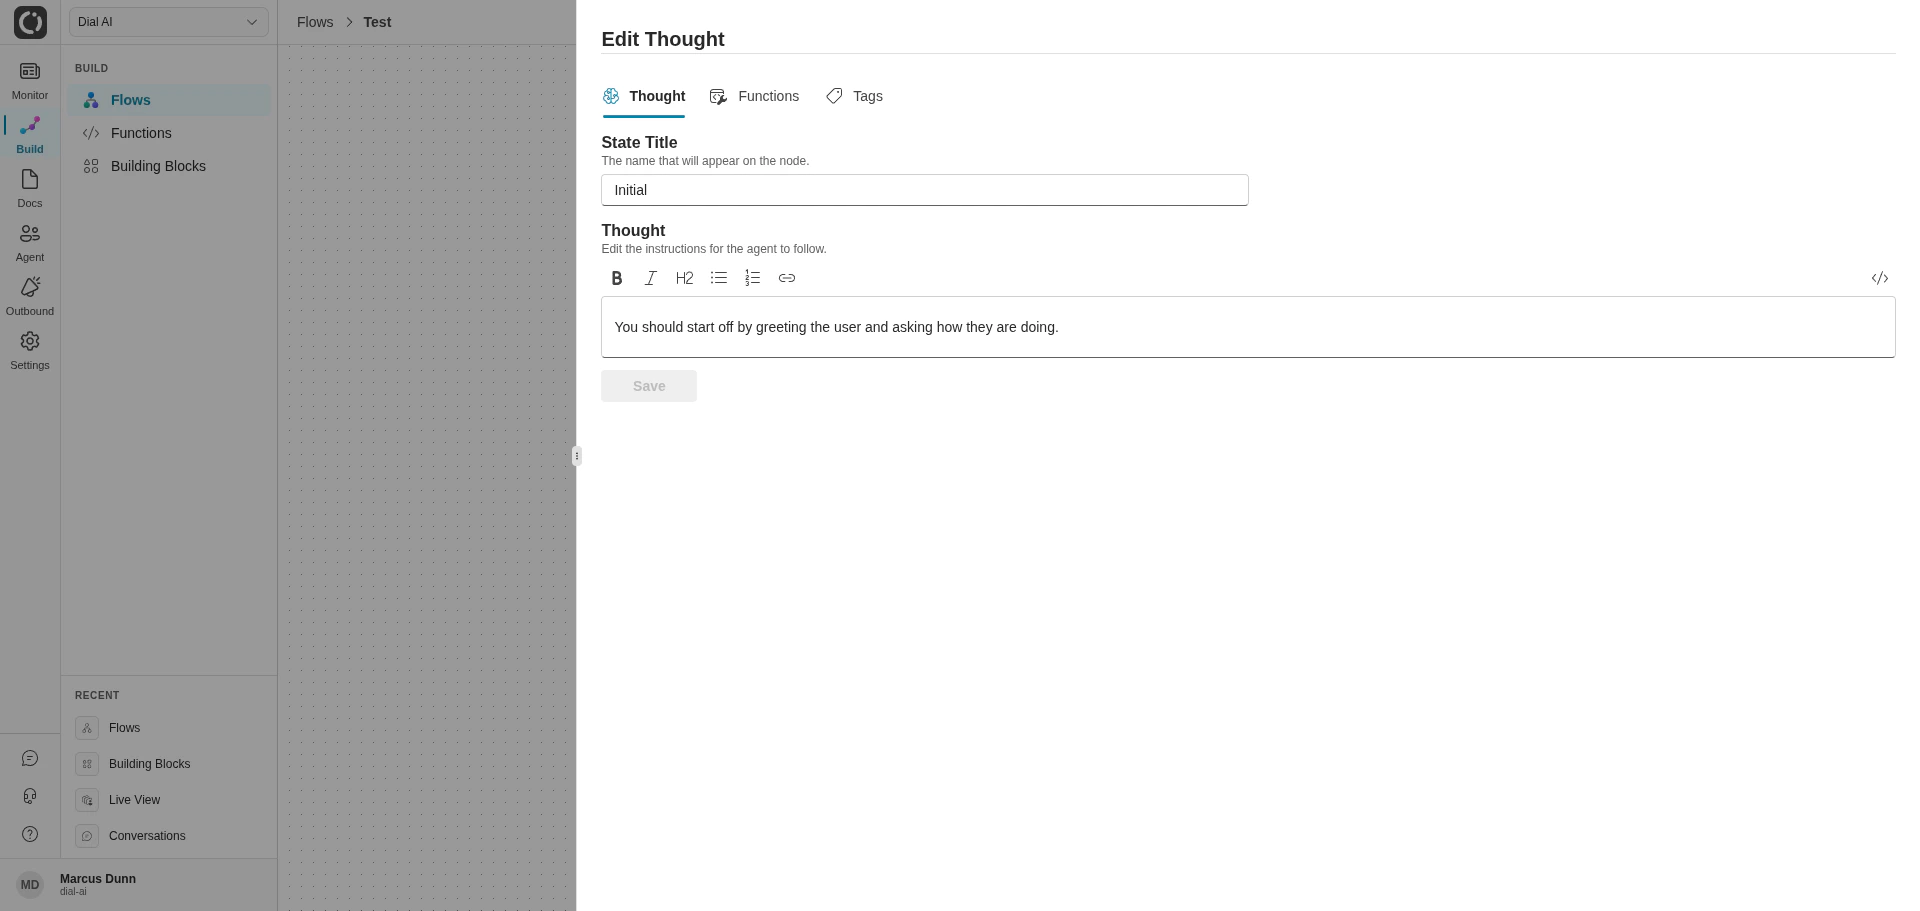
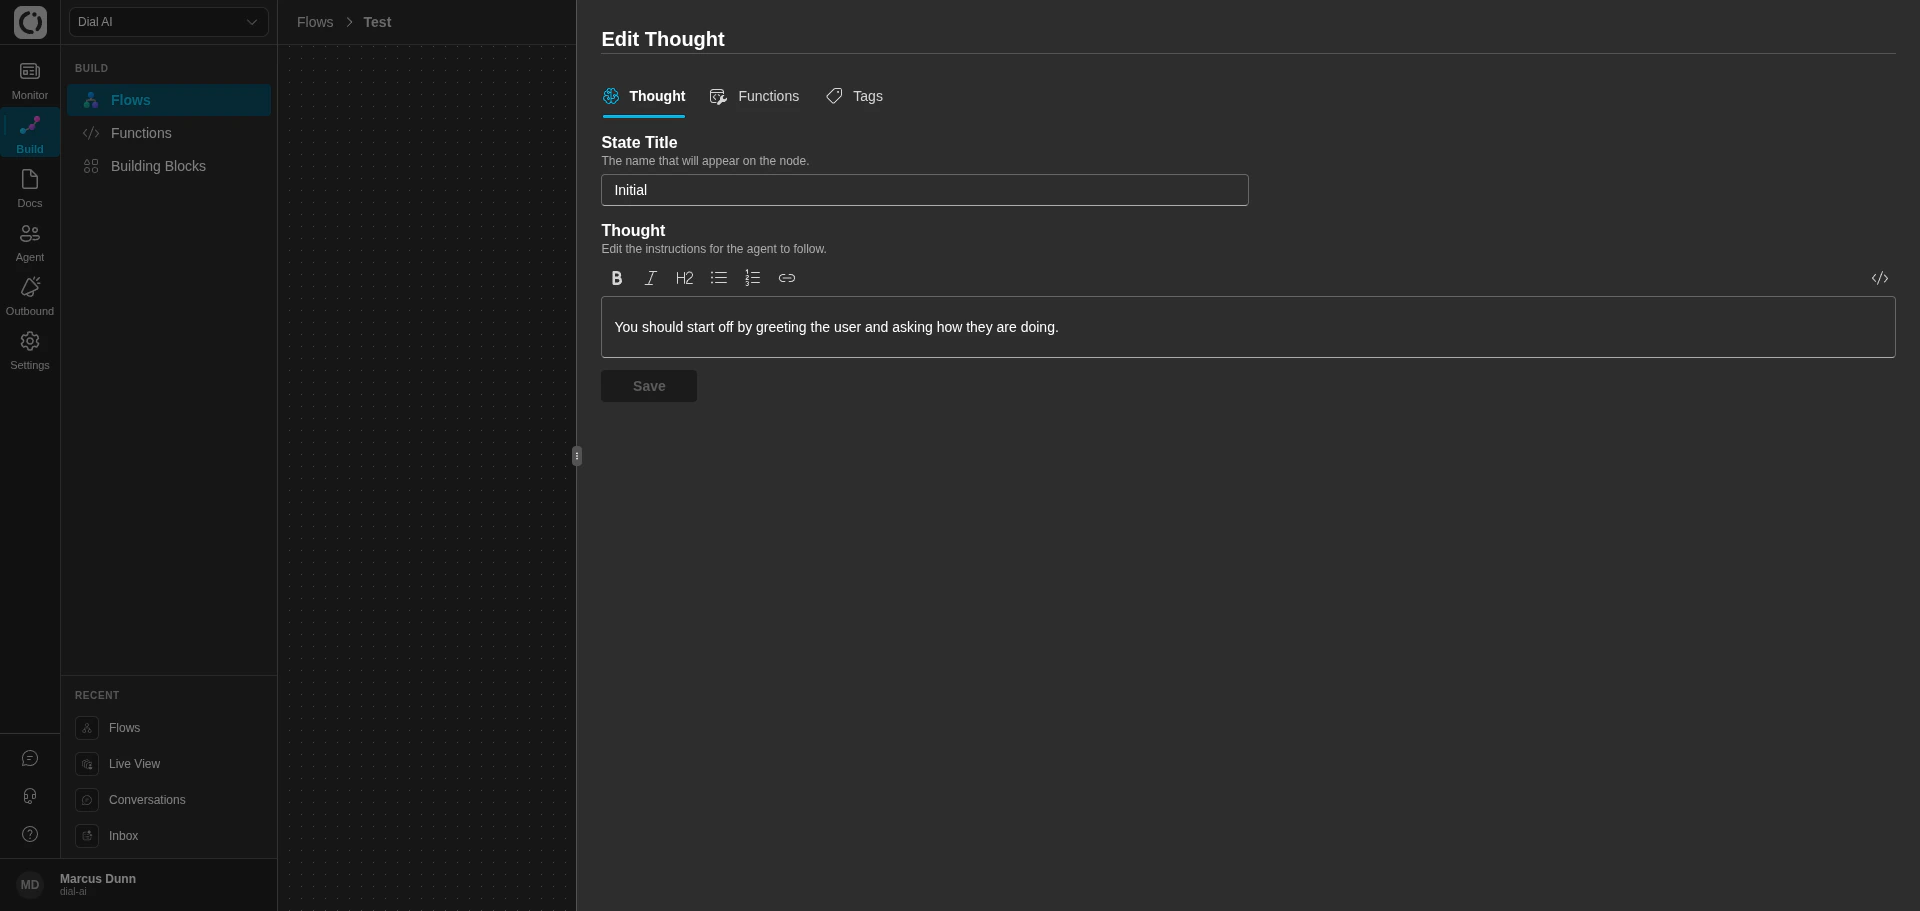
Edit Thought panel — the state editor
- Double-click on the Initial state node to open the Edit Thought panel.
- In the Thought section, enter the instructions that guide the agent’s response. For instance, “Welcome the customer and ask how you can assist with their car cleaning needs.” For an in-depth guide on designing thoughts, see Designing Thoughts.
- Switch to the Functions tab to add any functions (predefined or custom) the agent should perform at this state. For example, if you need the agent to verify customer information, attach a relevant function.
- Switch to the Tags tab to assign tags. Tags help categorize and visually group states in the flow.
Step 4: Adding More States
Each additional state lets you structure the conversation further, guiding the agent based on customer responses.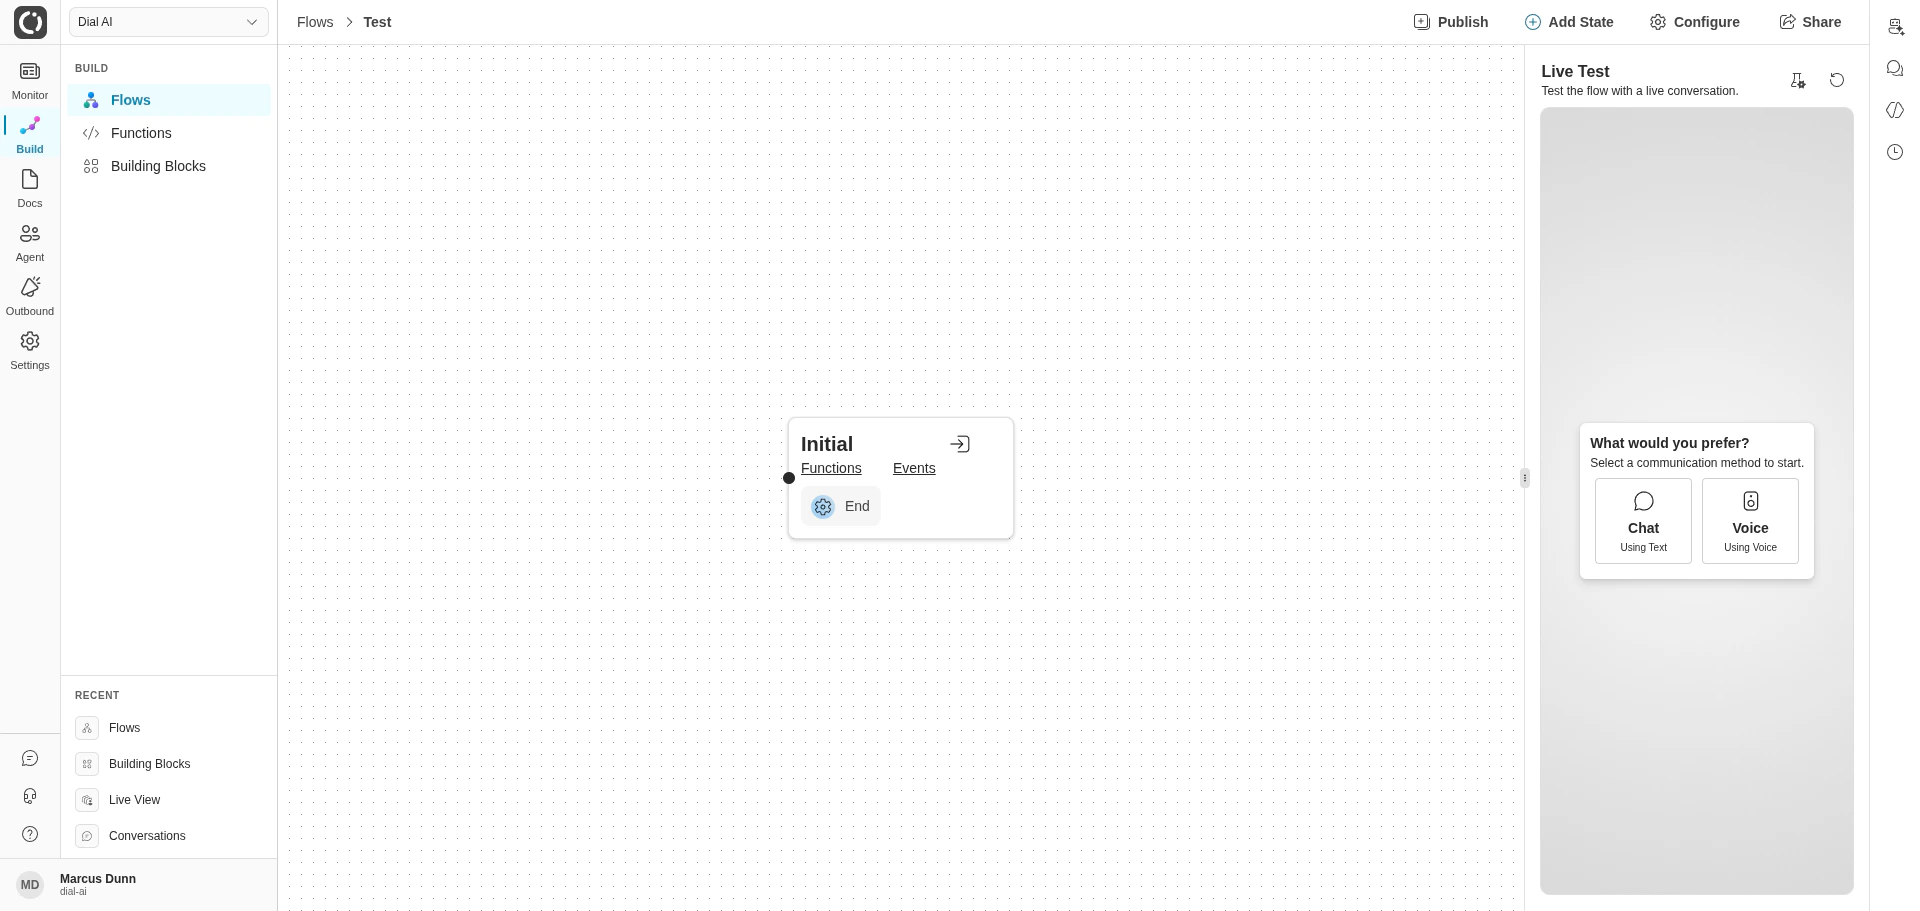
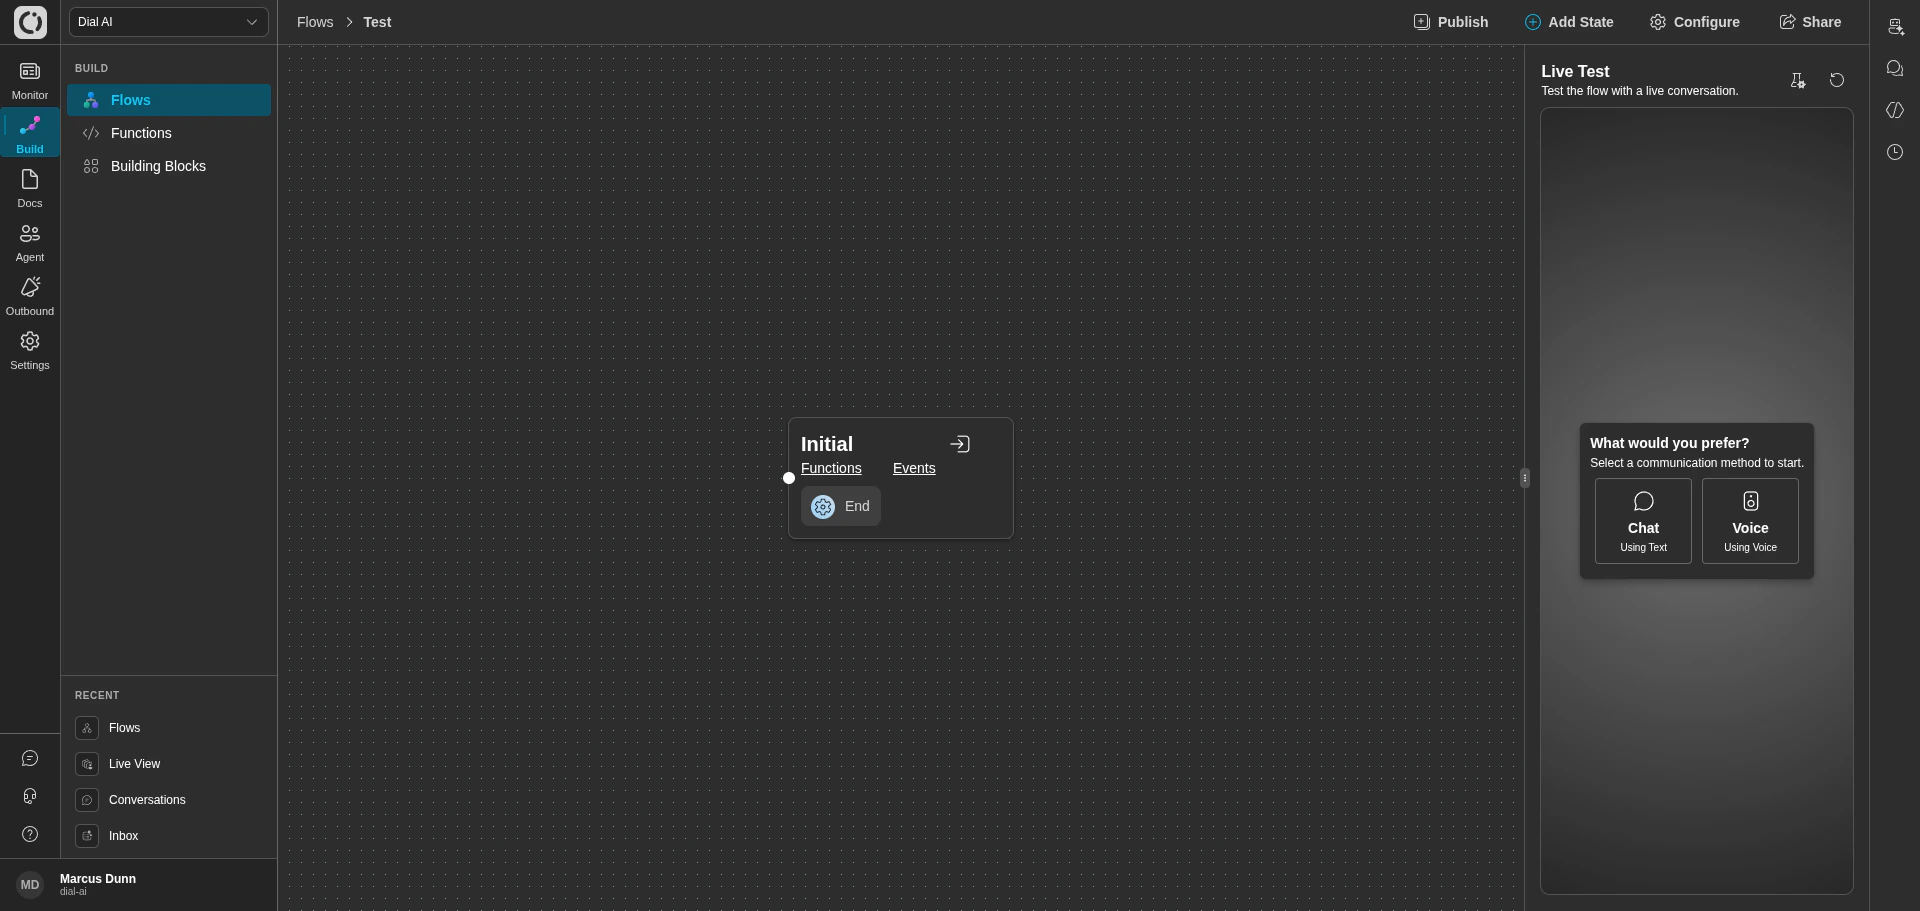
Flow editor with the Initial state — Add State button visible top-right
- Click Add State in the top-right toolbar.
- Name the state descriptively (e.g., “Confirm Appointment” or “Provide Pricing”).
- Double-click the new state to open the Edit Thought panel and fill in its Thought, Functions, and Tags.
- To delete a state, select it and press Delete.
Step 5: Connecting States with Transitions
Transitions between states are controlled by Events. Events are triggered by function calls. When an event is triggered, the flow moves to the next state based on the event’s conditions.- Drag a line from one state to another to create a transition.
- A dialog will appear to configure the event that triggers the transition. The options are limited to possible events output by the functions of the upstream state.
Step 6: Testing the Flow
Testing is crucial to ensuring your flow behaves as expected. To test:- From the Flows page, click Test on the flow card.
- Choose the channel you want to emulate — Voice, Web, SMS, Email, or Advanced.
- Begin typing responses as if you were the customer to verify that the agent follows the flow correctly.
- Accurate transitions — the flow moves to the correct next state for each customer response.
- Proper function execution — every function attached to a state fires when expected with the right inputs.
- Response clarity — the agent’s language is clear, on-brand, and aligned with your thoughts.
Step 7: Publish the Flow
Publishing creates an immutable version of the flow that Points of Contact can reference, so editing the draft never disrupts production.- Click the Publish button in the top-right of the flow editor.
- Give the version a title and description.
- After publish, the Versions menu on the flow card shows both Current Draft and the new published version.
Step 8: Deploying the Flow
To deploy the flow, you will need to configure a Point-Of-Contact (POC) that connects the flow to a communication channel like Voice, SMS, or Web. Here, you can choose the published version of the flow you wish to deploy. Check out our guide on Creating a Point of Contact for detailed instructions on setting up a POC for your flow.Key Concepts Reference
States
- Definition: A point in the conversation where the AI agent performs actions or gives responses.
- Configuration: Set the Thoughts (instructions) and Functions (actions) to guide the agent’s responses at each stage.
Functions
- Purpose: Functions allow the AI to perform tasks like data retrieval or notifications.
- Customization: Users can create custom functions via webhooks, defining them on external servers.
Parameters
- Types: Normal parameters (passed to functions) and internal parameters (set by functions).
- Usage: Used to maintain data consistency across the flow and perform specific tasks based on the conversation.
Events
- Definition: Triggers that determine when the conversation moves from one state to another.
- Example: An event could move the flow from “Confirm Address” to “Confirm Appointment” once the address is verified.