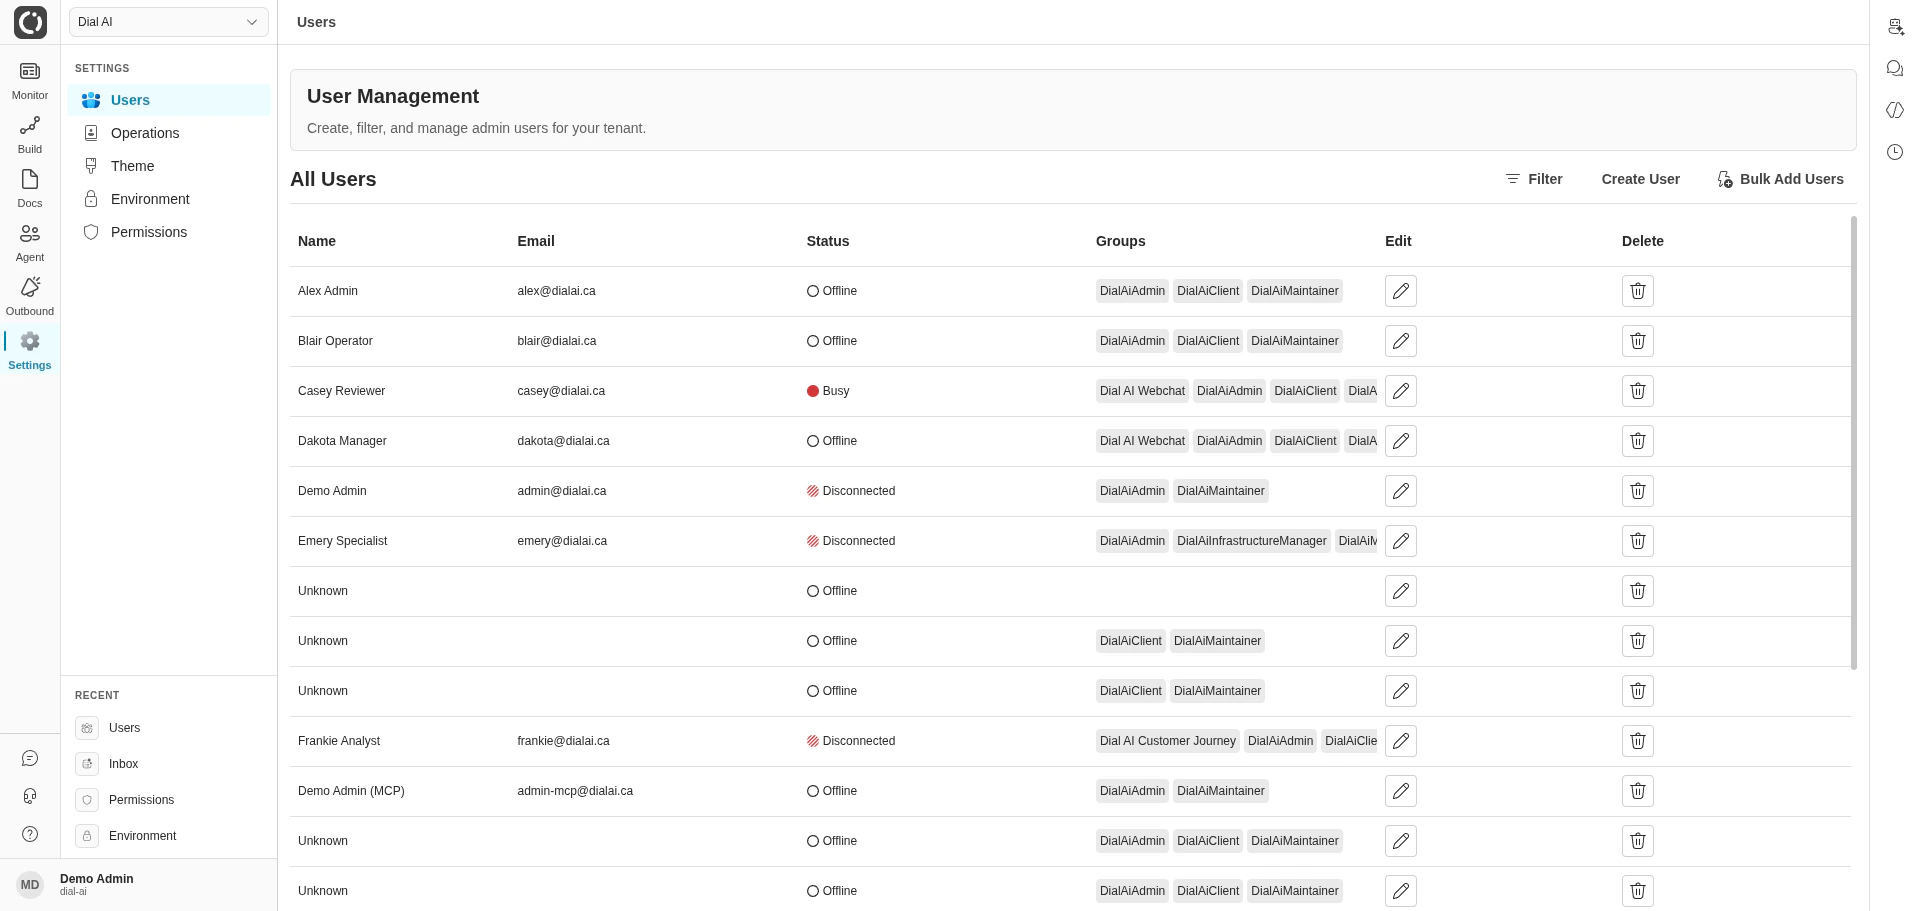
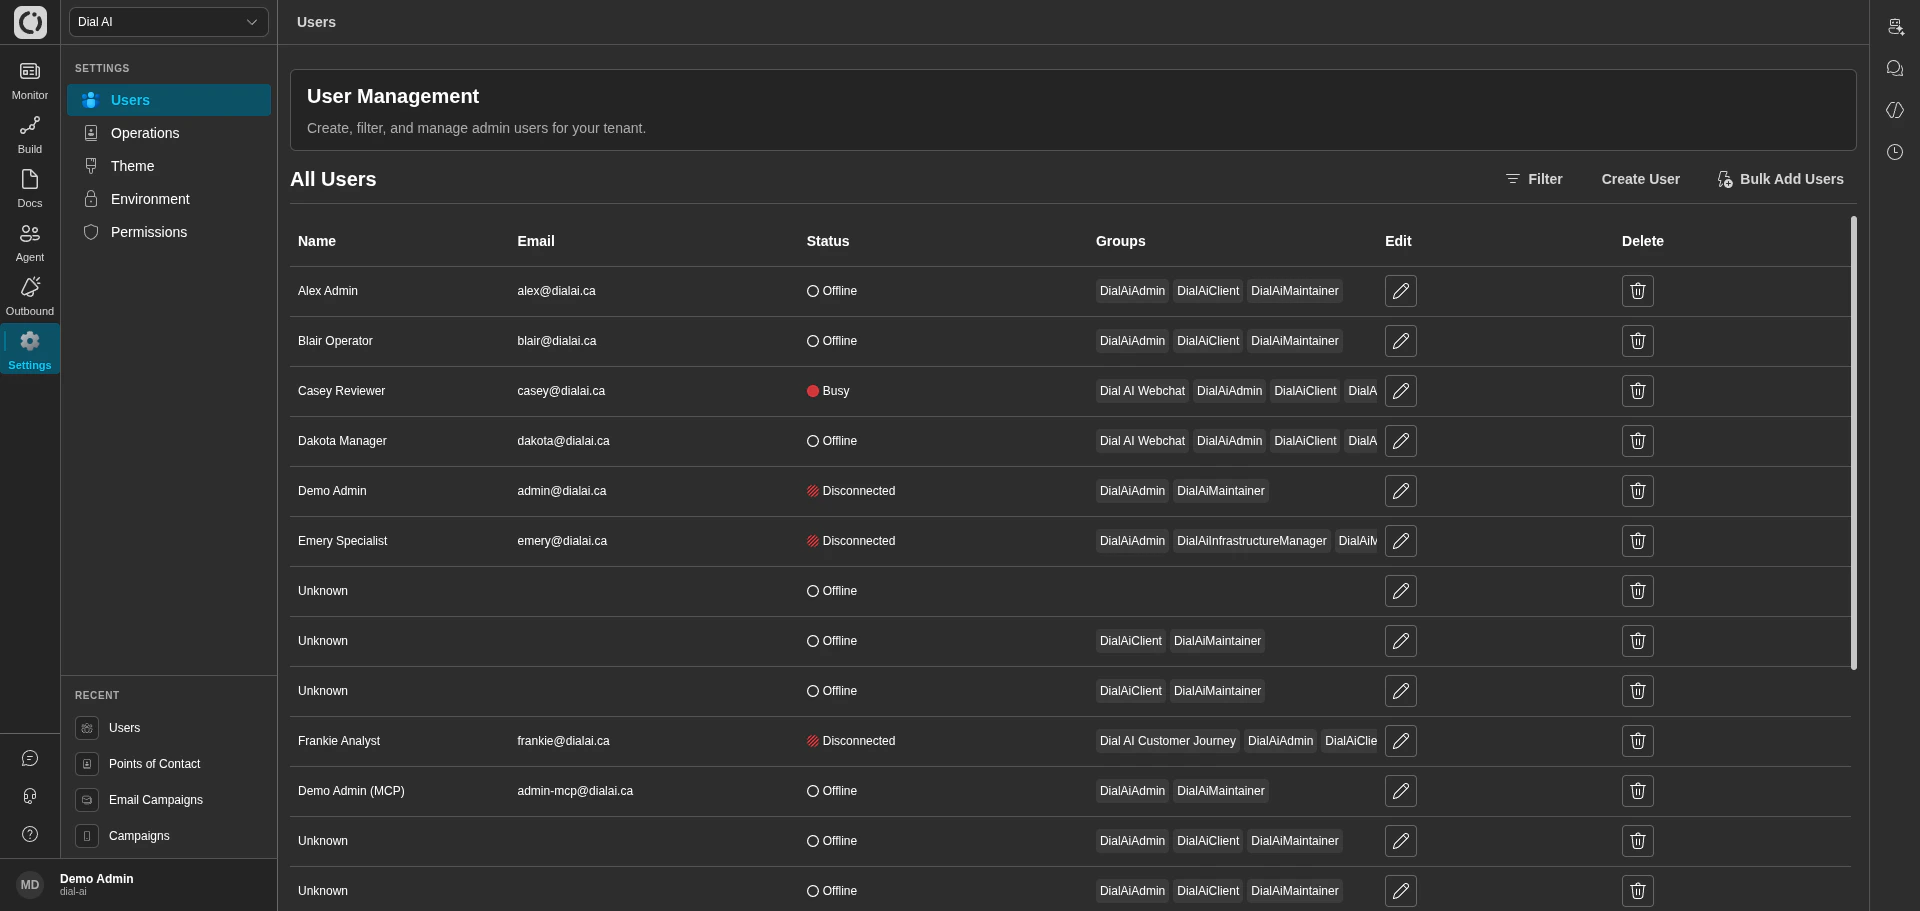
The Users page — operator accounts for your tenant
Accessing Users
Navigate to Settings > Users in the left sidebar.What’s on the page
The users table lists every operator account in your tenant.
Top-right actions:
- Filter — narrow the list by name, email, status, or role.
- Bulk Add Users — onboard many users at once via CSV.
- Create User — open the single-user create form.
Creating a user
1
Click Create User
Opens the create form.
2
Fill in name and email
The email must be unique within the tenant. An invite email with a password-set link is sent automatically.
3
Assign at least one group
Roles drive access. See Permissions for what each role allows.
4
Save
The user appears in the table immediately.
Bulk onboarding
Click Bulk Add Users to provision many accounts at once. Useful when standing up a new team or seeding a fresh tenant.Editing a user
Click the edit (pencil) icon on a row. The drawer exposes:- Groups — add or remove role memberships.
- Status — manually set availability.
- CSR User — flag this account as a human agent eligible for routing.
- Skills — assign Skills used to match handoffs to this user.
- Voice Calls — toggle whether voice calls can be routed to this user.
- Max Chats / Max Emails — concurrency caps (0–10 each).
- Mobile Phone Number — PSTN destination for transferred calls.
De-provisioning
1
Click the delete icon
The confirmation dialog asks you to type the user’s email to confirm.
2
Confirm
The account is soft-deleted — historical reports keep referencing it, but the user can no longer sign in.
Read-only fields
Username, first name, last name, and email are immutable after creation. To change any of these, create a new account and de-provision the old one.What “Disconnected” means
The user’s browser websocket closed without a clean sign-out (tab closed, network drop, sleep). They appear offline to the router until they re-open the app.Related
Permissions
Roles, scopes, and what each role lets a user do.
Personal Configuration
What an individual user can tune for themselves.
Operations: Skills
Define the skills users select for routing.