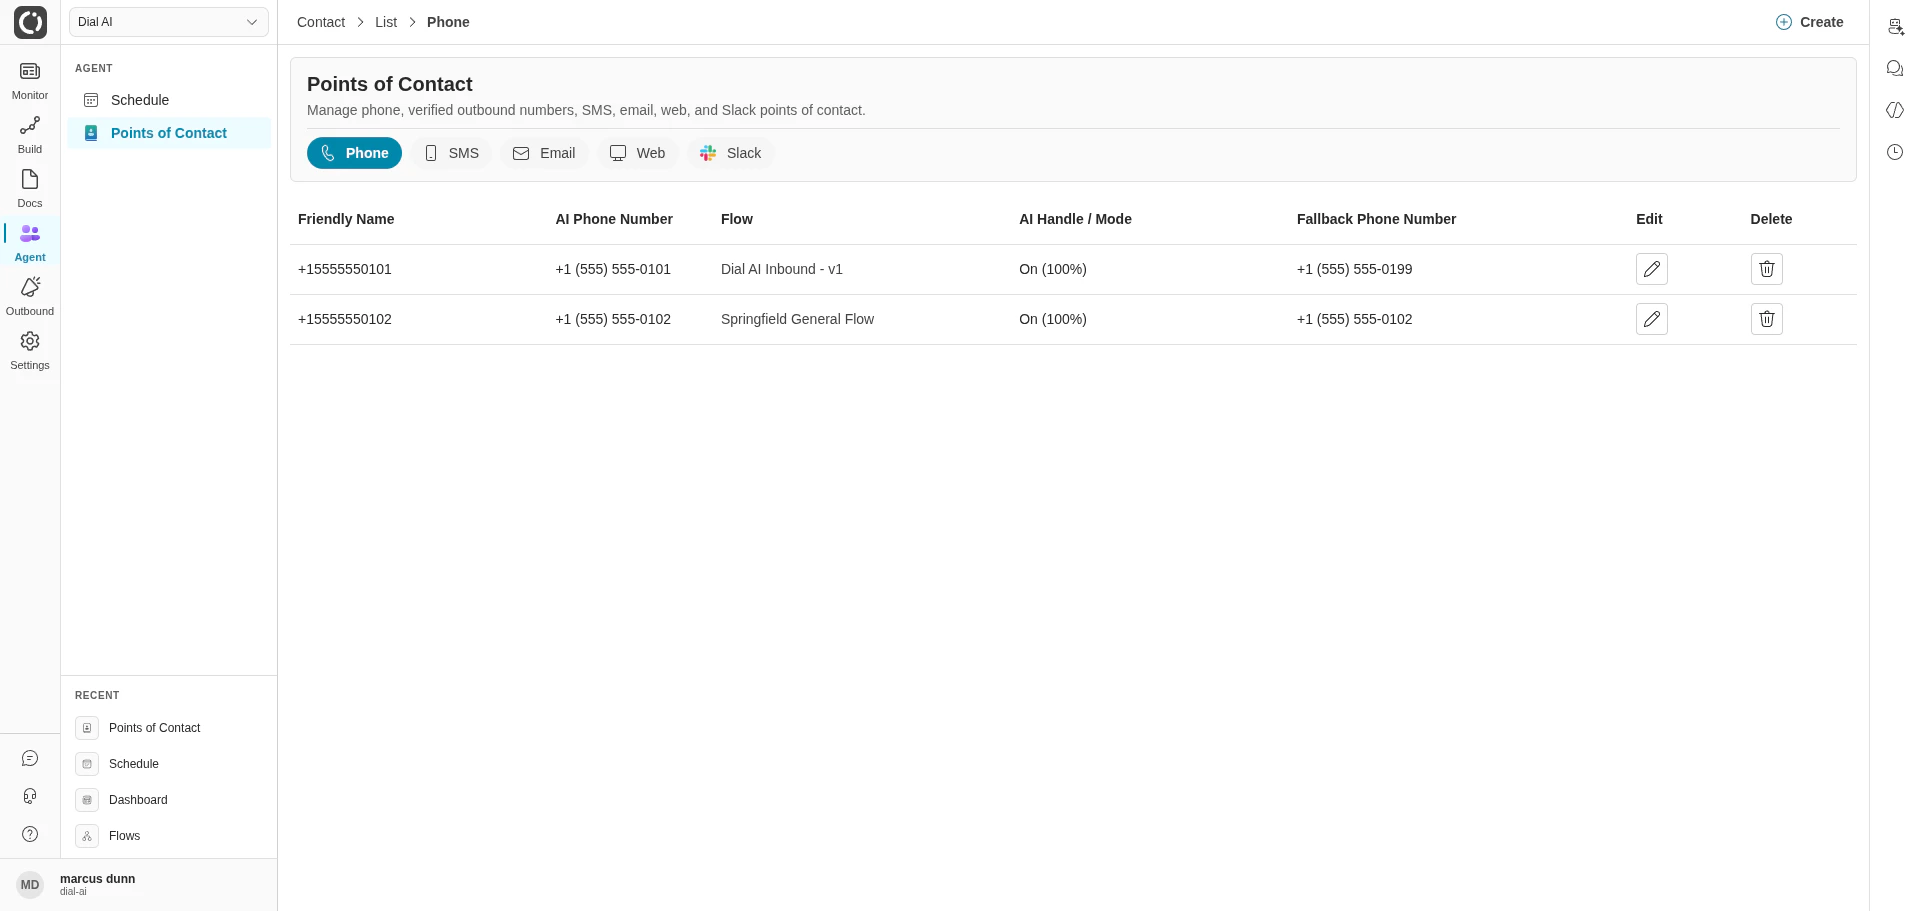
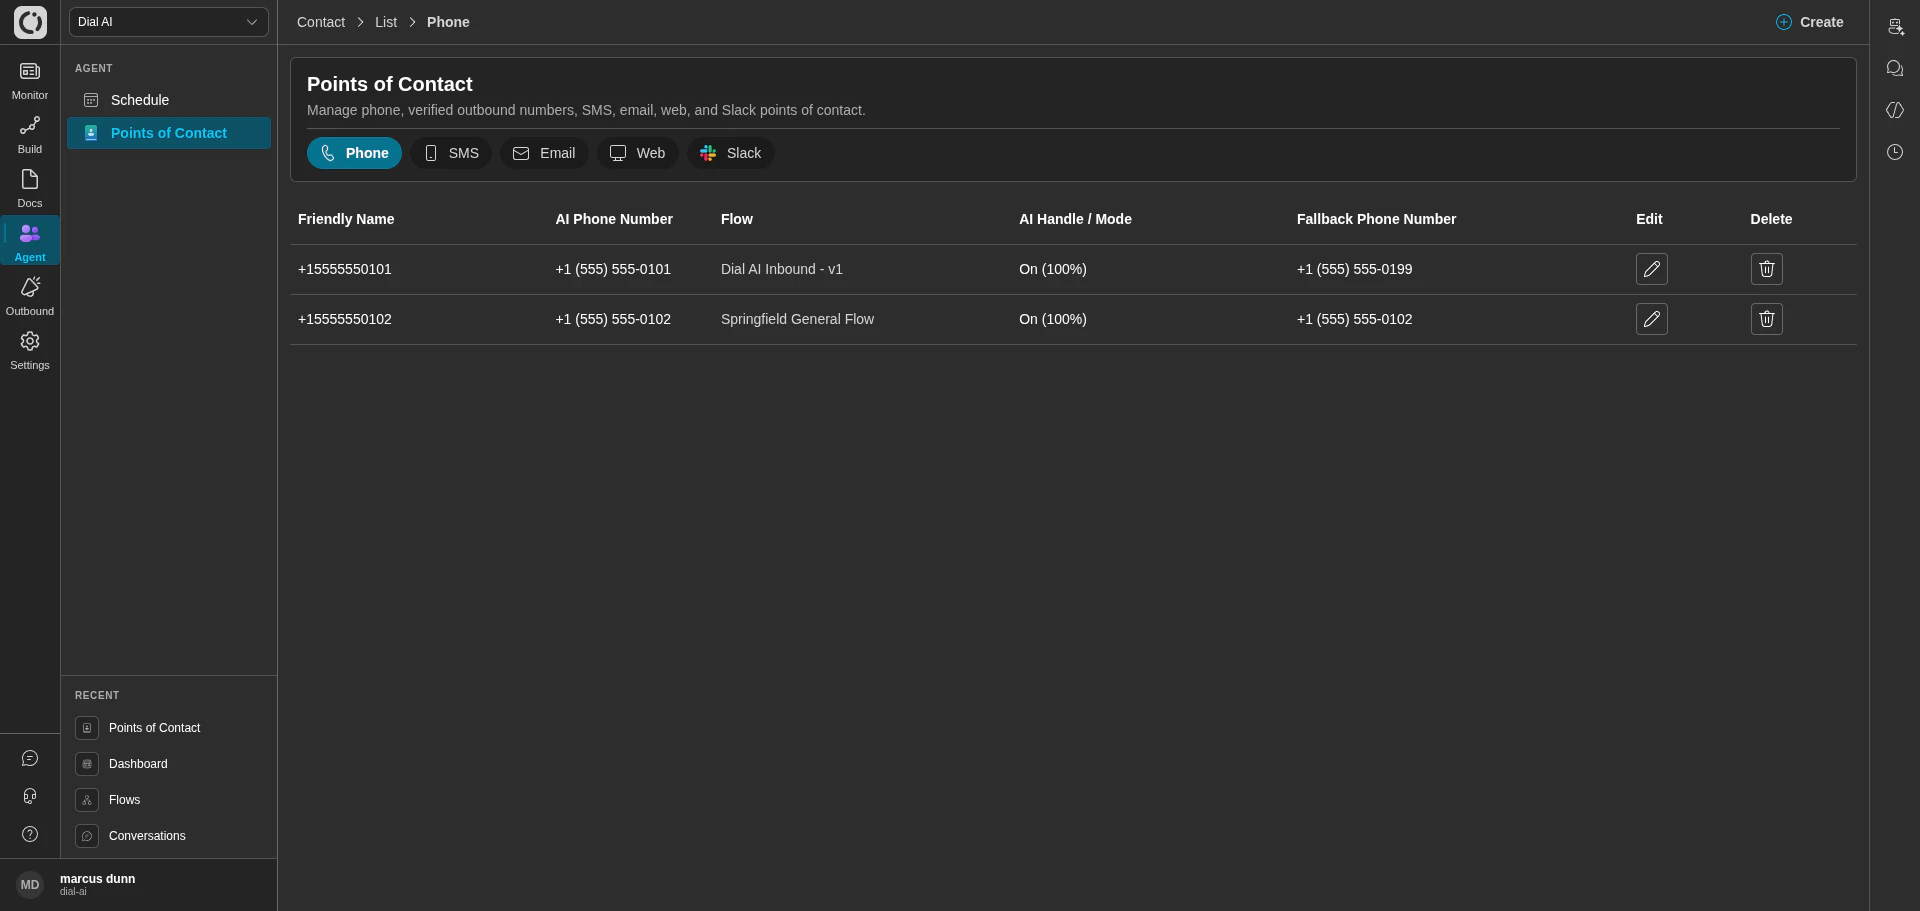
The Points of Contact page — Phone tab
Accessing Points of Contact
Navigate to Agent > Points of Contact in the left sidebar. The page is organized into five tabs, one per channel type: Phone, SMS, Email, Web, Slack.To get new phone numbers or email addresses provisioned, consult your account representative. Only authorized contact points can be added.
Channel tabs
Each tab shows a table of configured POCs with the columns relevant to that channel.Phone
Voice POCs route incoming phone calls to a flow.SMS
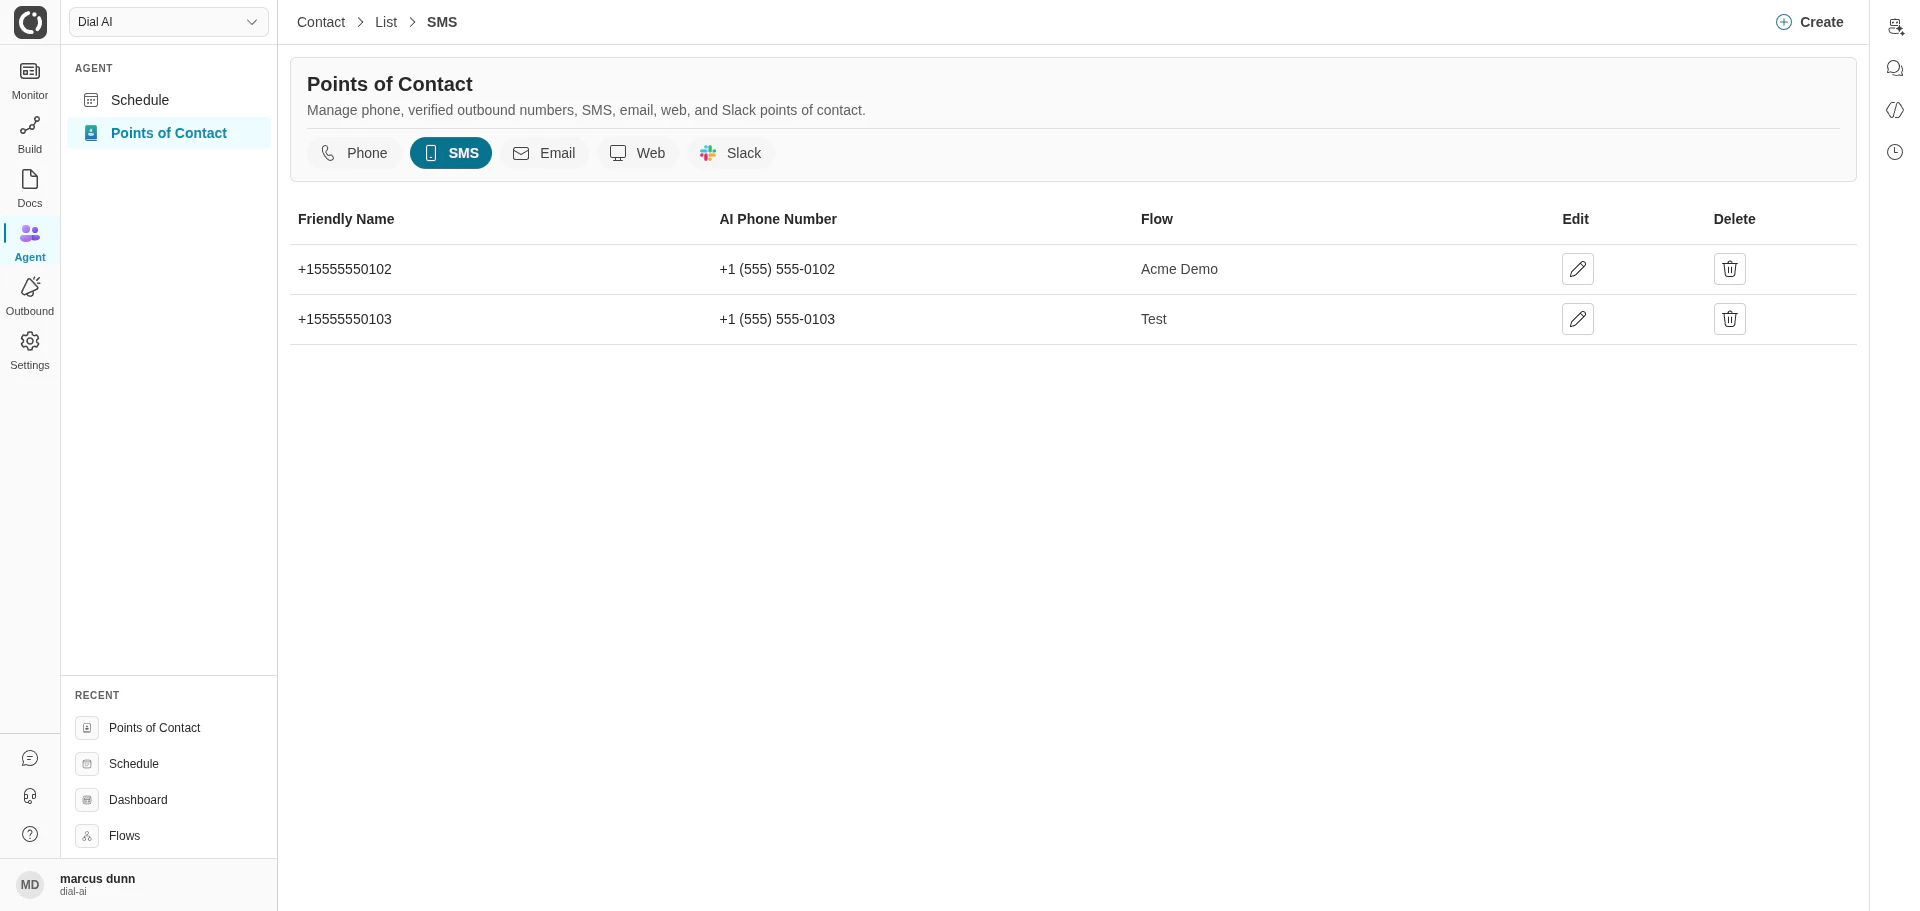
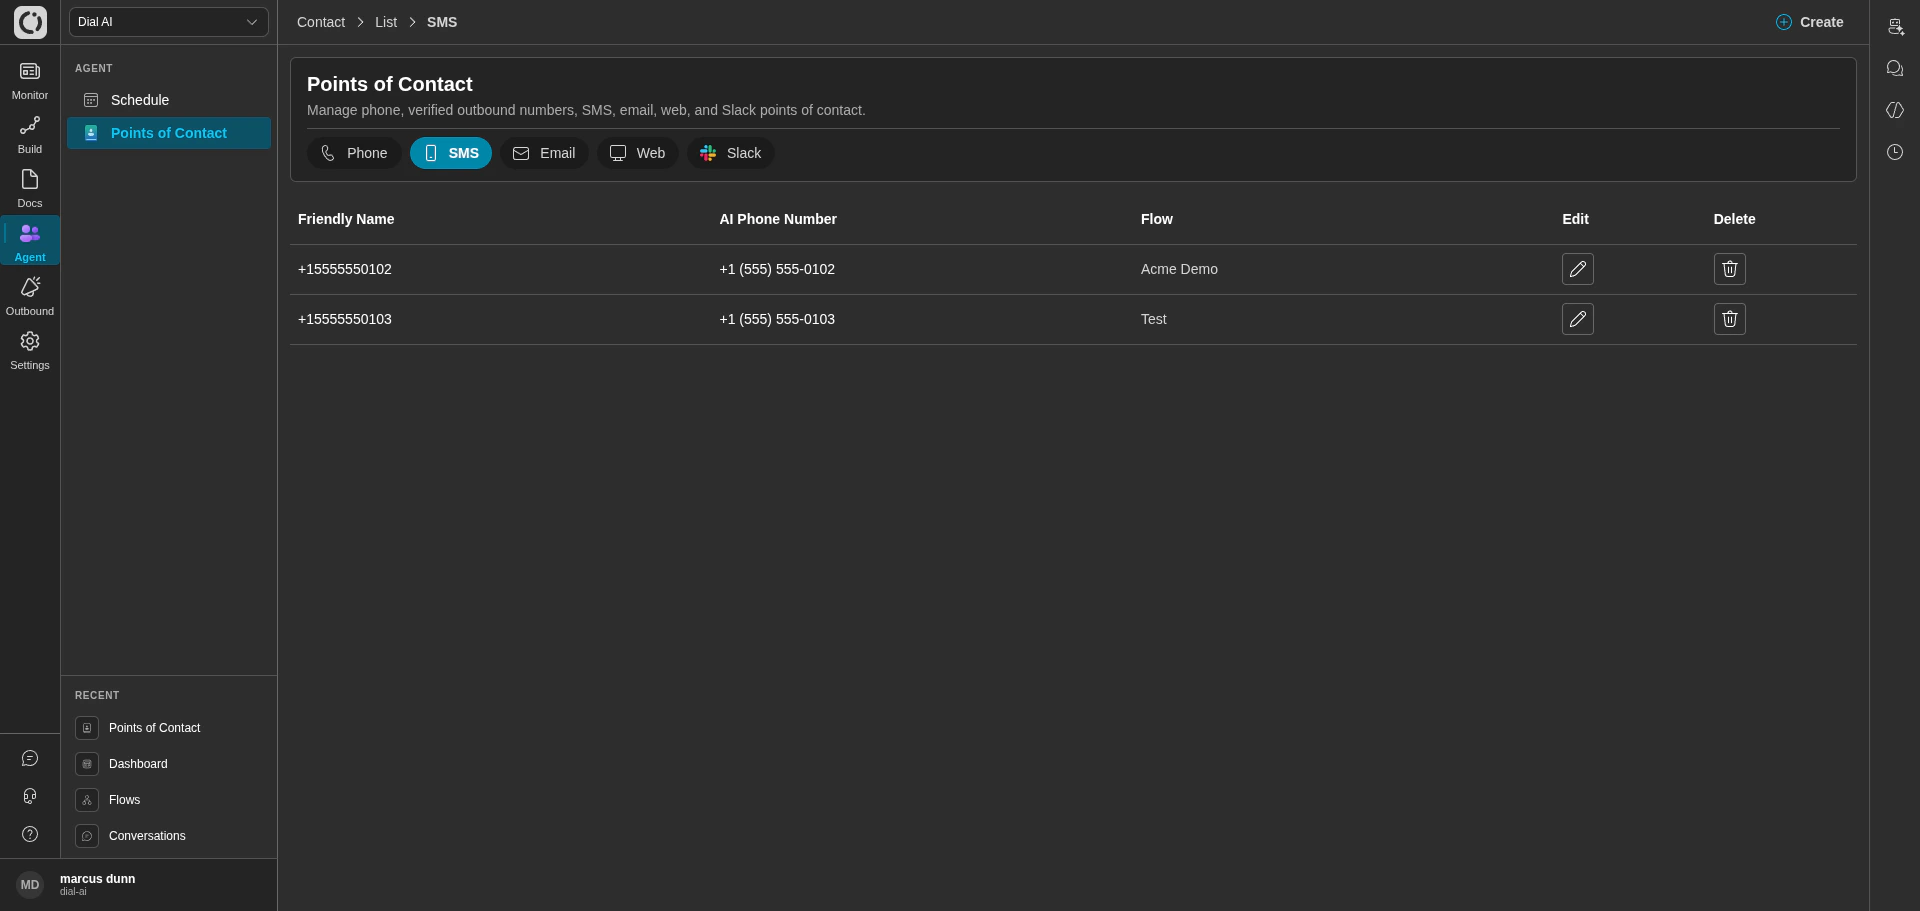
SMS tab — text-messaging POCs
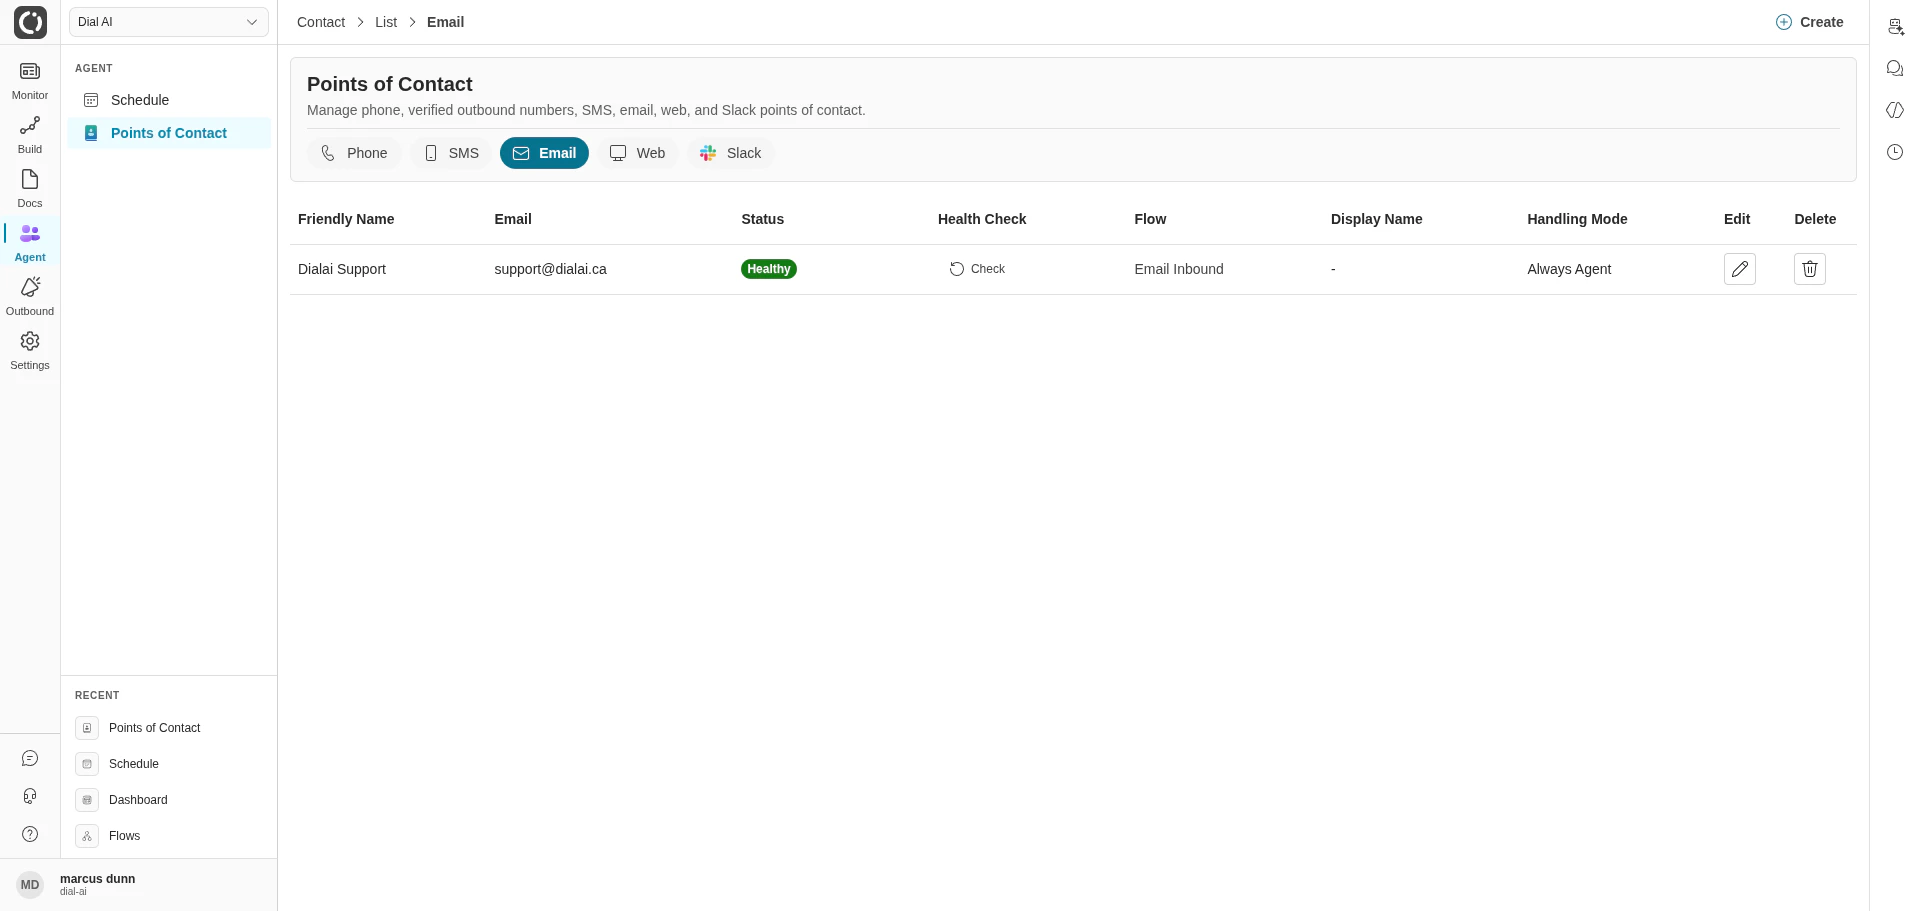
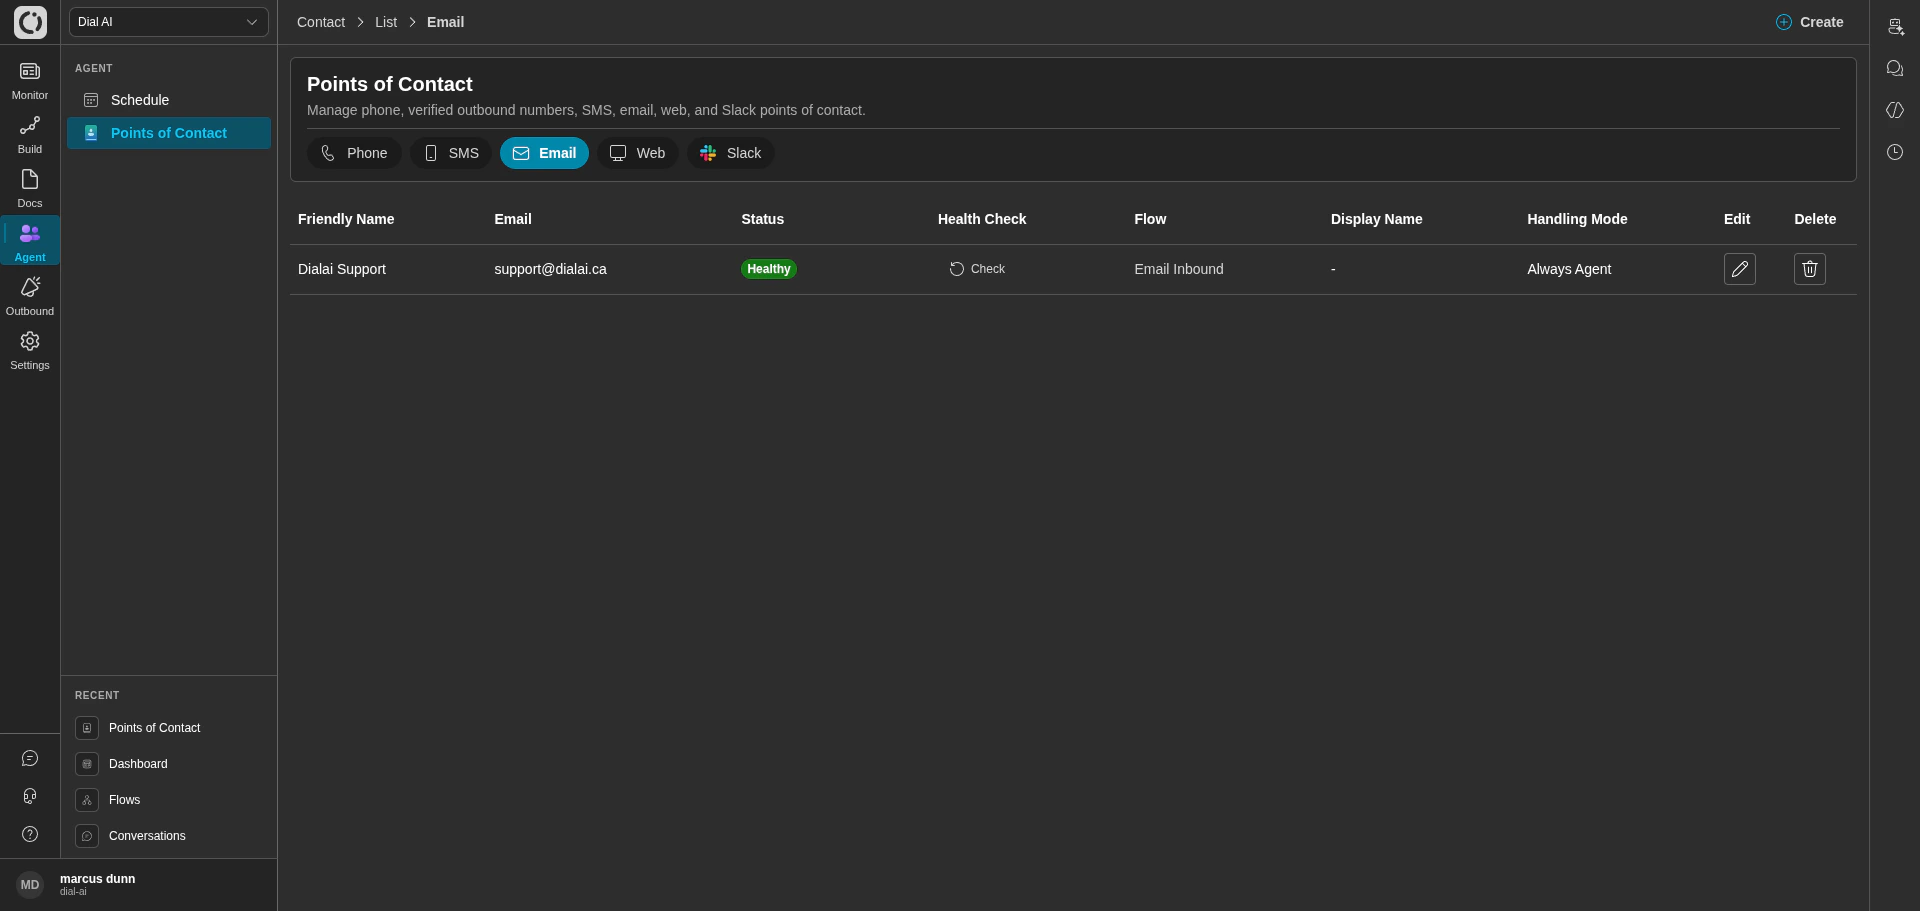
Email tab — inbound email POCs
- Email — the address customers email.
- Status — health indicator for the email connection (e.g., Healthy).
- Health Check — runs a connectivity check against Microsoft Graph or SendGrid.
- Display Name — the name shown in the agent’s outgoing replies.
- Handling Mode — how inbound mail is processed (e.g., Always Agent).
Web
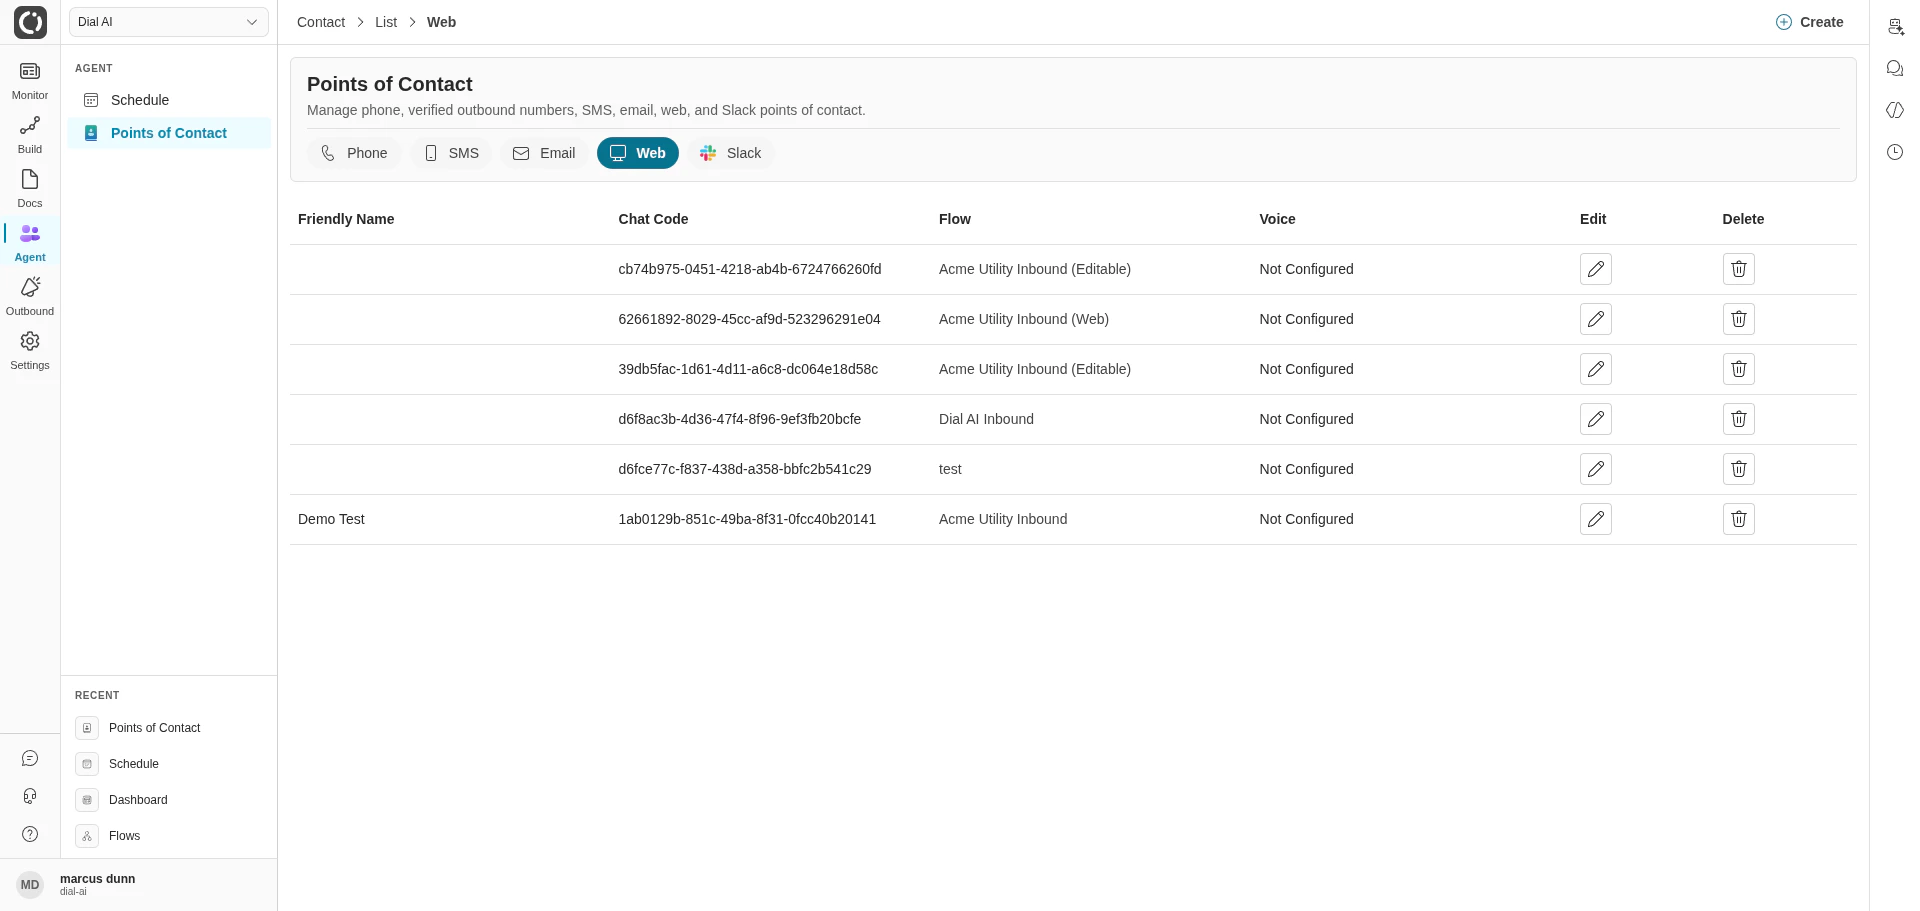
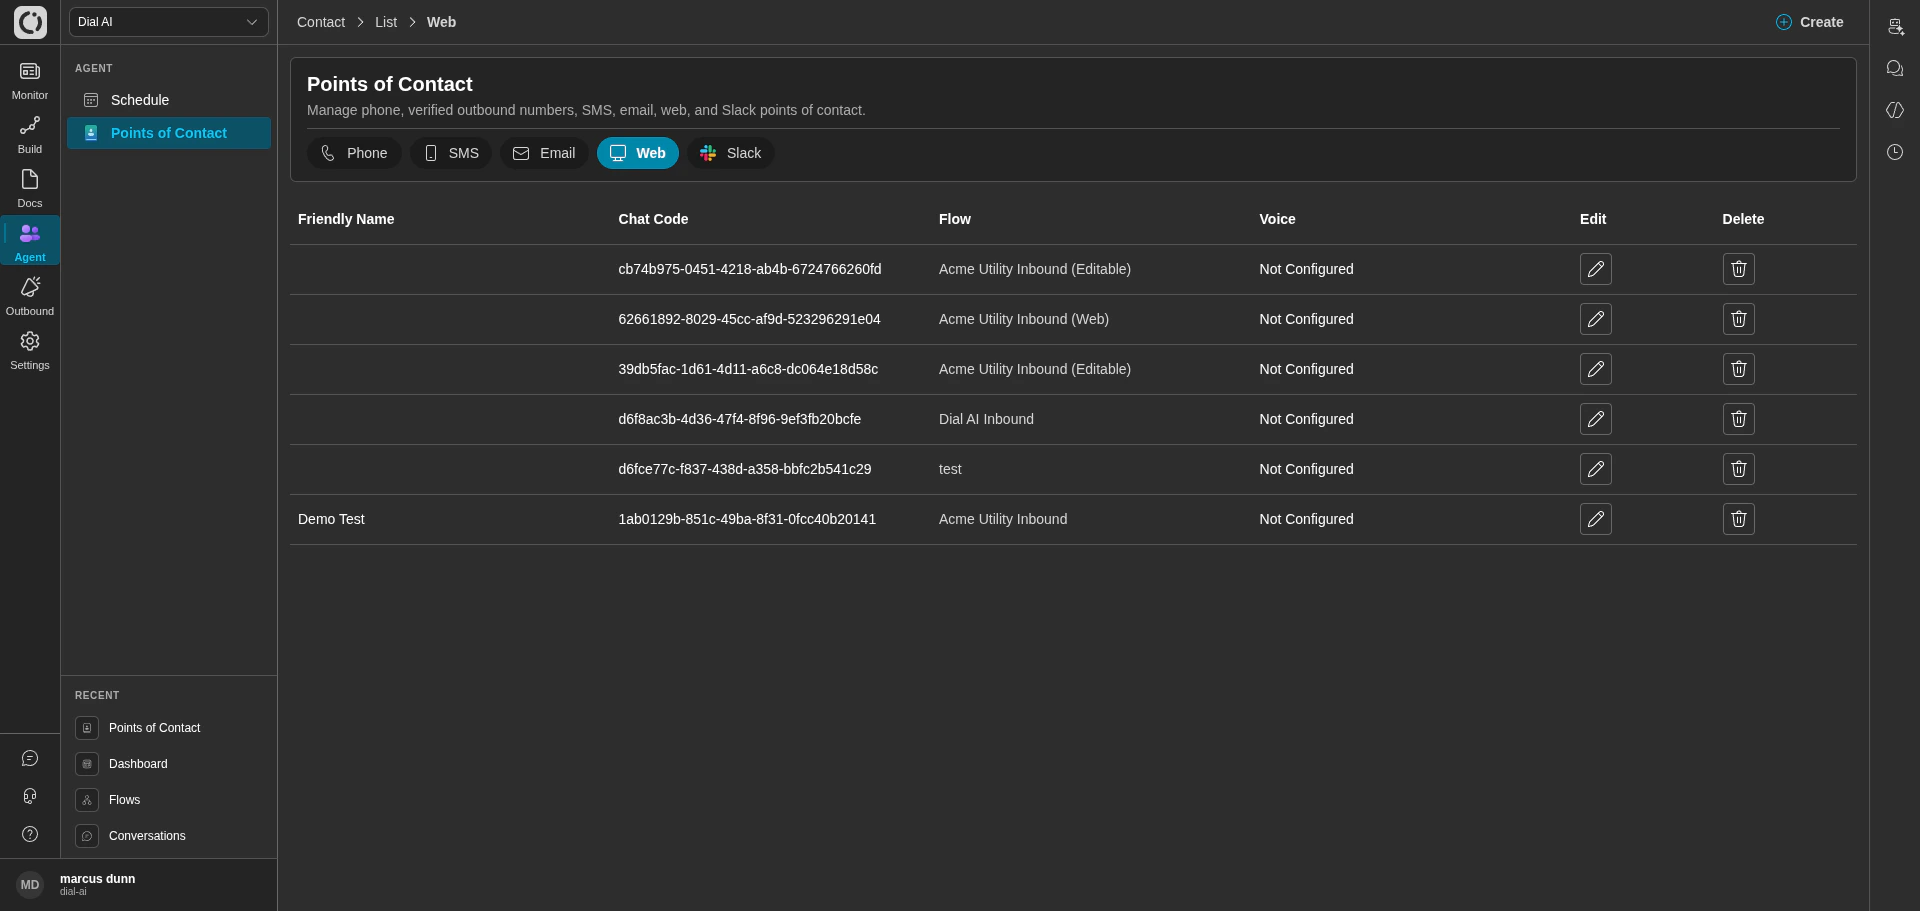
Web tab — web chat widget configurations
Slack
Slack POCs connect a flow to a Slack workspace. Click Create if the tab is empty; the create flow walks you through Slack OAuth.Creating a POC
Click Create in the top-right and pick the channel type. Required fields vary by channel:- Friendly Name — internal label.
- Channel Type — Phone, SMS, Email, Web, or Slack.
- Flow — the flow this POC routes to.
- Phone Number / Email / Chat Code — the channel-specific identifier.
- Environment — Production or Internal Testing.
- For voice channels: Speech to Text Runner, Speech to Text Model, Speech to Text Endpointing, Voice, Background Noise.
Editing a POC
Click the edit (pencil) icon on a row. The Edit Configuration page has three tabs.Details
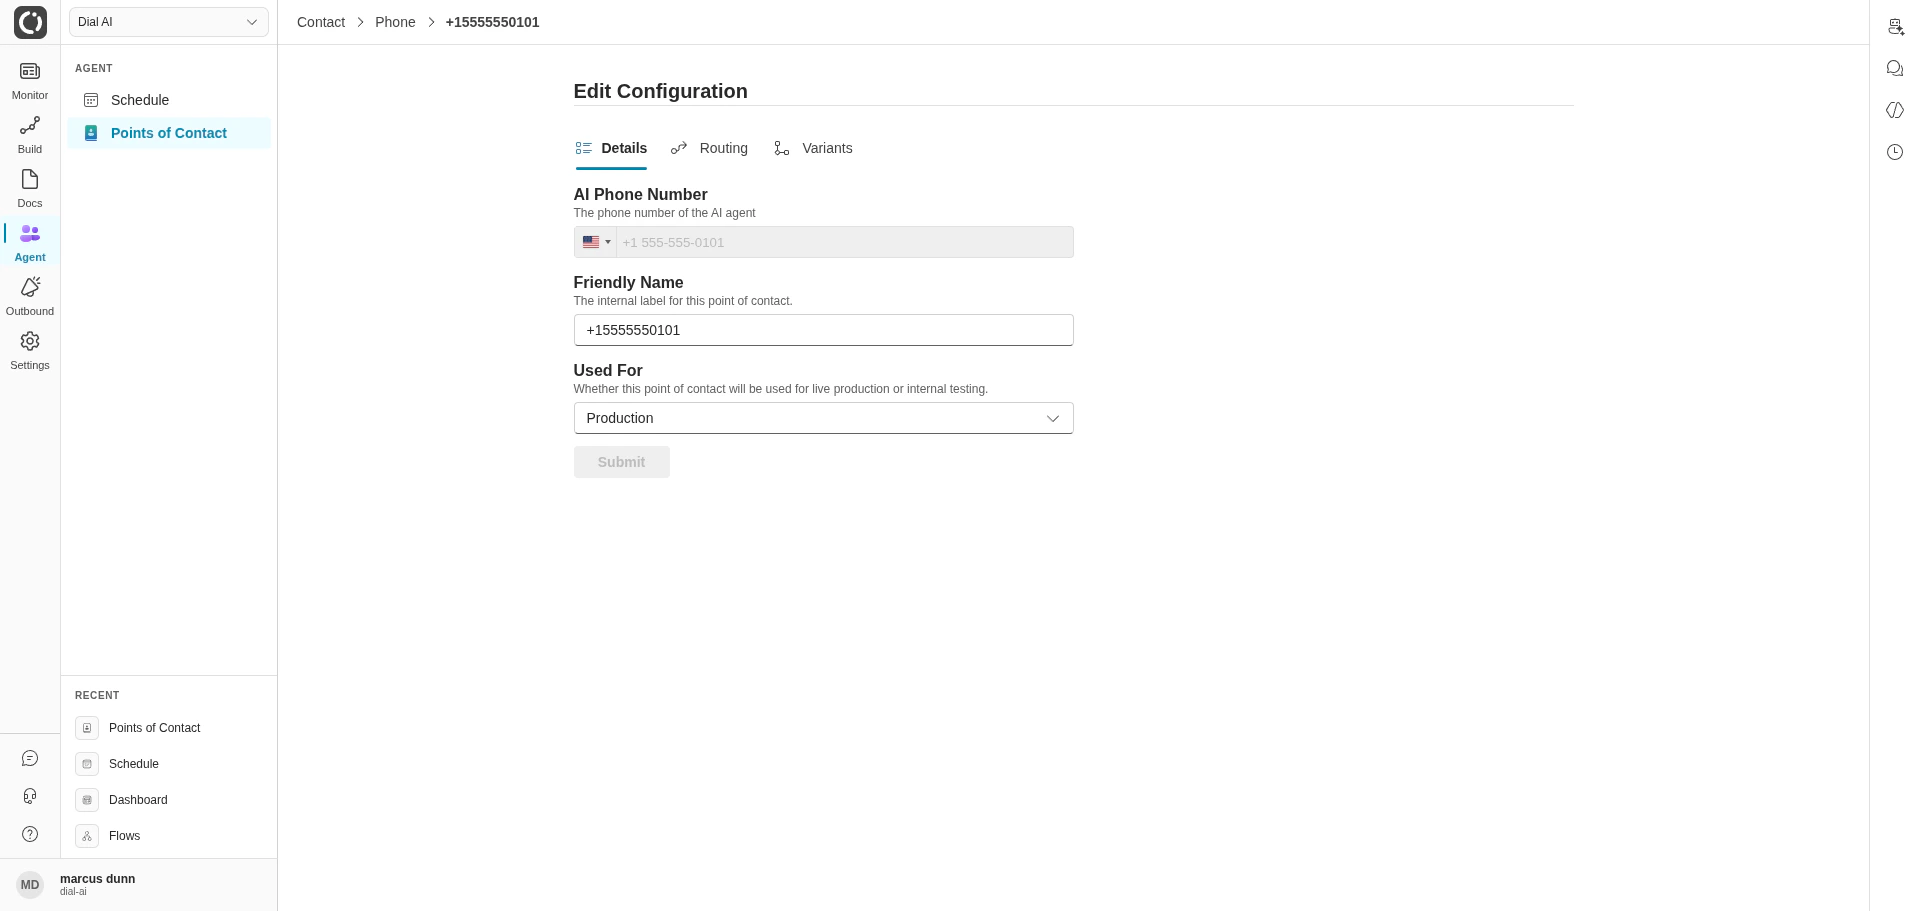
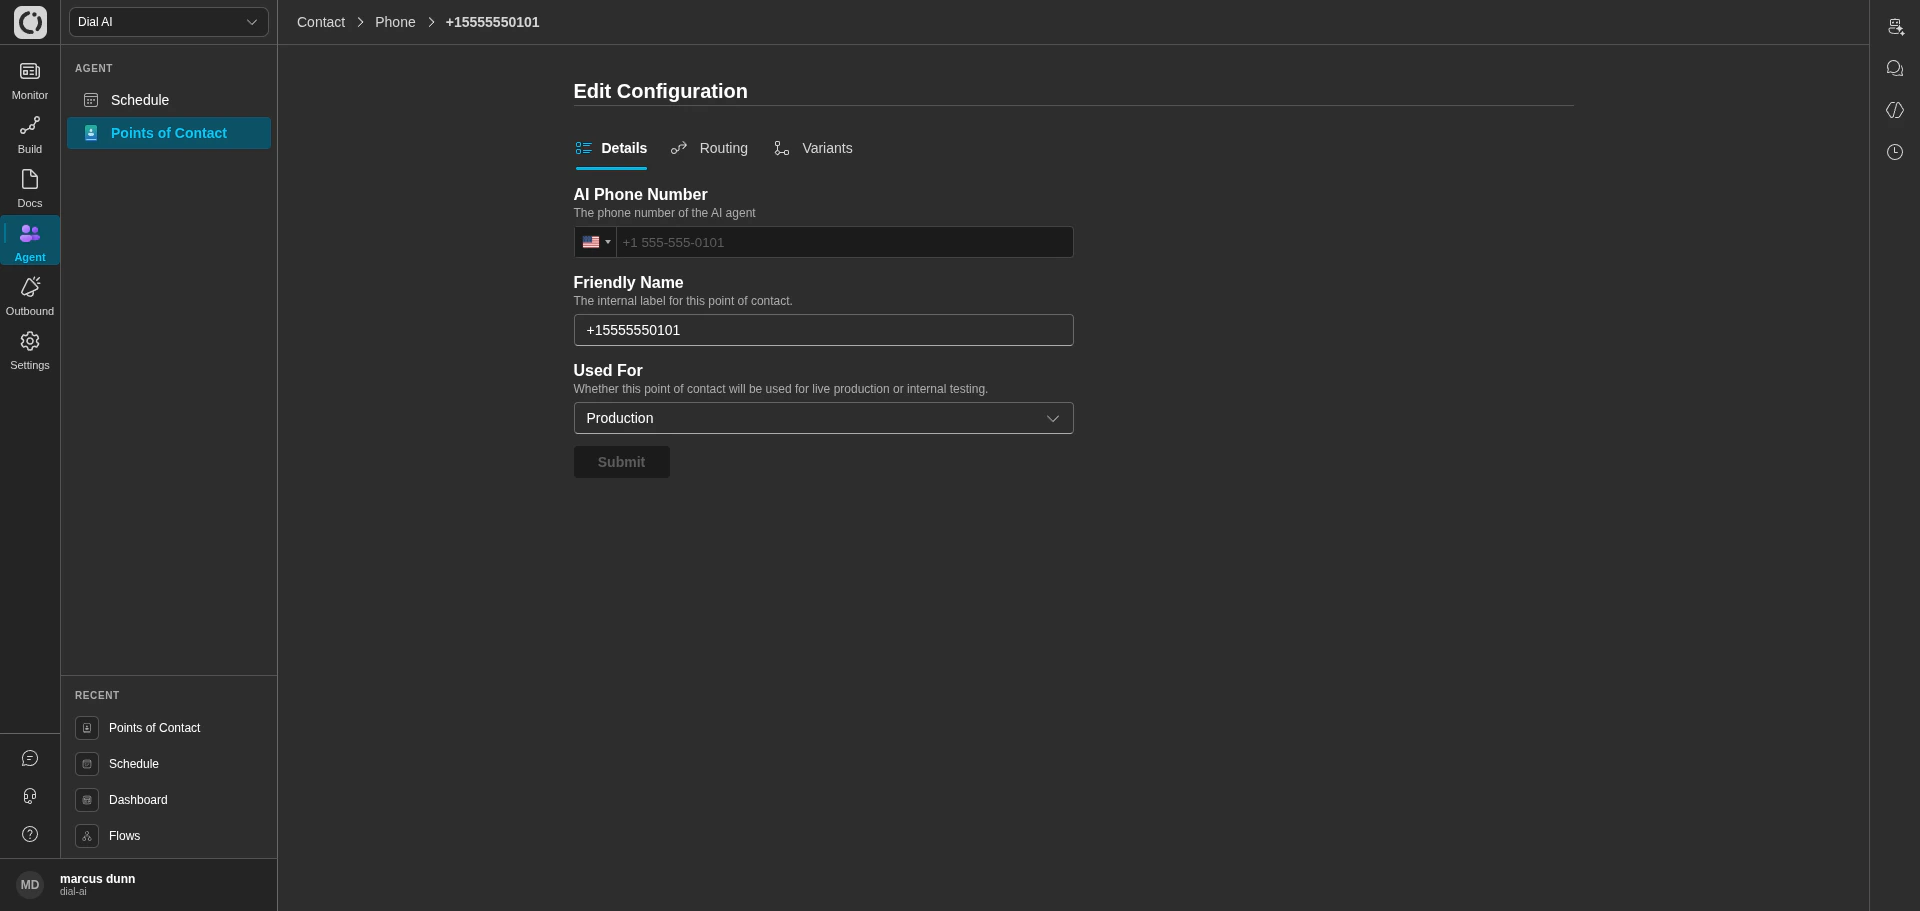
Details tab — basic identification
- Friendly Name — internal label.
- Used For — Production or Internal Testing.
Routing
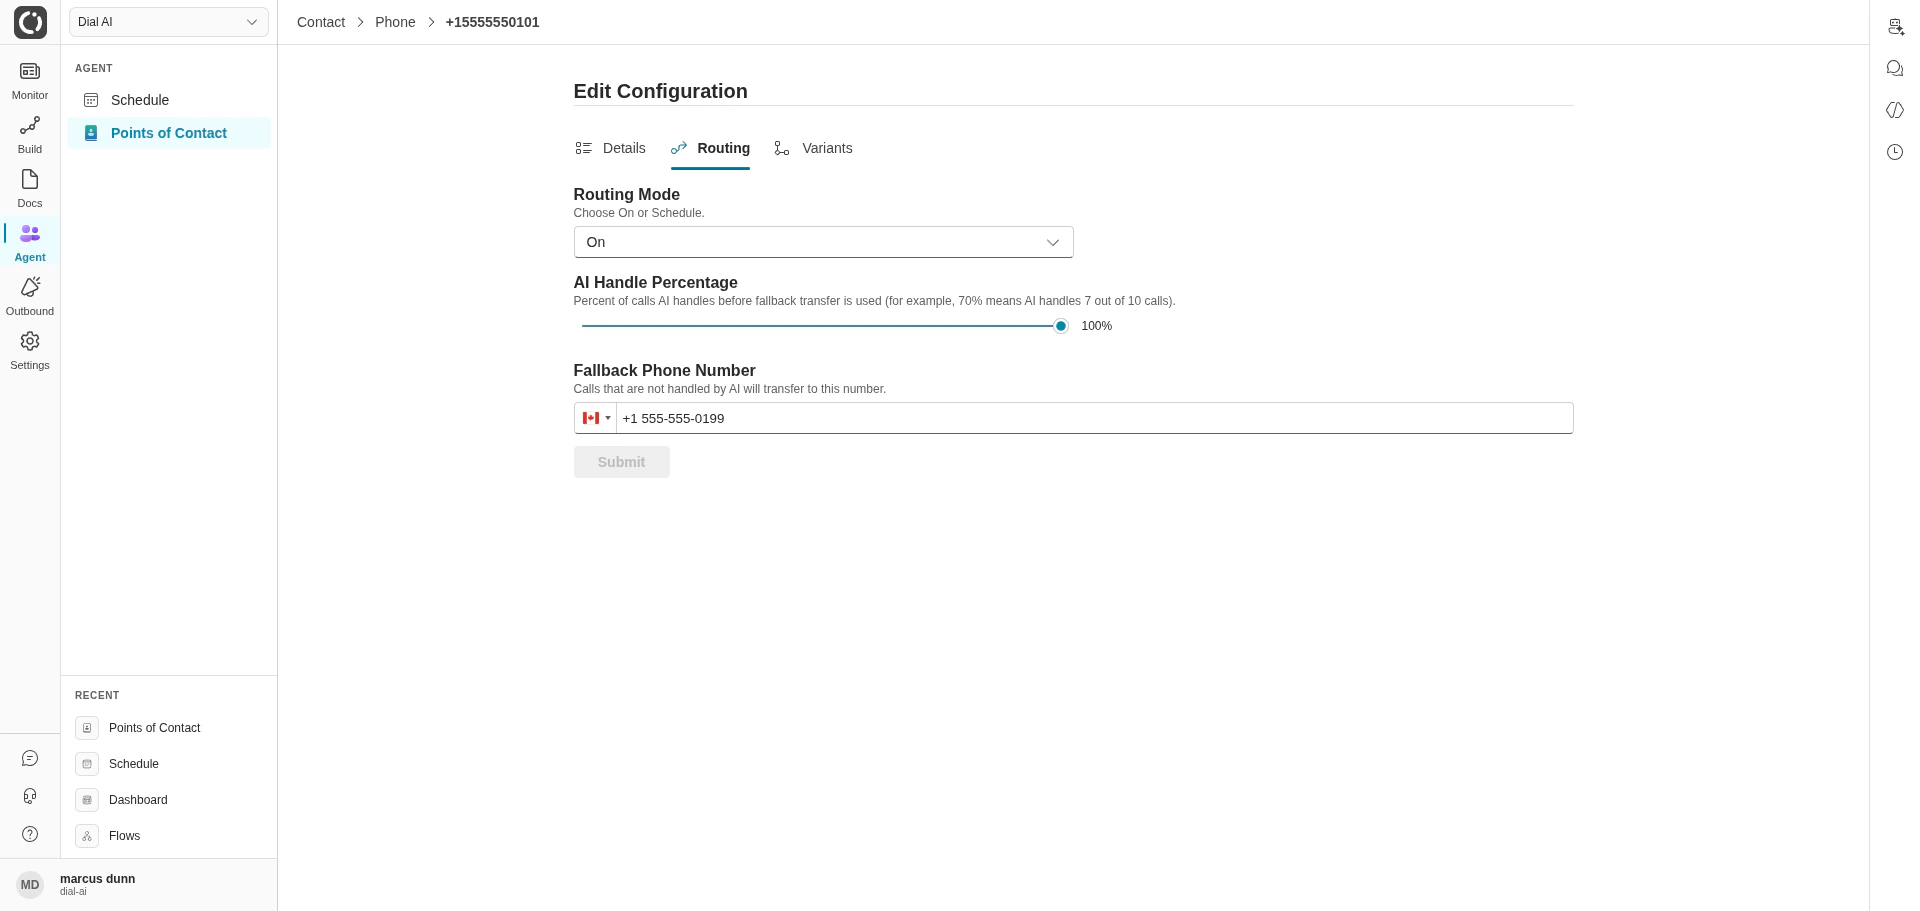
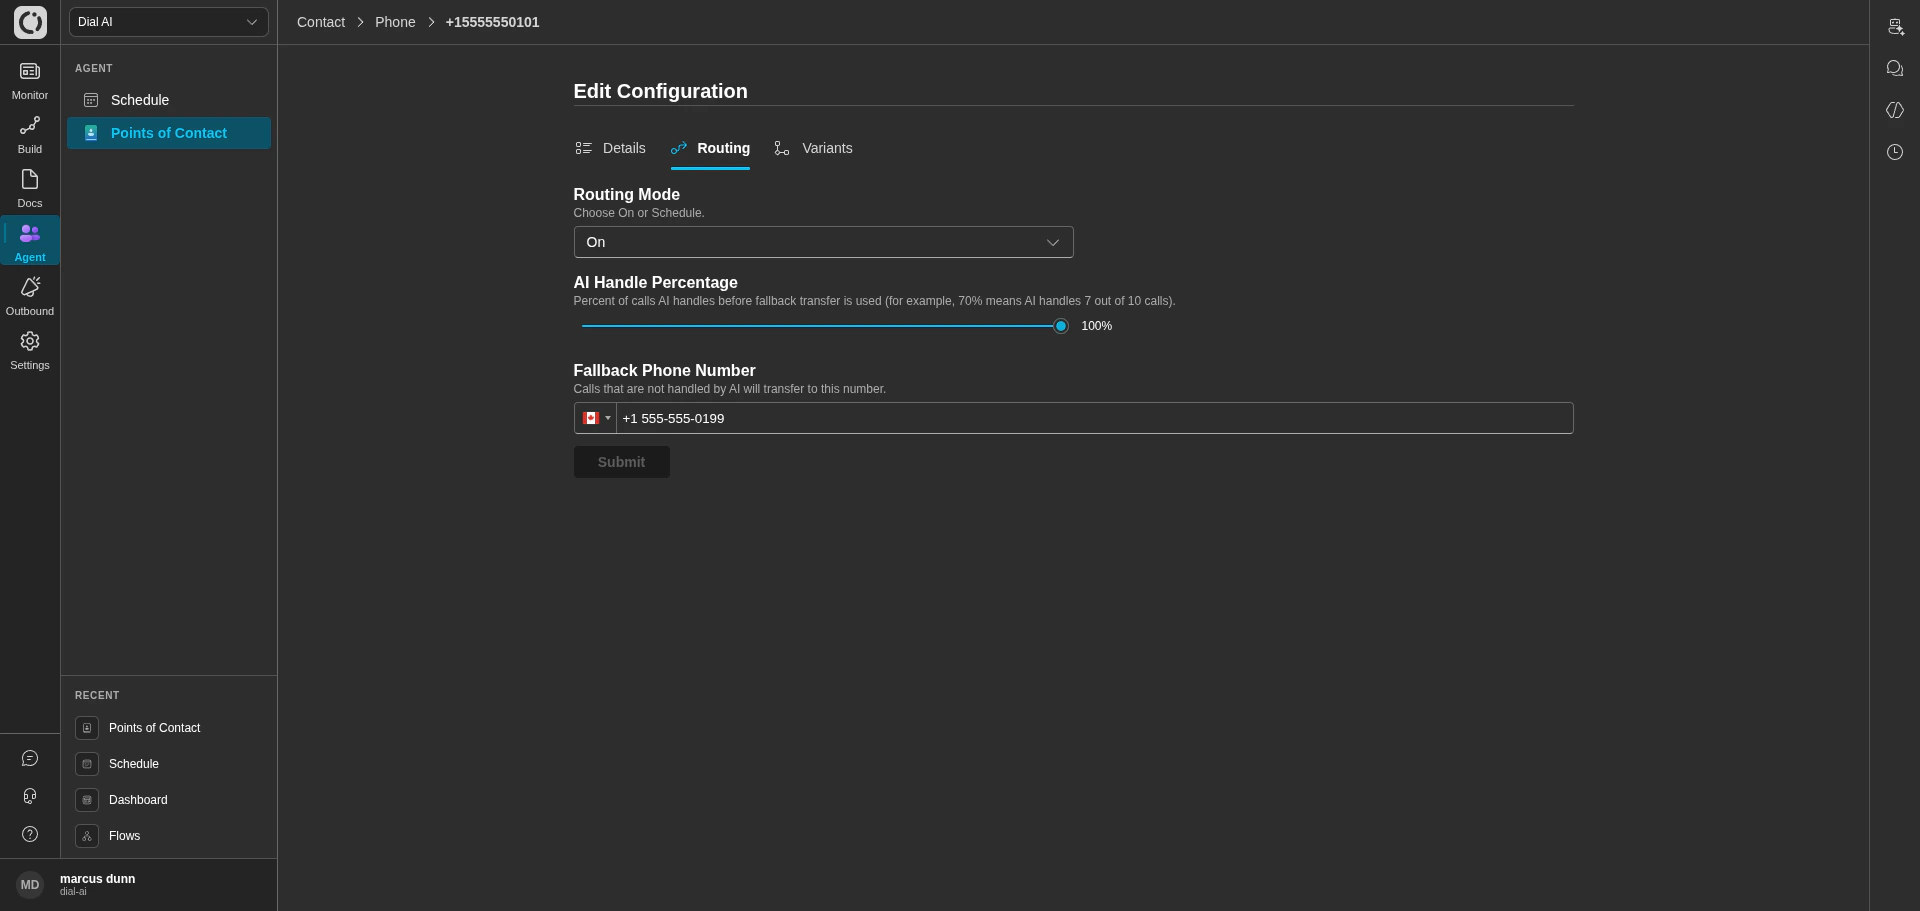
Routing tab — controls how calls flow between AI and humans
- Routing Mode —
OnorSchedule.- On: AI is always active. Configure AI Handle Percentage (0-100%) to split traffic between AI and fallback. The remaining percentage transfers to the Fallback Phone Number.
- Schedule: AI is active only during configured time windows. Click Edit Schedule to open the schedule editor — see Schedule.
- Fallback Phone Number — where unhandled calls go.
Variants
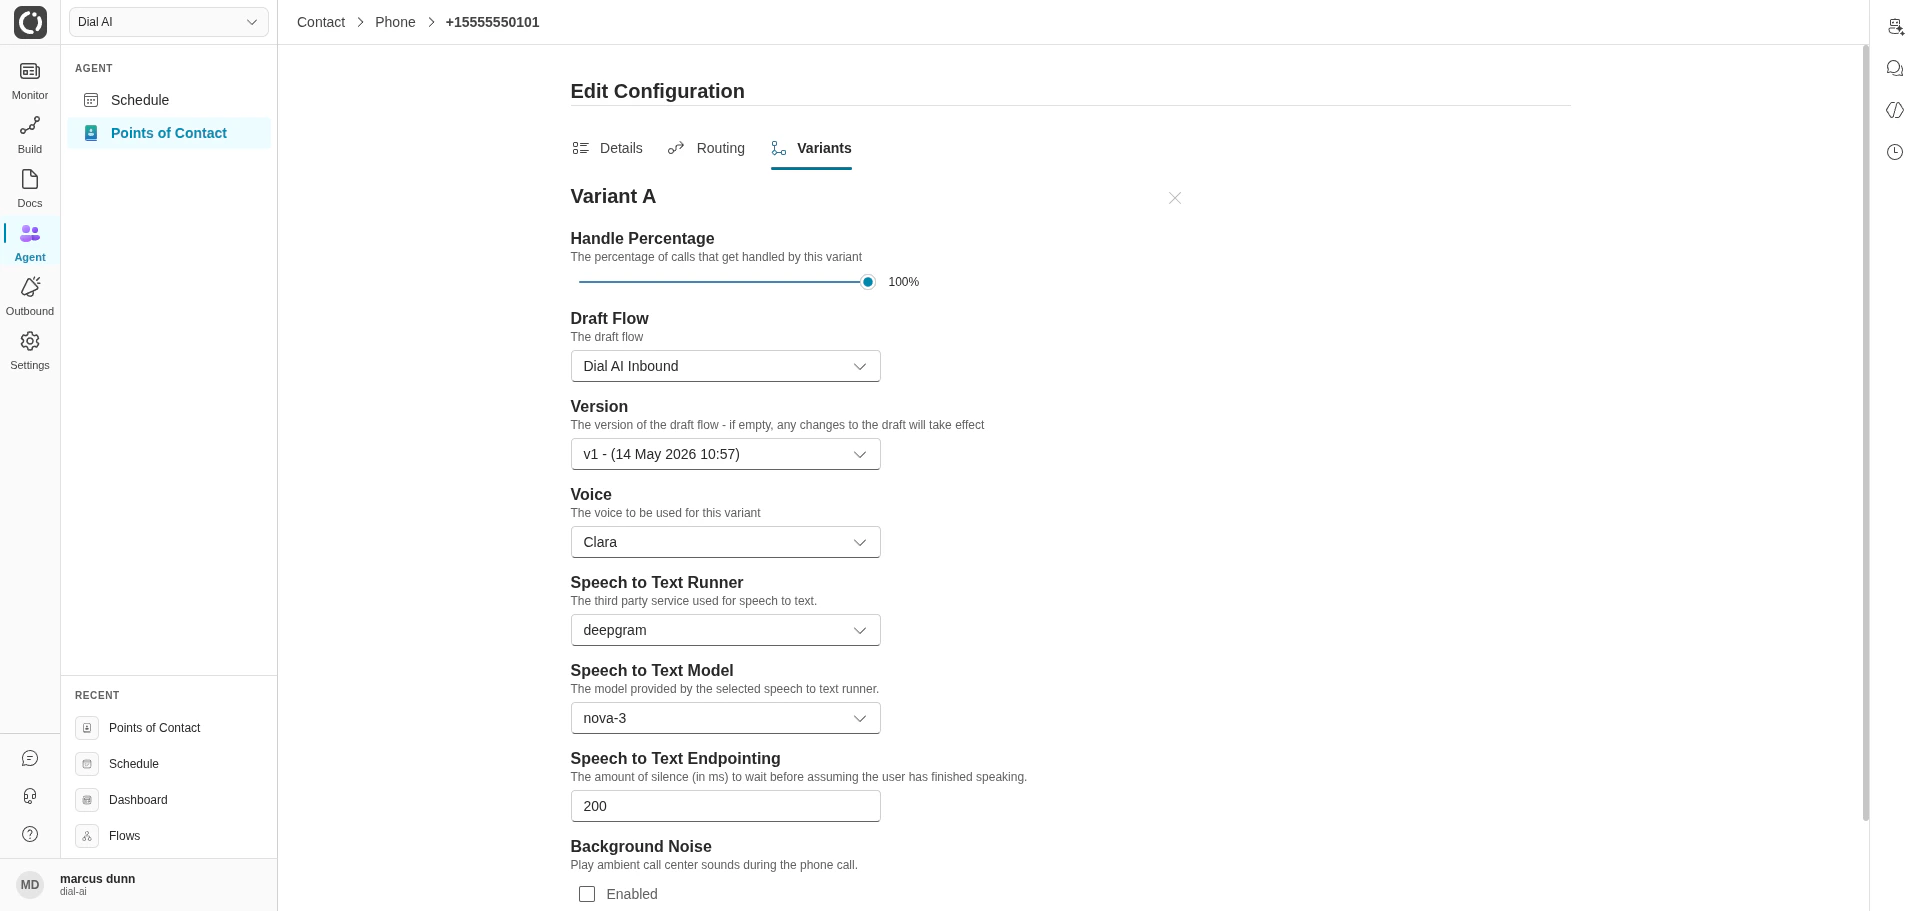

Variants tab — A/B test multiple flow configurations
- Handle Percentage — share of calls routed to this variant. Variants must sum to 100%.
- Draft Flow — the flow this variant runs.
- Version — a specific published version. Leave empty to track the draft (any edit takes effect immediately).
- Voice — synthetic voice for this variant.
- Speech to Text Runner / Model / Endpointing — voice transcription settings.
- Background Noise — ambient call center sounds during voice calls.
× button removes one.
Rollouts
Rollouts automate the variant split over time, so changing a live flow doesn’t have to be all-or-nothing, and doesn’t require you to nudge percentages by hand every morning. A rollout shifts traffic from your current variant to a new one on a schedule you choose: start the new flow version at a small share of calls (say 10%) and let the platform ramp it automatically to 100% over the period you set. Every change proves itself on a small slice of real traffic before it goes wide.- Start small. The starting percentage is your safety margin: the first calls on the new variant are the ones to review.
- Watch as it ramps. Use Conversations filters to compare the variants while the rollout is running.
- Interrupt anytime. Editing the variant percentages directly stops the automatic ramp, which is handy as an instant rollback if something looks wrong.
Tips
- Friendly names matter. “Main Support Line” beats “+1 (555) 555-0101” when you have 30 POCs.
- Roll out gradually. Use a Rollout to ramp a new flow version from 10% to 100% automatically, or nudge the AI Handle Percentage slider by hand.
- Test before going live. Set Used For to Internal Testing while iterating; flip to Production when ready.
- Plan fallback explicitly. Every Phone POC needs a fallback number — don’t leave it empty.
Related
Schedule
Set time-of-day routing windows.
Agent voices
Pick the AI’s synthetic voice.
iframe integration
Embed a Web POC.
Outbound
Run outbound campaigns from a verified caller ID.