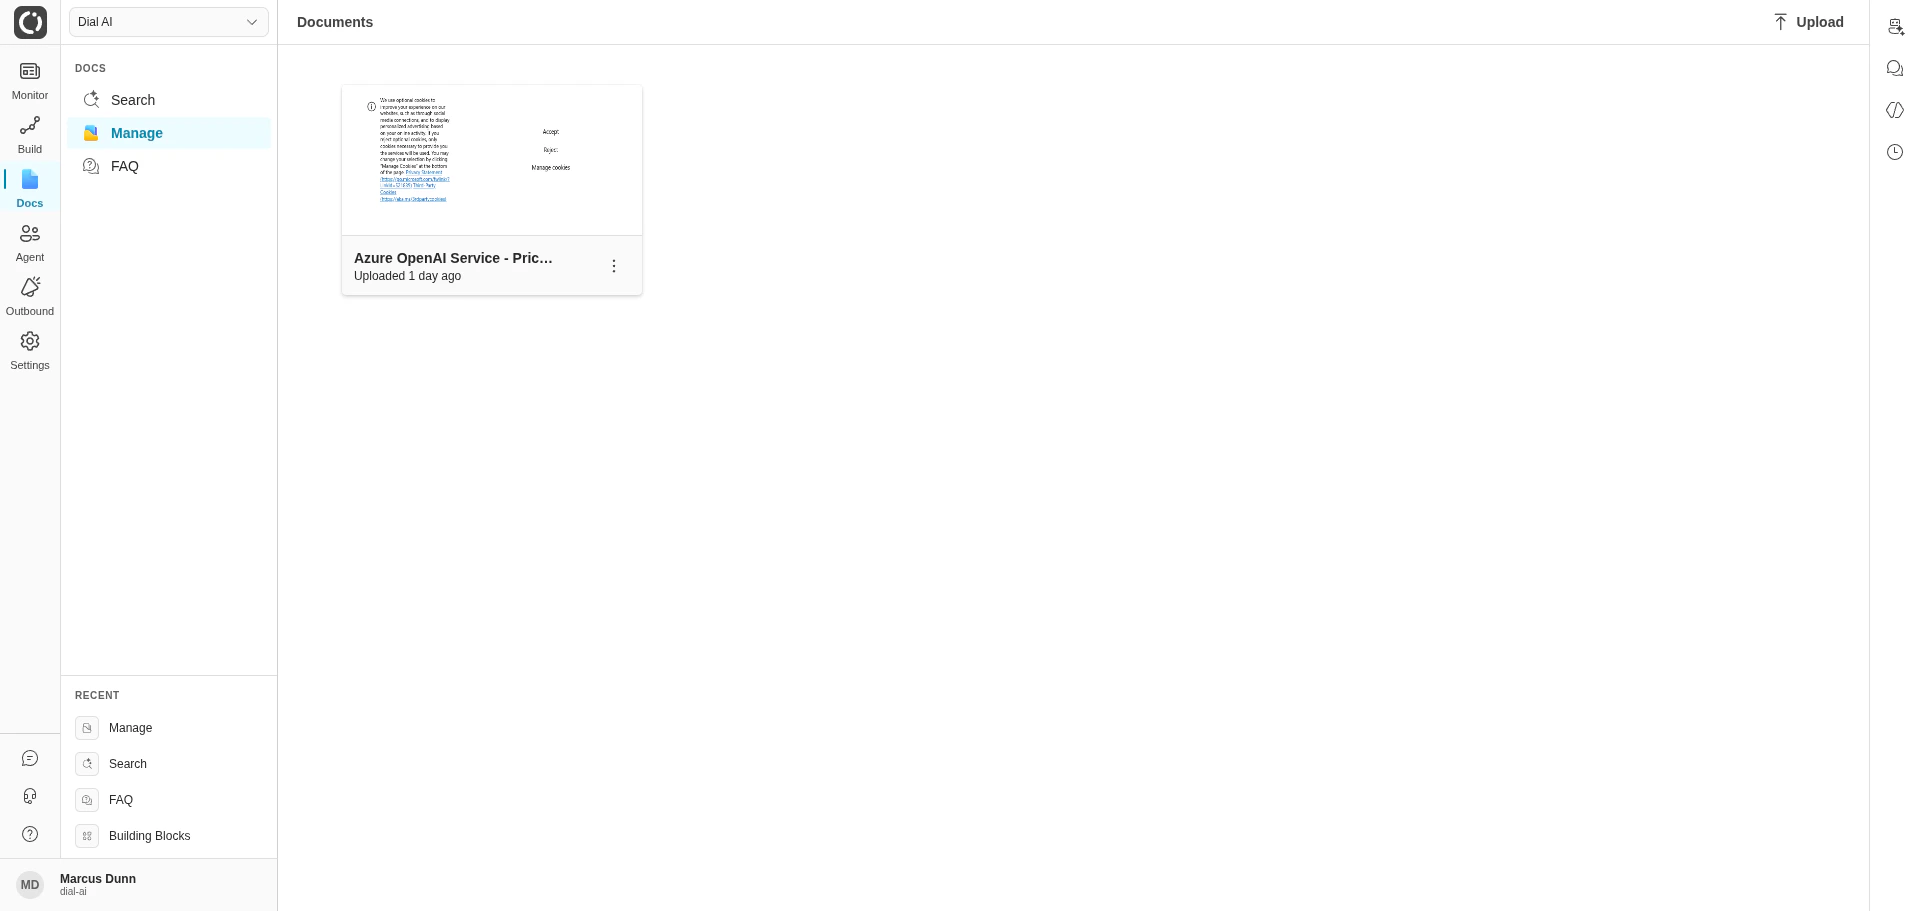
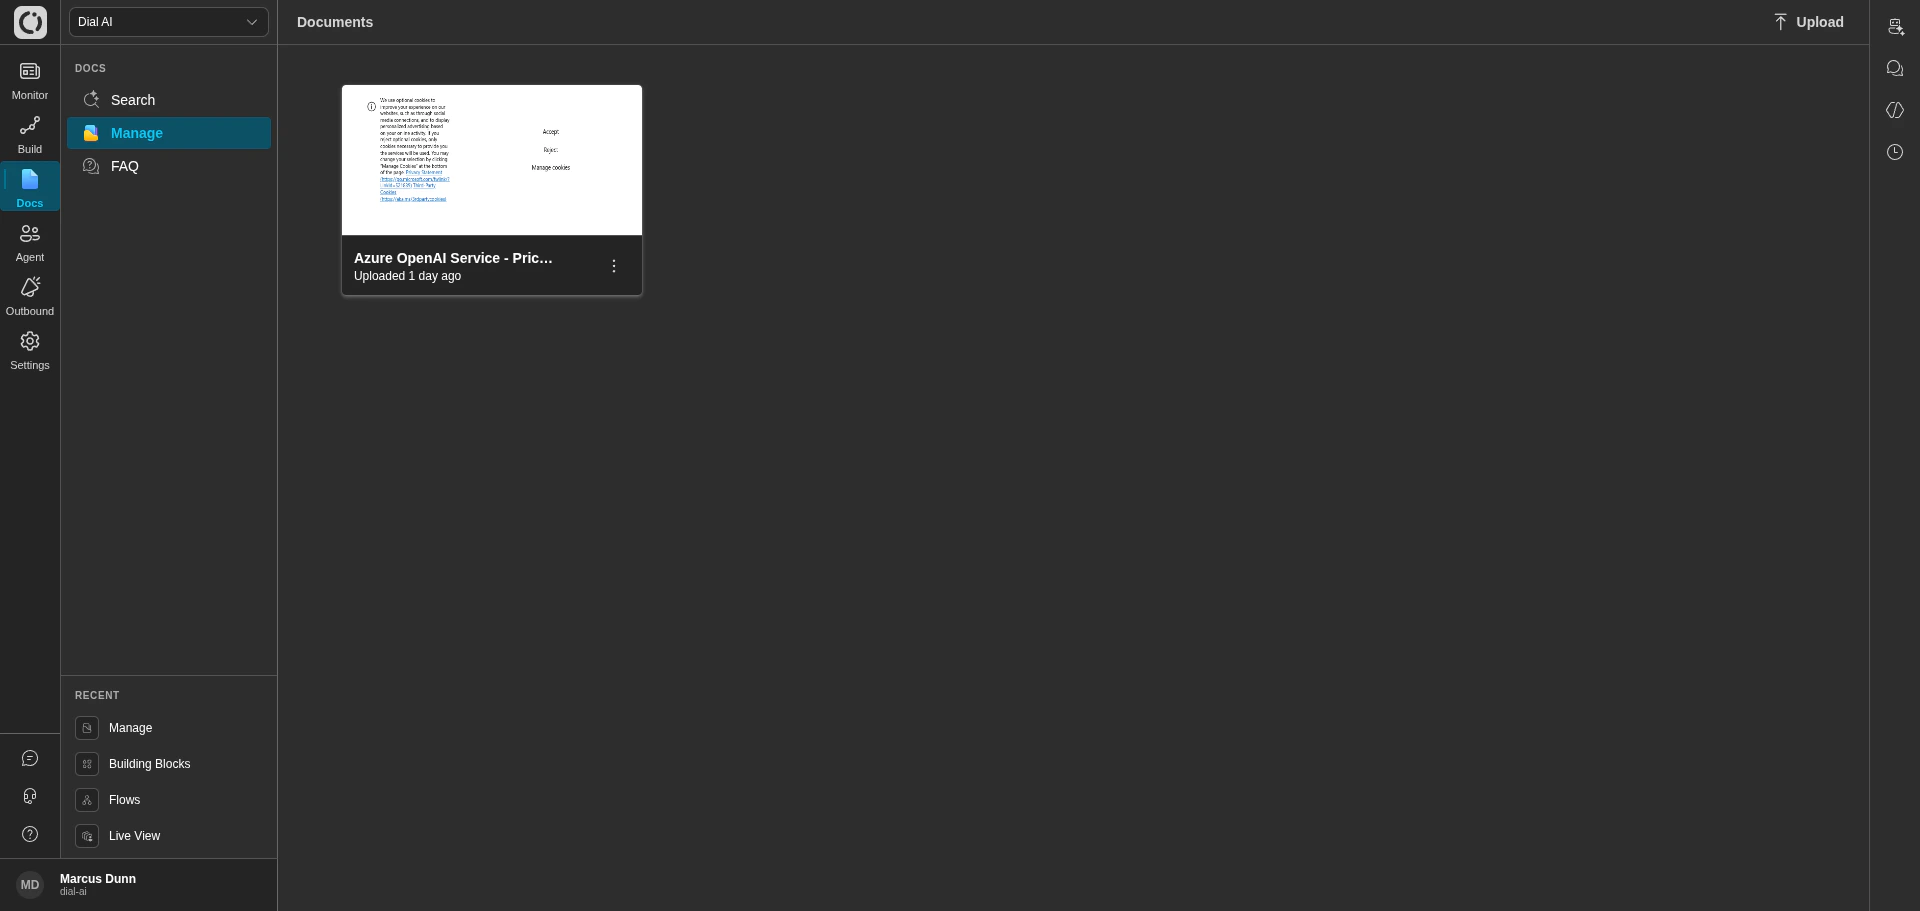
The Documents page — your tenant's knowledge library
Accessing Manage Documents
Navigate to Docs > Manage in the left sidebar.What’s on the page
Every document indexed in the tenant appears as a card showing:- The document name (filename for uploads, page or object name for connectors).
- An Uploaded or Synced timestamp showing when the index was last updated.
- A More actions menu (three-dot) with Download, Sync, and Delete.
Adding documents
The Upload dialog has four tabs, one per source type. Click any tab to switch.File upload
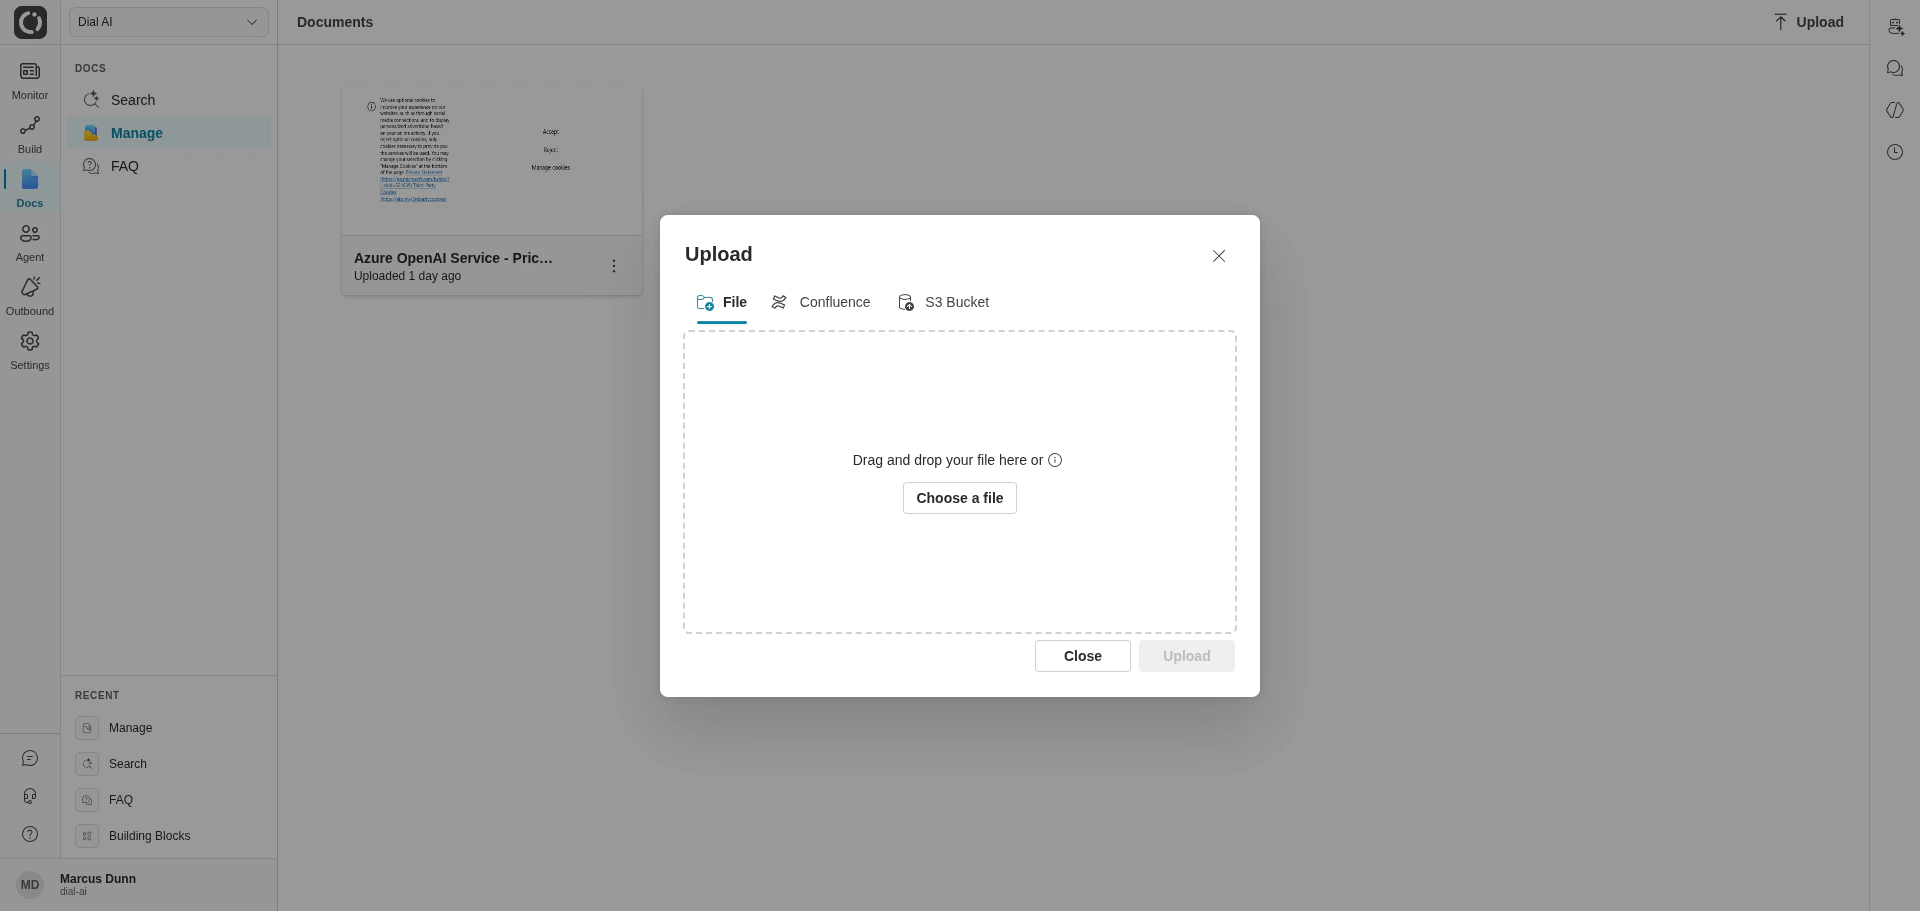
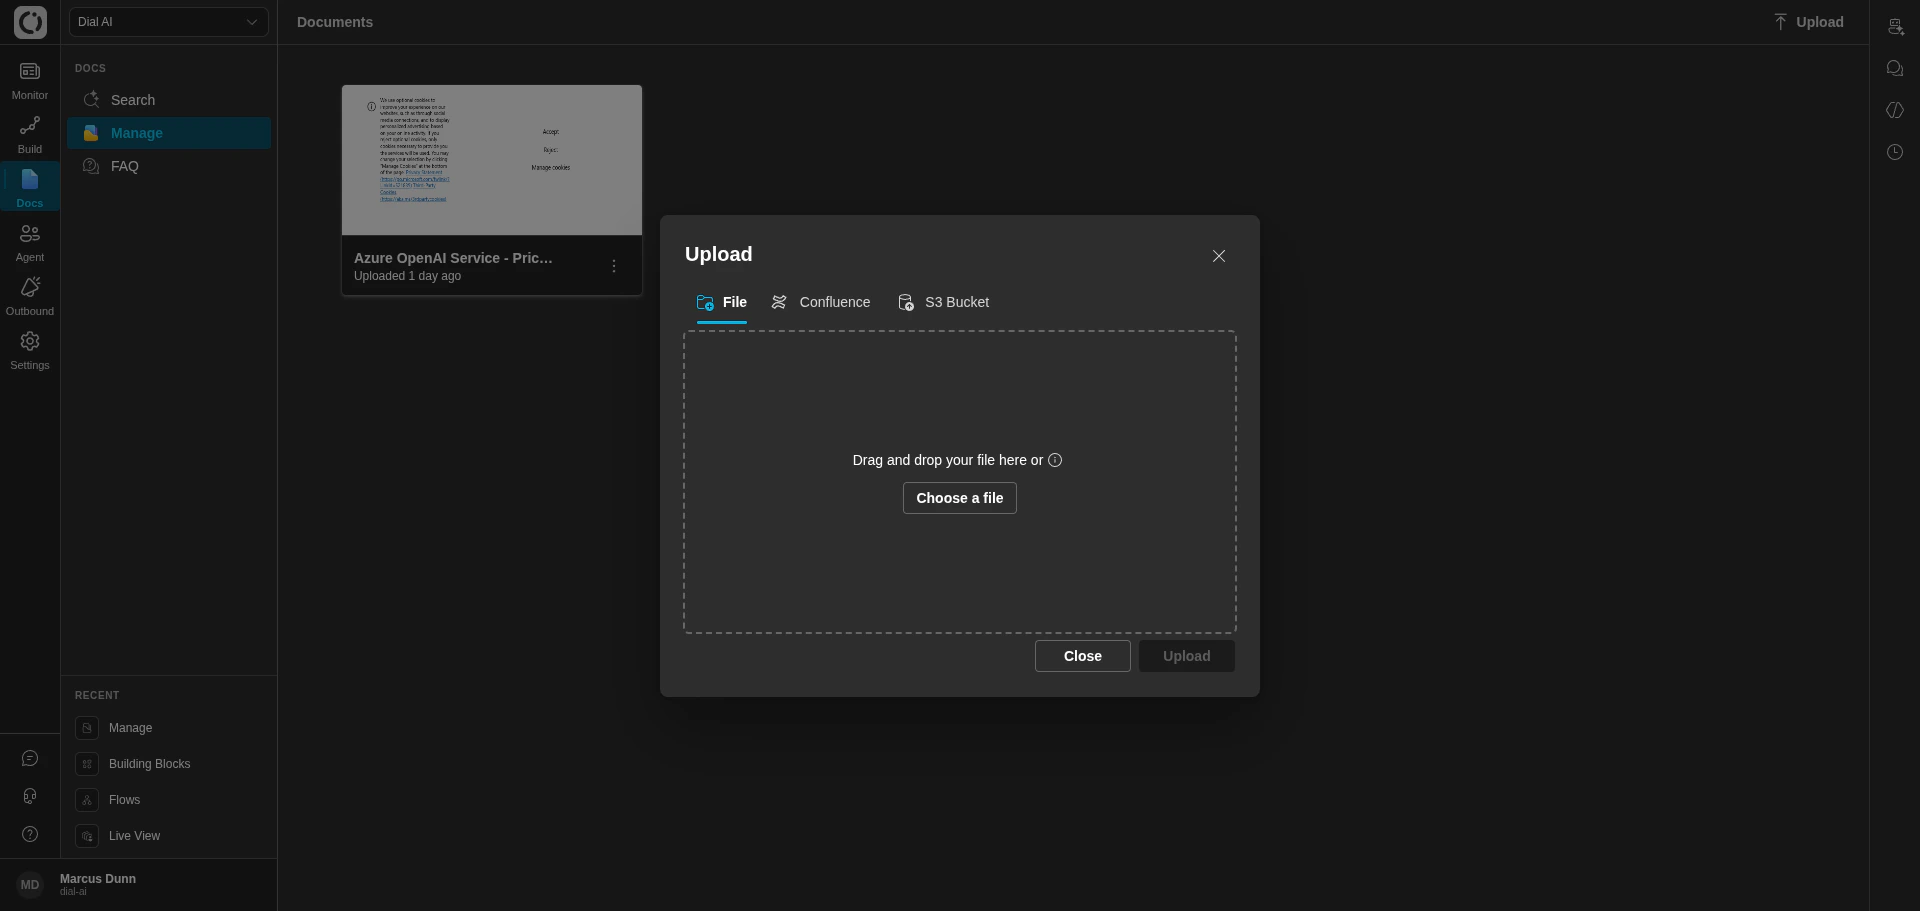
Upload a file directly
1
Drag a file or click Choose a file
Supported formats: PDF, TXT, HTM, HTML.
2
Click Upload
The dialog closes immediately. The document appears in the list and indexes in the background; the card shows a processing indicator until indexing completes.
S3 Bucket
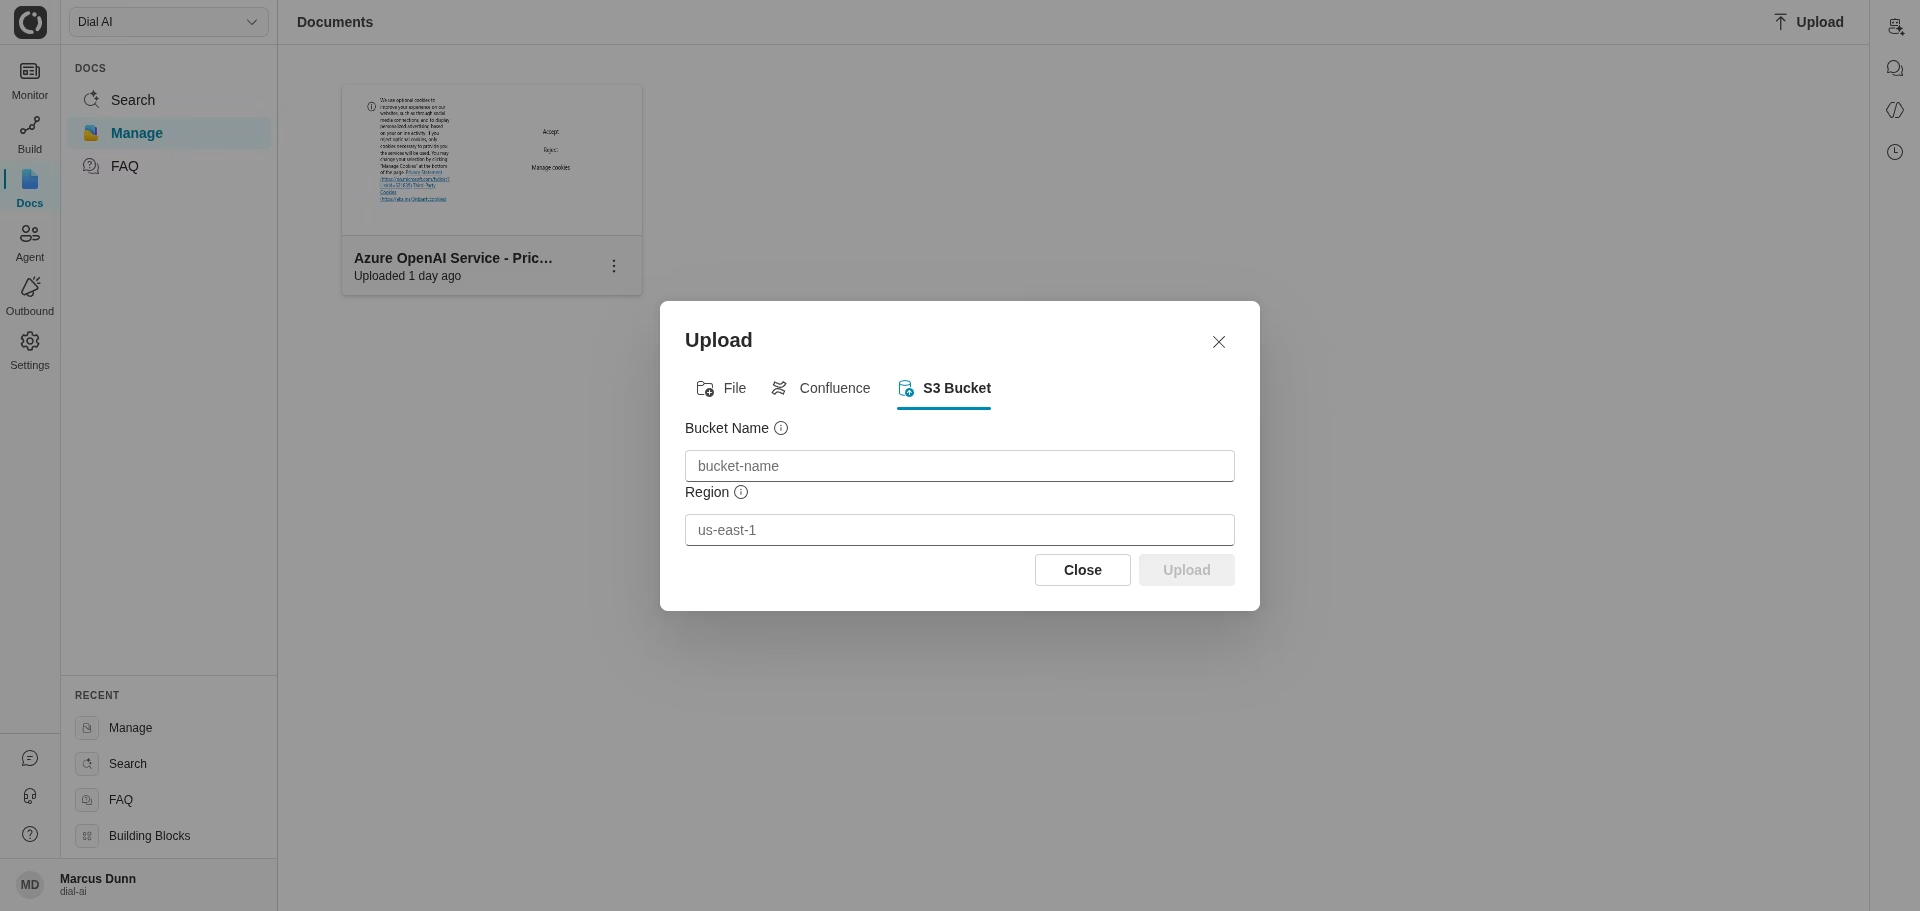
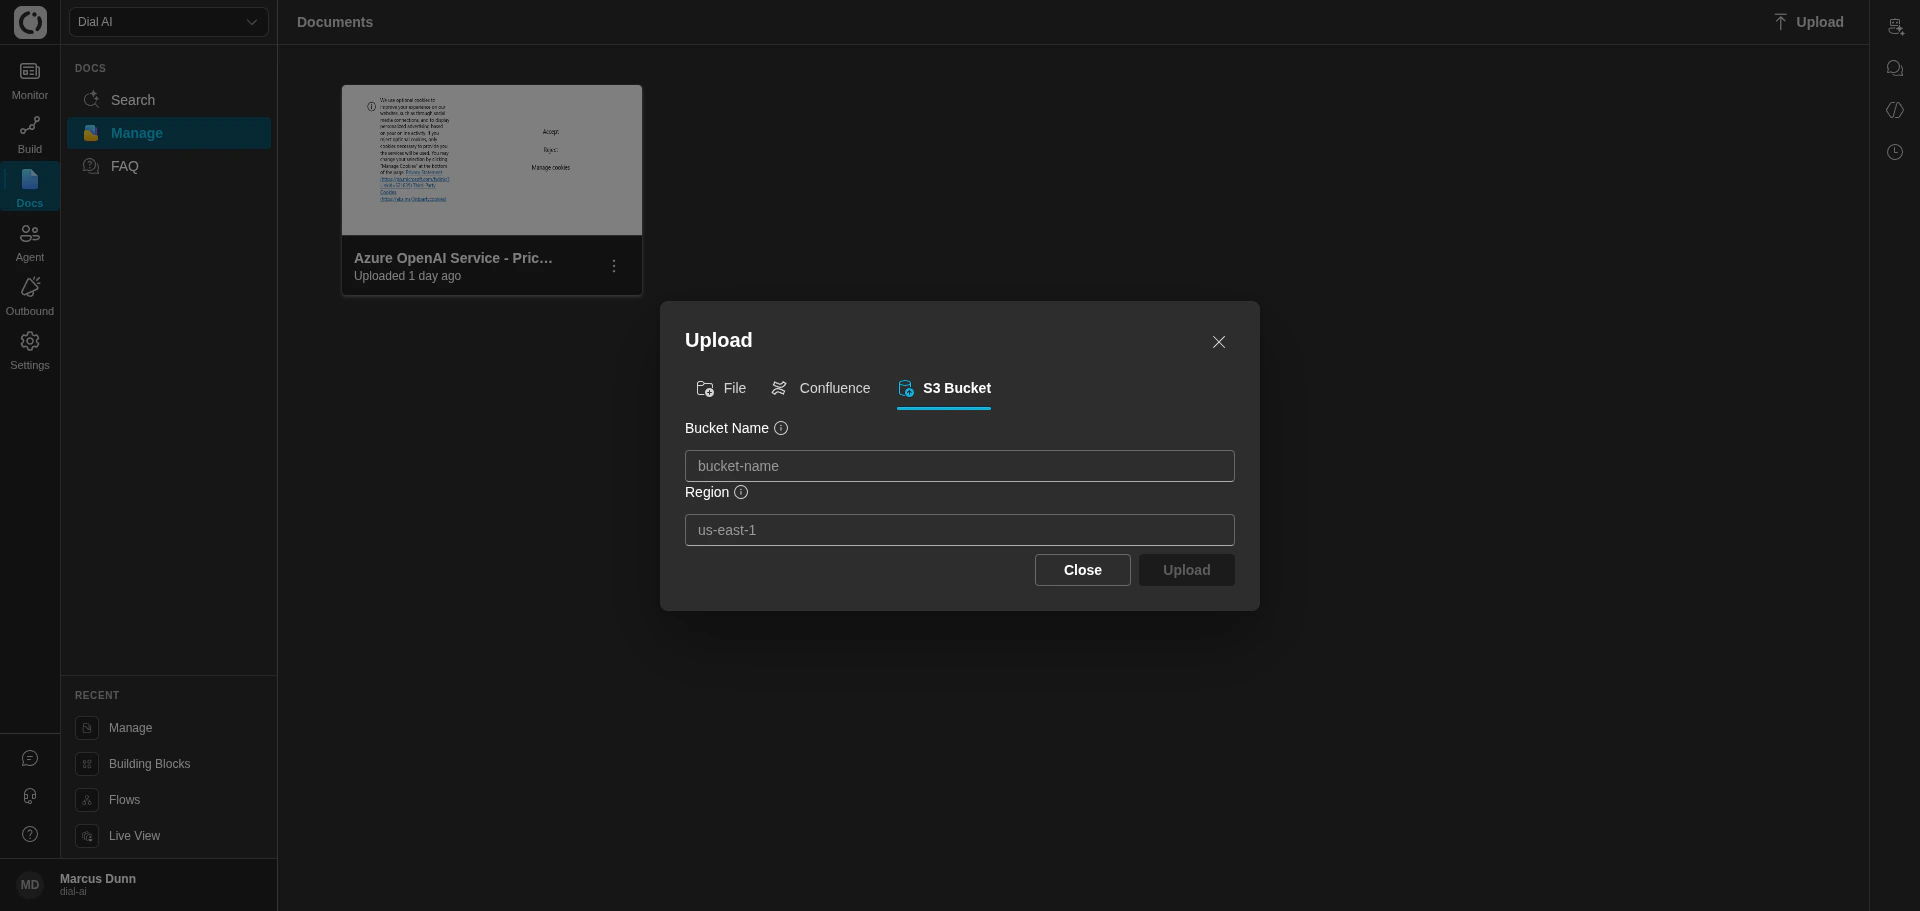
Connect an S3 bucket
1
Enter the Bucket Name
The exact name of the bucket — no
s3:// prefix, no region suffix.2
Enter the Region
The AWS region the bucket lives in (e.g.,
us-east-1, us-west-2).3
Click Upload
The platform queues an indexing job. Objects in the bucket are pulled, indexed, and turned into searchable documents in the background. Each indexed object appears as its own card in the list.
The tenant must already have IAM access to the bucket configured at the platform level. If indexing fails with a permission error, contact your administrator to grant the platform’s service role read access. Buckets not pre-authorized for the tenant cannot be added.
Confluence
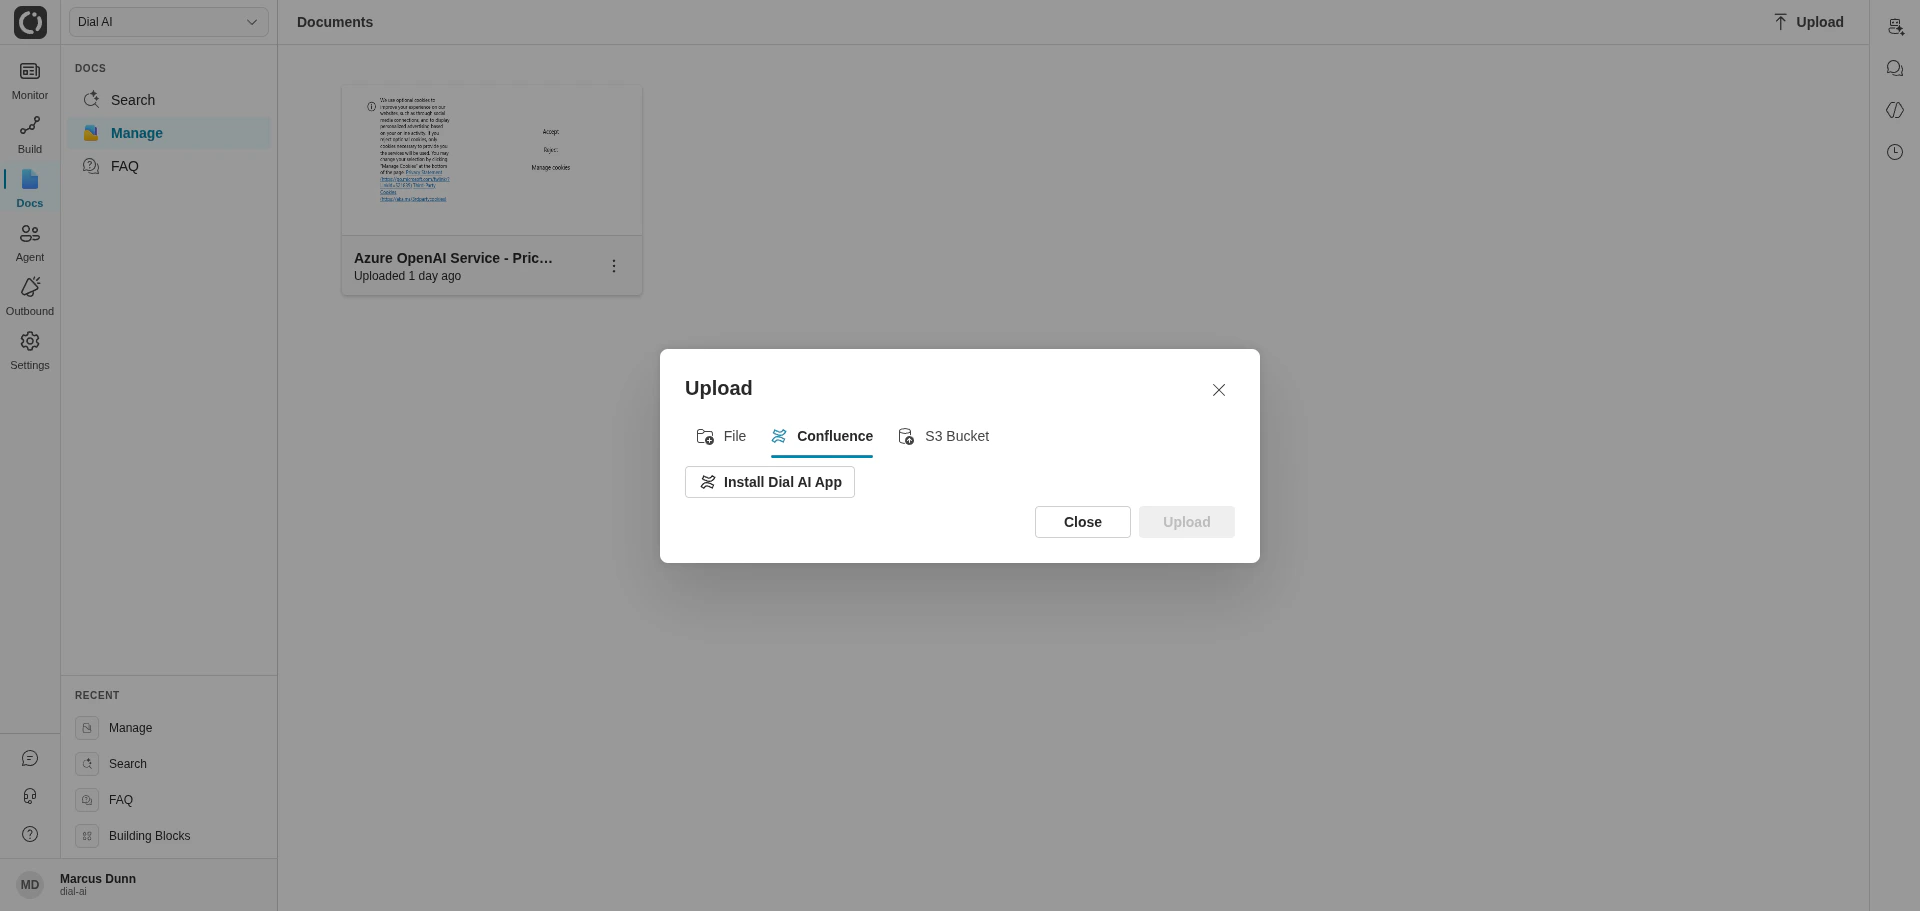
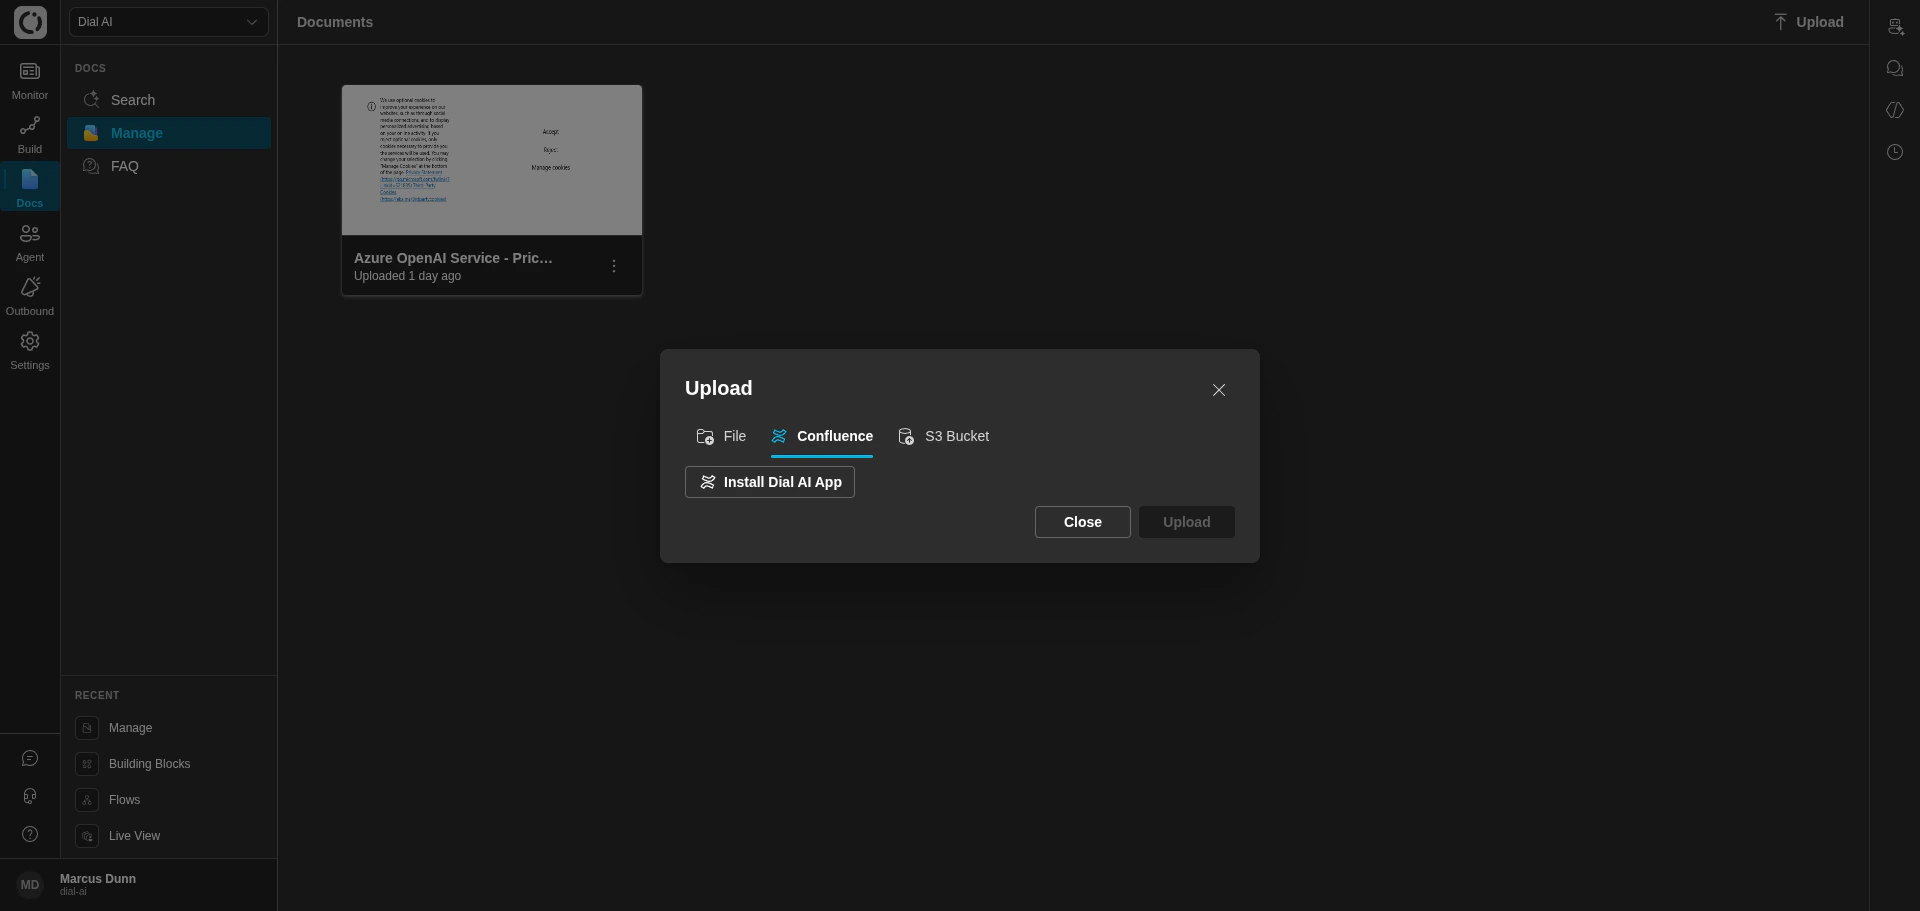
Connect a Confluence space
1
Install the Dial AI App in Confluence
Click Install Dial AI App. You’ll be redirected to Atlassian to authorize. Once approved, the OAuth token is stored against your tenant and you can return to the dialog.
2
Pick a space
After install, the Confluence tab populates with the spaces the app has access to. Pick the one you want to index.
3
Optionally filter by label
Add one or more labels to the Allowed labels list. When set, only pages with at least one matching label are indexed. Leave empty to index every page in the space.
4
Click Upload
The platform queues an indexing job. Pages are fetched, indexed, and surfaced as searchable documents. Each page becomes its own document card.
SharePoint
Use the SharePoint tab to ground your agents in content straight from your organization’s SharePoint, with no copy-pasting files out of it and no duplicate libraries to maintain.1
Sign in with Microsoft
The first time you connect, you’ll be prompted to sign in with your Microsoft account and grant the Dial AI app access. Access is scoped per site: an admin approves which SharePoint sites the app can read.
2
Pick a site
After sign-in, choose the SharePoint site you want to index from the list the app has access to.
3
Click Upload
The platform queues an indexing job. Documents in the site are fetched, indexed, and surfaced as searchable document cards, like any other source.
Managing existing documents
Click More actions on any document card for:- Download — save the indexed source to disk. For Confluence, SharePoint, and S3 sources, this is the fetched copy at index time.
- Sync — re-fetch and re-index. Useful after changes in the source bucket or space.
- Delete — remove the document from the tenant.
How documents reach the AI agent
A document in this list isn’t automatically used by every flow. To make the agent search a document during a conversation, attach it to a flow under Configure Flow > Documentation. See Flow Documentation for the full configuration reference, including how to tune document amount and query rewriting. The same documents are also available from Document Search — a standalone interface for ad-hoc querying.Source comparison
Supported file formats
For direct file upload: PDF, TXT, HTM, HTML. S3 and Confluence connectors handle the file/page types those sources naturally expose.Related
Document search
Search across every indexed document.
Flow documentation
Attach documents to a specific flow.
FAQ
Configure short Q&A pairs that complement documents.