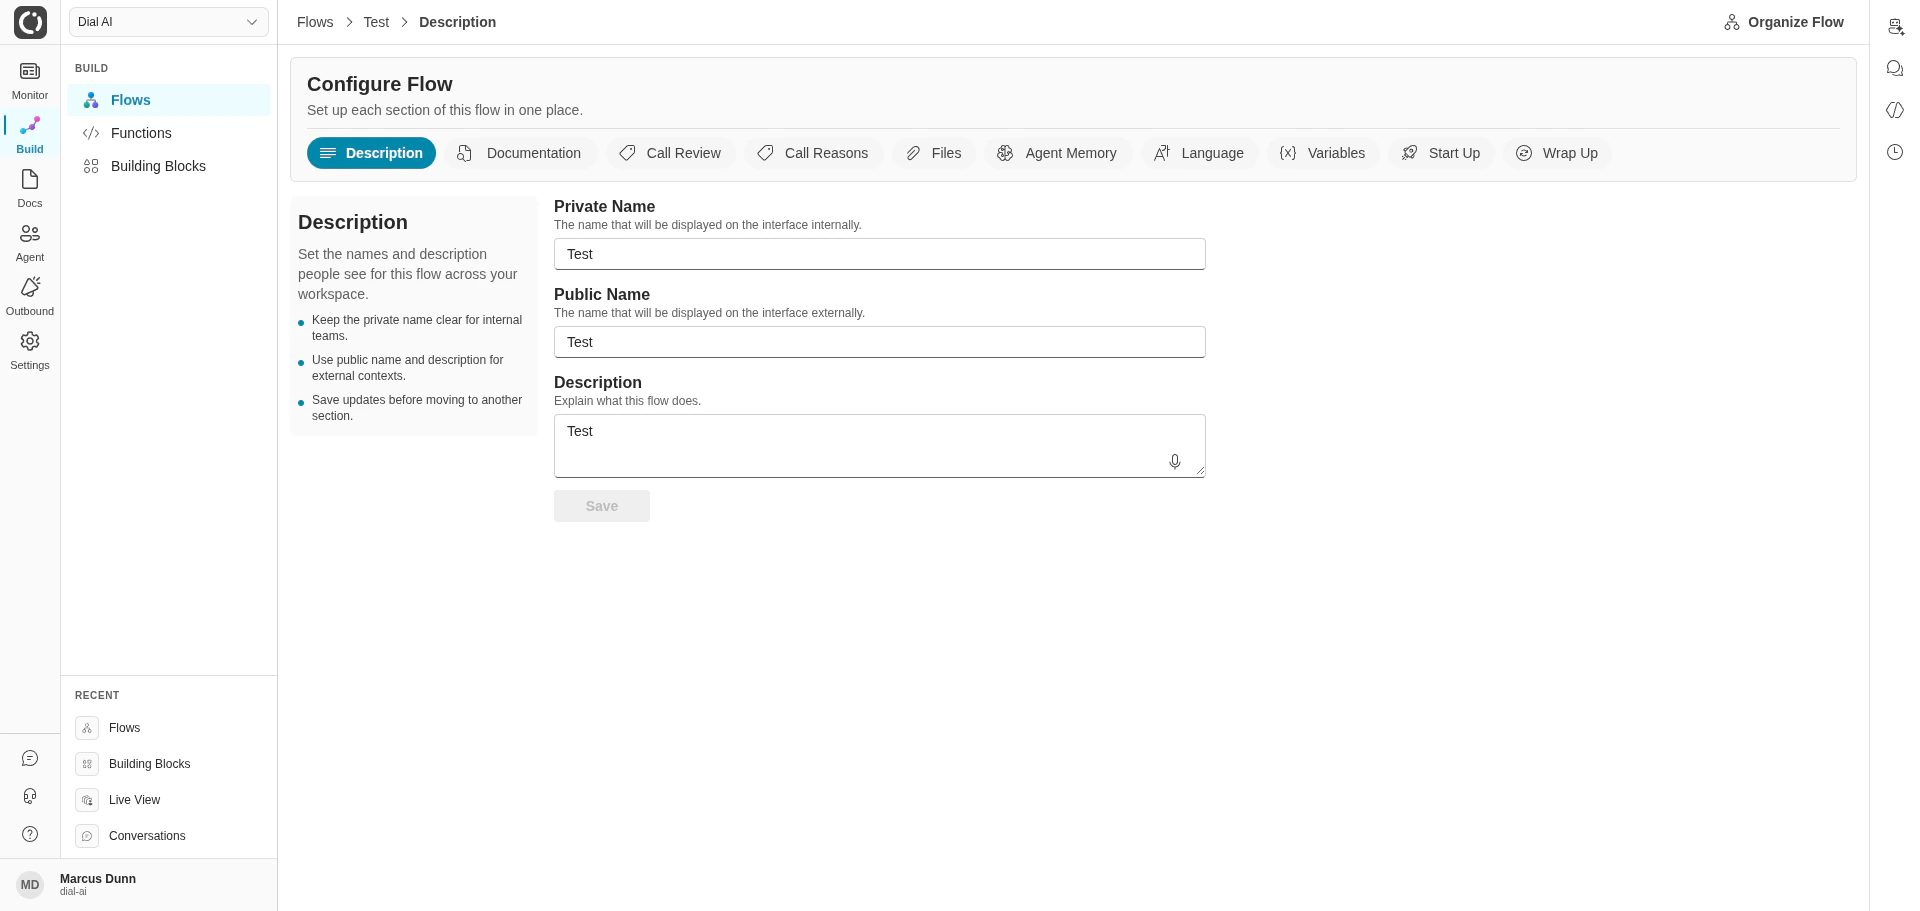
Configure Flow page — Description tab selected
Accessing the Configuration Page
- Navigate to Build > Flows.
- On the flow card, click More actions > Configure — or open the flow editor and click Configure in the top-right toolbar.
Tab 1: Description
Set the names and description people see for this flow across your workspace.Fields
- Private Name: The internal name displayed within the platform. Keep this clear for internal teams.
- Public Name: The name displayed to customers in external-facing contexts.
- Description: A text area to explain what the flow does. Use the description to give context to team members.
Tips
- Keep the private name clear for internal teams.
- Use public name and description for external contexts.
- Save updates before moving to another section.
Tab 2: Documentation
Choose what knowledge this flow uses and how strongly it relies on that content. This tab controls the reference materials available to the AI during conversations.Fields
- Amount of Documentation: A slider (0–10) that controls how many documentation and FAQ segments are given to the AI after each customer message. Higher values provide richer context; lower values keep responses faster and more focused.
- Enable Query Rewriting: A toggle that enables the query rewriting agent to improve document search in all non-voice conversations. Useful when customers phrase questions differently from how documentation is written.
- Query Rewriter Context: A text area for additional information the query rewriter should use to improve search results (e.g., industry-specific terminology, synonyms, or common customer phrasing).
- Documents: The documents the AI should have access to during the conversation. Click + Create New to attach documents from your organization’s document library.
- Frequently Asked Questions: The FAQs the agent should reference during conversations. Click + Create New to attach FAQ sets.
Tips
- Attach the right documents and FAQs for this flow.
- Tune how much reference content is used per response.
- Enable query rewriting only when you need stronger search.
Tab 3: Call Review (Beta)
Control how calls are reviewed and when follow-up flagging should happen.Fields
- Standard behavior (already included): A read-only text area showing the built-in review behavior. This standard behavior updates automatically and decides whether a call was successful, marks it for follow-up when issues are detected (e.g., frustrated customers, conversation loops, system errors), and writes a plain-language review.
- Enable extra guidance: A toggle to add team-specific review instructions on top of the standard behavior. When off, only the standard behavior is used.
Tips
- Read the standard behavior first.
- Add short team-specific guidance only if needed.
- Changes affect future call reviews only.
Tab 4: Call Reasons
Define the call reasons the AI may classify a conversation under. Each reason becomes a tag that’s set on conversations matching it, making it easy to slice analytics by intent.Fields
- Reasons: A list of call reasons. Each reason has a name and a short description that tells the AI when to apply it. Add new reasons as your call mix evolves; retire reasons that are no longer useful.
Tips
- Keep reasons mutually exclusive — overlapping reasons make analytics ambiguous.
- Keep the list focused; too many reasons slow the AI’s classification and dilute the data.
- Update reason descriptions when you notice the AI consistently mis-classifying.
Tab 5: Files
Manage files attached directly to this flow for retrieval and downstream processing.Fields
- Upload Files: A drag-and-drop area (or “Choose a file” button) to upload files. Supported formats: PDF, text, HTML, and CSV.
- Attached Files: A list of files currently attached to the flow, with a count of total files.
Tips
- Upload only files this flow should own directly.
- Remove outdated attachments so agents use current content.
- Confirm downloads and retrieval behavior after file changes.
Tab 6: Agent Memory
Choose whether this flow can use past conversation context while responding.Fields
- Enable Long Term Memory: A toggle that gives the agent access to past conversations with a customer. When enabled, the agent can reference previous interactions for continuity across contacts.
Tips
- Turn memory on to improve continuity across contacts.
- Turn memory off when each conversation should stand alone.
- Save before testing behavior changes.
Tab 7: Language
Set the primary language this flow expects from the speaker.Fields
- Speaker Language: A dropdown to select the expected language. Options include a wide range of languages and regional variants, such as: Multilingual, Bulgarian, Catalan, Chinese (Mandarin Simplified/Traditional), Chinese (Cantonese Traditional), Czech, Danish, Dutch, English (generic, US, Australia, UK, New Zealand, India), Estonian, Finnish, and many more.
Tips
- Pick the language that best matches your callers.
- Use one default language per flow for consistency.
- Update this if your team handles a new audience.
Tab 8: Variables
Configure core runtime settings for this flow, including model and static parameters.Fields
- Model: A dropdown to select the AI model type used in the flow (e.g., “Basic”). Model configuration is applied when the flow is published.
- Enable Streaming: A toggle that controls how AI messages are delivered. When enabled, messages stream into the chat area word by word. When disabled, full messages appear all at once. This setting is applied when the flow is published.
- Static Parameters: Any parameters defined as “static” in the flow’s parameter configuration appear here. Each shows:
- Parameter Name (e.g., TwilioAuthToken, TwilioAccountSid)
- How to get the parameter: A dropdown (String, Secret, etc.)
- The literal value to use: A text field for the value. Secret values are masked.
Tips
- Choose model and streaming behavior for response style. These settings take effect on the published flow.
- Review static parameter values for each environment.
Tab 9: Start Up
Select the functions that should run when this flow starts.Fields
- Startup Functions: A list of functions that run at the beginning of the workflow. Functions can be selected from existing functions or created new with the + Create New button. Each function can be removed with the × button.
Tips
- Use startup functions to prepare required context (e.g., checking caller ID).
- Keep this list focused on essential setup actions.
- Re-test flow startup after function changes.
Tab 10: Wrap Up
Select the functions that should run when this flow finishes.Fields
- Wrap Up Functions: Functions called at the end of a conversation. These functions do not take in parameters. Select from existing functions or create new ones with the + Create New button.
Tips
- Use wrap-up functions for final logging or handoff work.
- Keep only functions that should always run at the end.
- Save and test to confirm end-of-call behavior.
See Also
- Flows — Overview of flow creation and management
- Building Your First Flow — Step-by-step flow creation guide
- Flow Documentation — Deep dive into the Documentation tab
- Functions and Events — Reference material for functions
- Agents — Agent configuration
The Configure Flow page gives you centralized control over every aspect of your AI agent’s behavior — from what it knows, to how it reviews calls, to what happens at the start and end of every conversation.