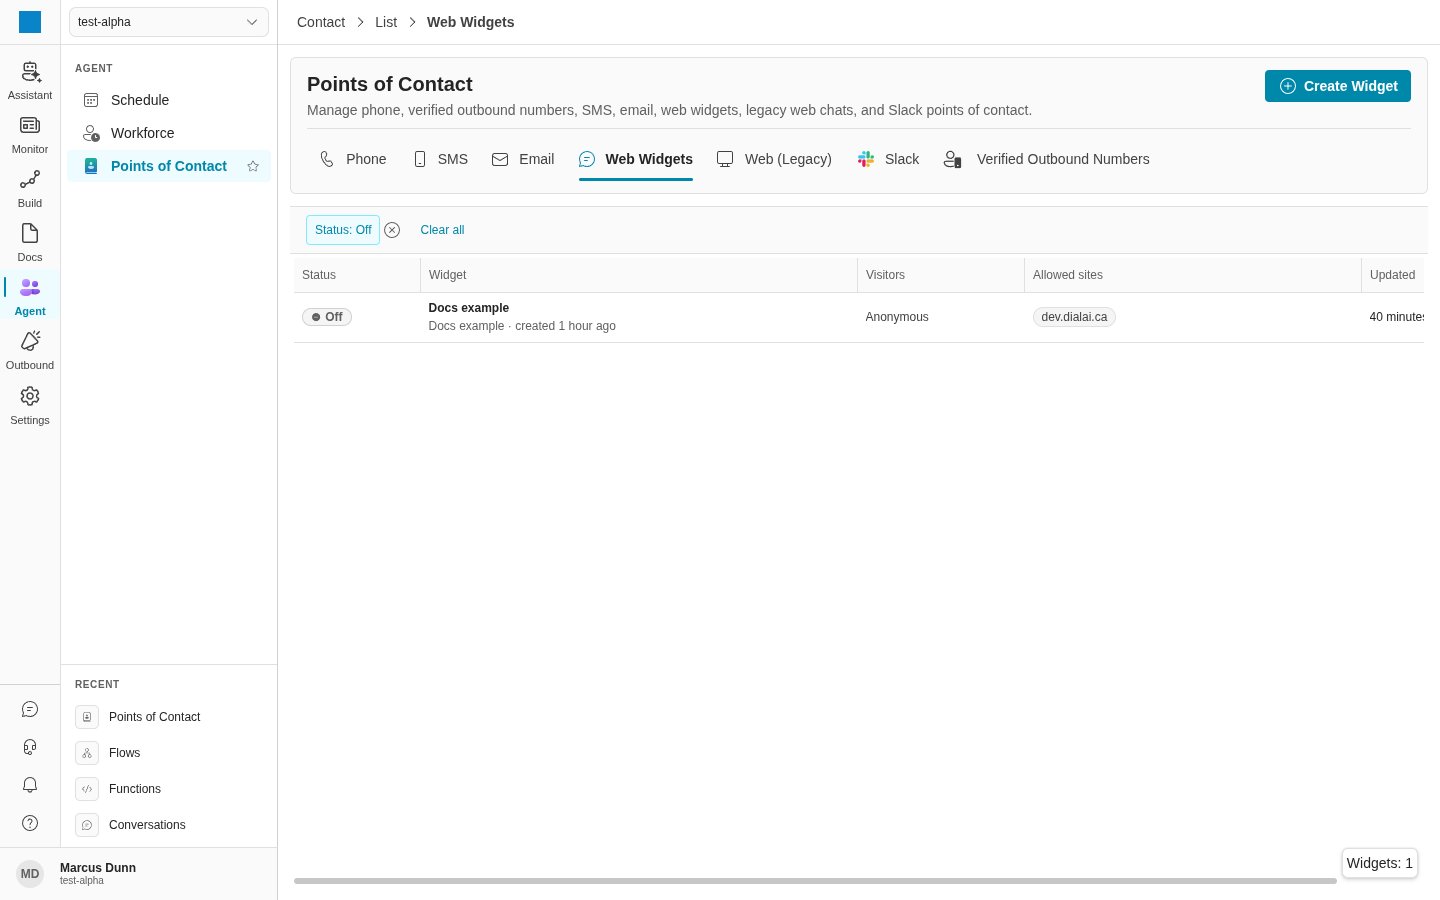
The Web Widgets tab on the Points of Contact page
- A flow — the flow that answers the visitors.
- Allowed sites — the sites that can show the widget. No other site can show it.
- An appearance — a preset and your changes to it. See Widget appearance.
- Sign-in — optional. A portal that signs its customers in can tell the widget who the customer is. See Signed-in visitors.
Find Web Widgets
Go to Agent > Points of Contact and select the Web Widgets tab. The tab shows only when your role has theweb-widgets:list permission. Other actions need other permissions:
The list has these columns: Status, Widget, Visitors, Allowed sites and Updated. Active widgets are at the top. Use the Status filter to show only Active or Off widgets. Click a row to open the page of that widget.
Create a widget
1
Open the dialog
On the Web Widgets tab, click Create Widget.
2
Type a name
In Name, type a name for the site or the page that shows the widget. An example is “Billing help on the account page”. Each widget in your tenant must have a different name.
3
Select the flow
In Flow, select the flow that answers the visitors.
4
Add the allowed sites
In Allowed sites, type the address of a site, such as
https://www.example.com. Click Add. Do this again for each site that shows the widget.5
Create the widget
Click Create Widget. The page of the new widget opens.
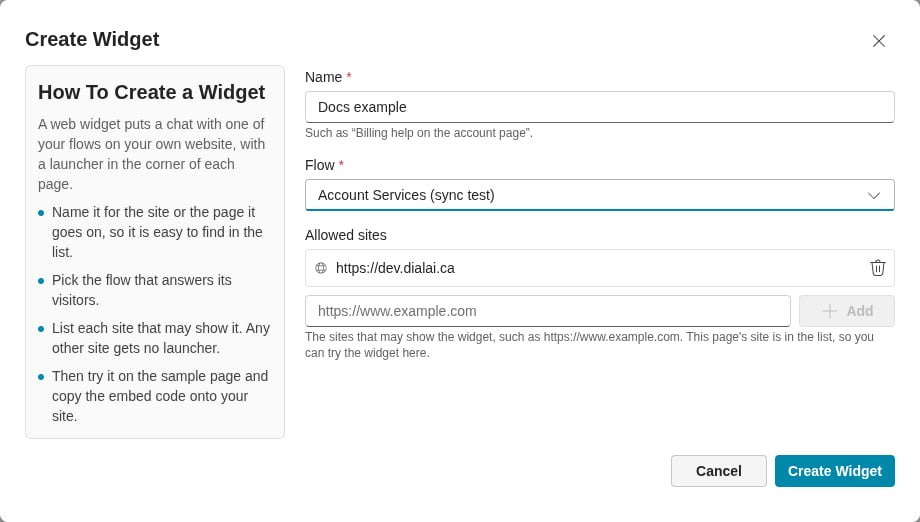
The Create Widget dialog with a name, a flow and one allowed site
Allowed sites
The allowed sites are a security control. On a site that is not in the list, the launcher and the chat panel do not show. If the list is empty, no site can show the widget. Each entry is an origin: a scheme, a host and an optional port. The widget ignores the path of an address. These forms are permitted:
A widget has a maximum of 50 allowed sites.
The list in the Create Widget dialog starts with the site of the Dial AI dashboard. This lets you try the widget on the Try it card at once. Keep this entry while you use Try it.
To change the list later, click the edit (pencil) icon beside Allowed sites on the page of the widget. Add or remove sites, then click Save.
The page of a widget
The page has these cards: Try it, Appearance, Embed code and Sign-in. The side panel shows the Status, Flow, Visitors, Allowed sites, Look, Limits and Created date.Status
The Status switch turns the widget on or off for all sites at the same time.- Active: sites show the widget — each allowed site shows the launcher.
- Off: no site shows it — the launcher goes away, and the widget starts no new session.
Limits
Limits shows the maximum number of conversations that the widget starts in one day (UTC), or No daily limit. You cannot change the limit on this page.Try it
The Try it card shows a sample website with the widget on it. Click the launcher in its bottom corner and chat as a visitor does. A chat on the sample site is a real conversation with the flow of the widget.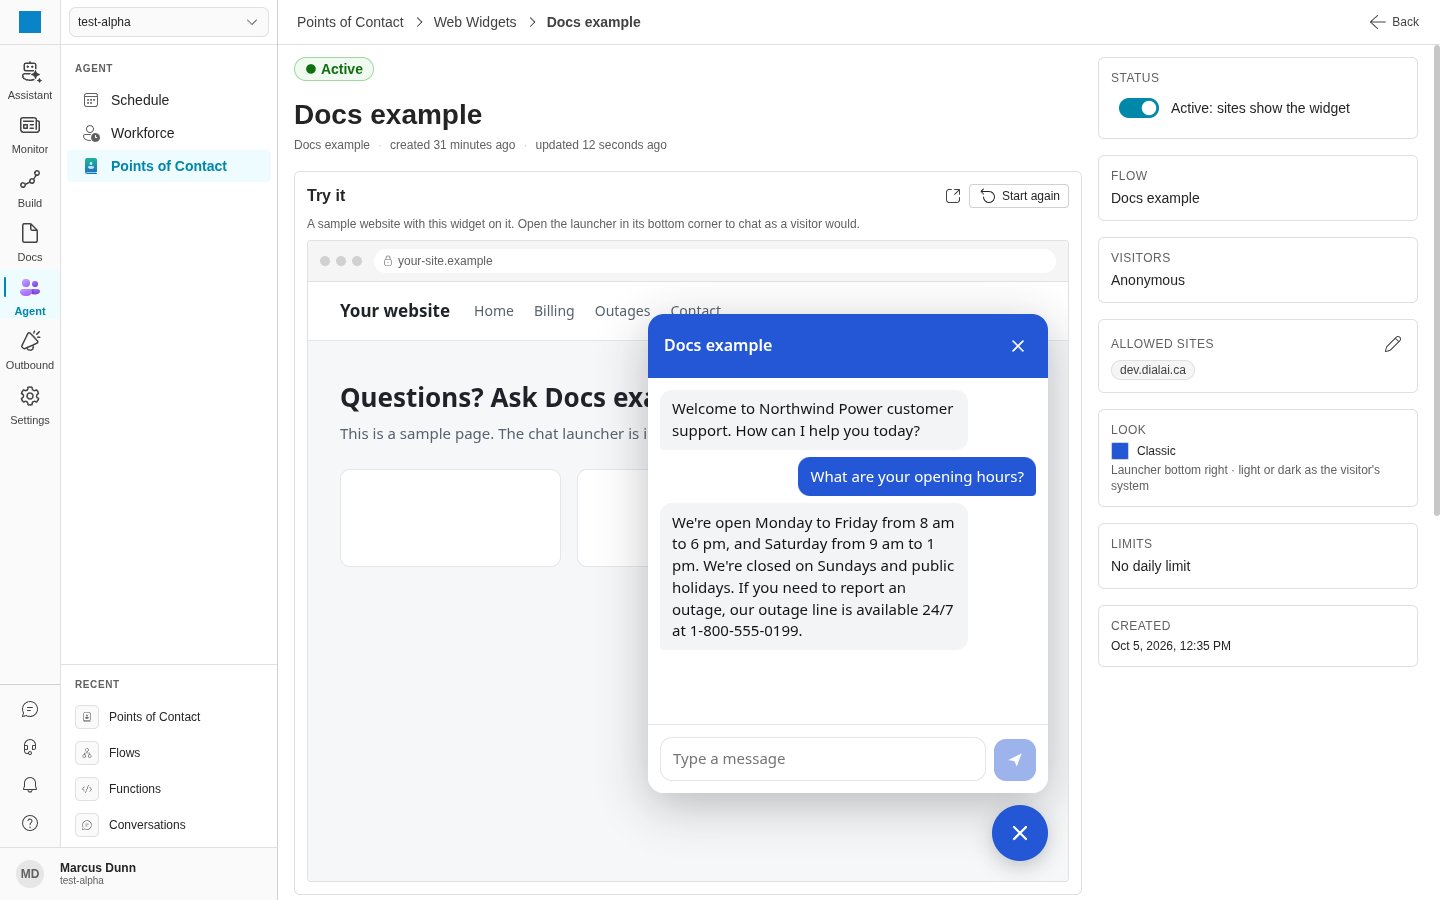
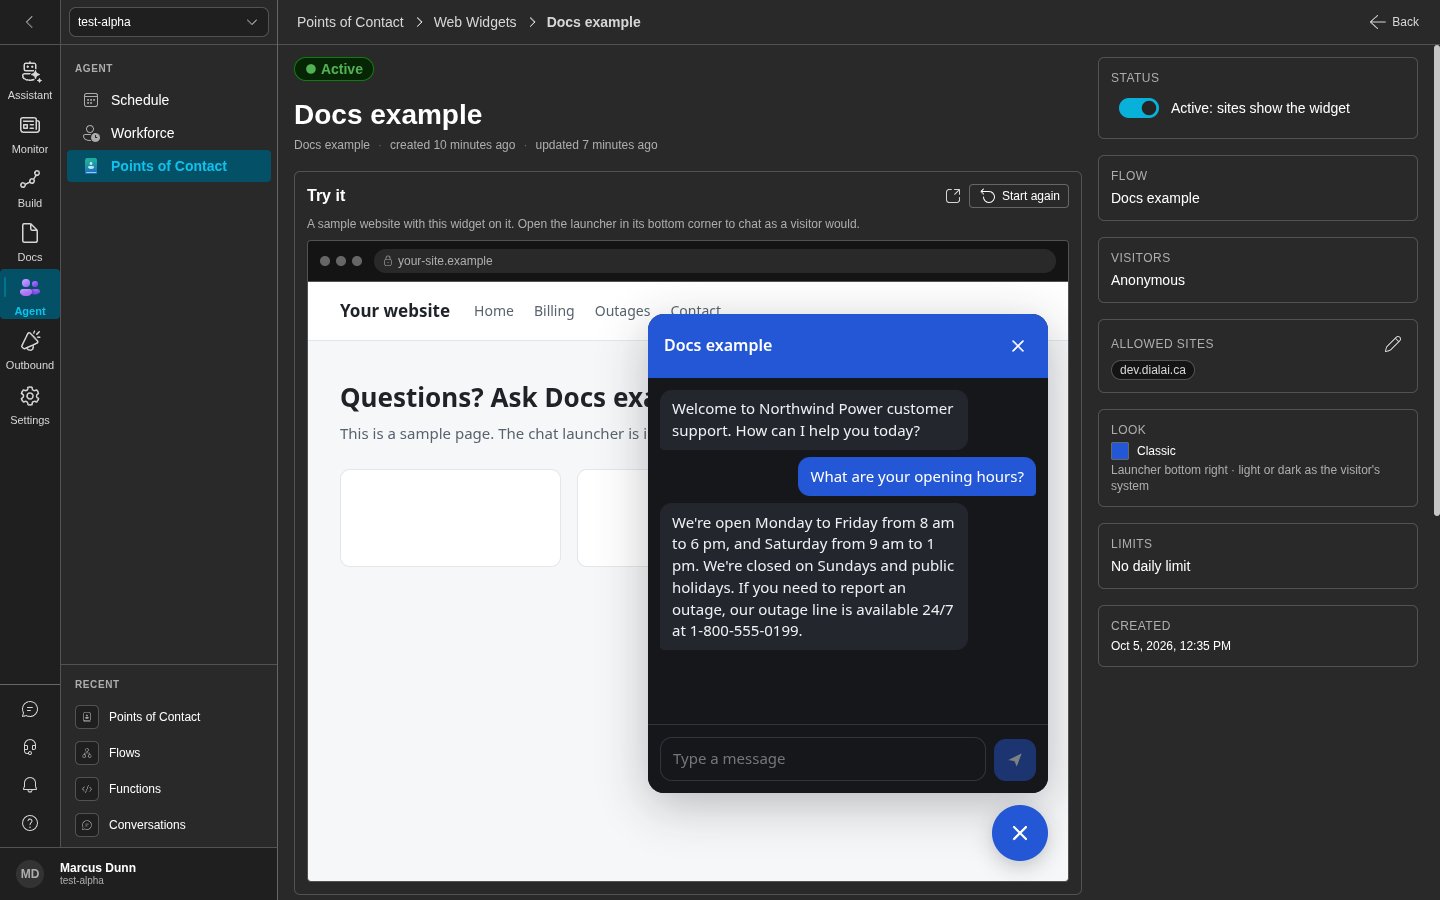
The page of a widget. The Try it card shows a chat on the sample site.
- Start again loads the sample site again.
- The Open the sample site in a new tab icon button opens the sample site in a new browser tab. In the tab, the widget has the full window, so it shows its desktop layout.
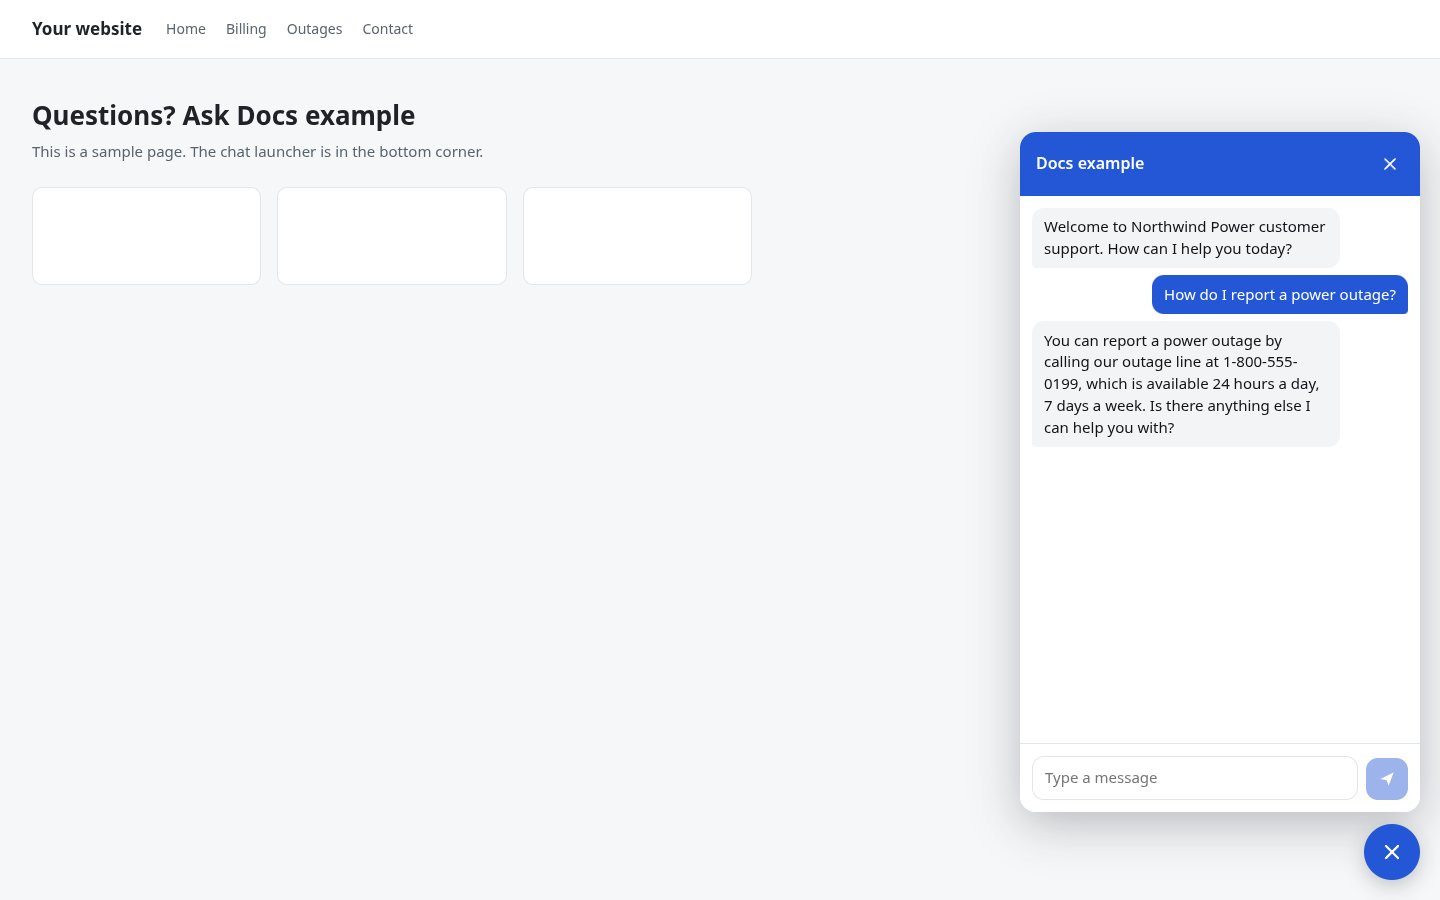
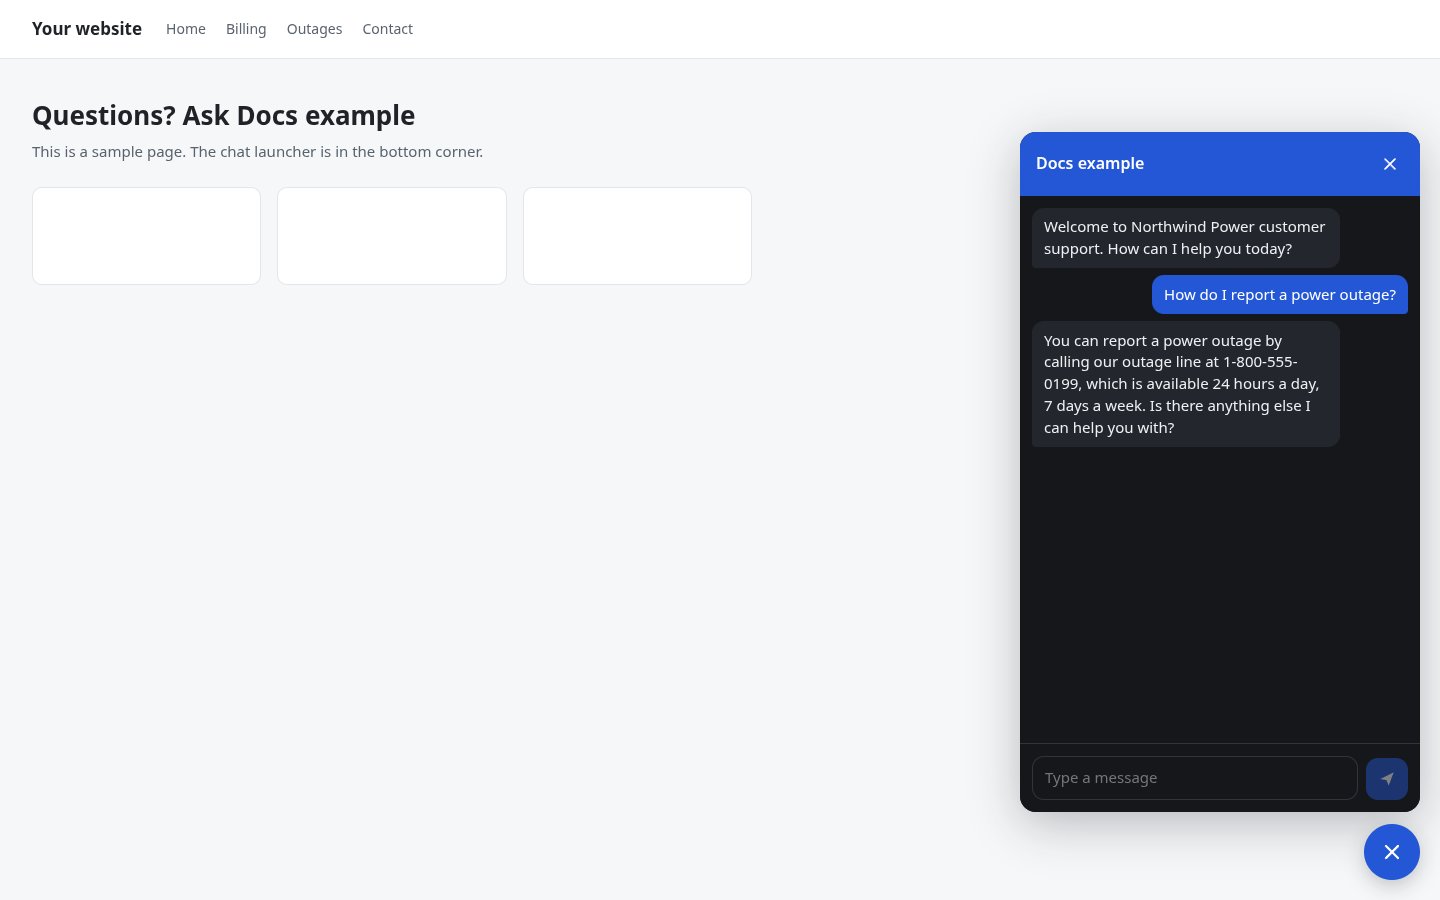
The sample site in a new tab. The widget has the full window.
When the widget has a sign-in provider, you can also chat as a signed-in customer. See Act as a customer.
Put the widget on your site
1
Copy the embed code
On the Embed code card, click Copy.
2
Paste it into each page
Paste the code immediately before the
</body> tag of each page that shows the widget.3
Check the allowed sites
Make sure that the site of each page is in Allowed sites.
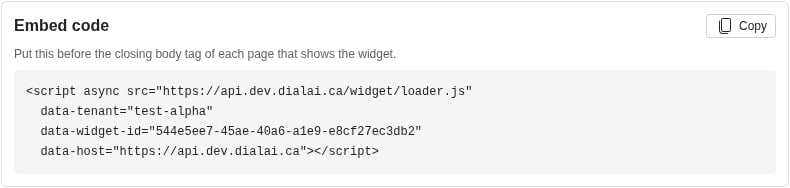
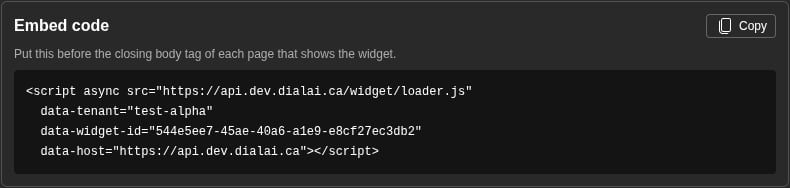
The Embed code card
What visitors see
- The launcher shows in the corner that you set in the appearance.
- On a screen of 480 px or less, the open chat panel covers the full page.
- The Escape key closes the panel.
- If the chat cannot load in 15 seconds, the panel shows “The chat could not load.” and a Try again button.
Control the widget from your page
The embed code also makes a JavaScript function,DialAI, on your page. Your page can use it to open the chat, to listen to events, and to give the widget a sign-in token.
Call DialAI before the script loads
To call DialAI before the script loads, add a small queue function first. Then call init yourself, and remove the data-tenant, data-widget-id and data-host attributes from the script tag:
tenant, widgetId and host from the embed code of the widget.
Commands
Call
DialAI("logout") when a person signs out of your site. Then the next person on the same browser does not see the conversation of the previous person. The logout works also when the chat panel did not open yet.
To tell the widget who a signed-in customer is, give init an identity function. See Signed-in visitors.
Events
In the
text of a sent message, the platform masks sensitive data, such as a card number. Your page never gets the text that the visitor typed.
This example opens the chat from a “Chat with us” link, and records each handoff:
DialAI exists when it runs.
Style the launcher
Your page can change the launcher with CSS::part() rules. Your page cannot change the chat panel or the theme. See Widget appearance.
Web Widgets and the legacy web chat
Best practices
Related
Widget appearance
Presets, colours, fonts and the launcher.
Signed-in visitors
Tell the widget who your customer is.
Points of Contact
All the channels that connect a flow to customers.
Flows
Build the flow that answers your visitors.